Recipes

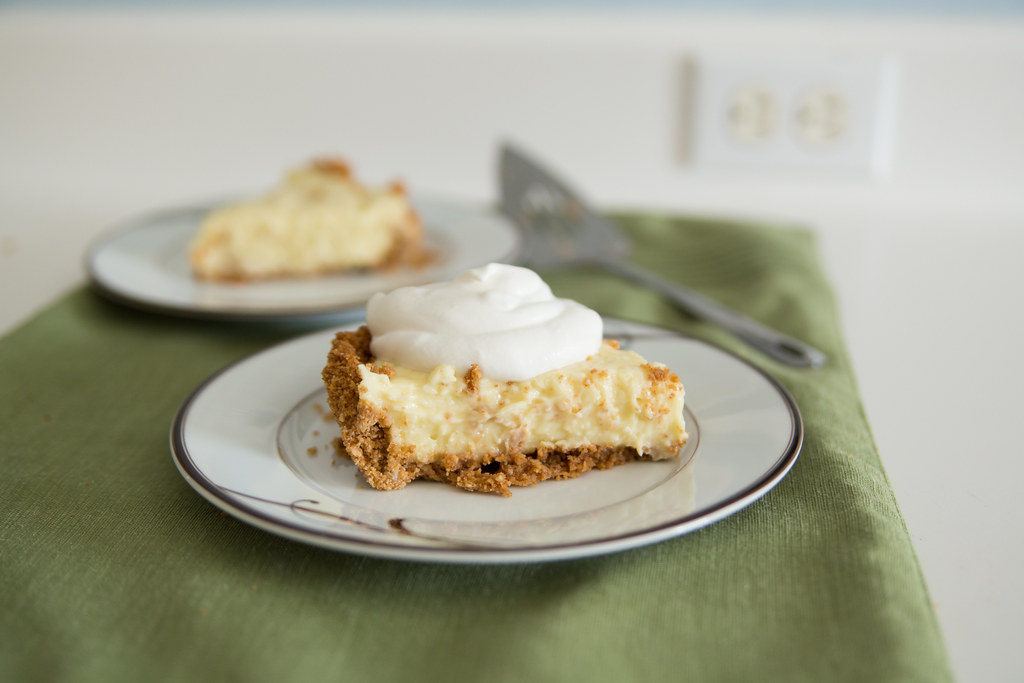
Project 365 – Day 340 – Coconut Cream Pie

340/366

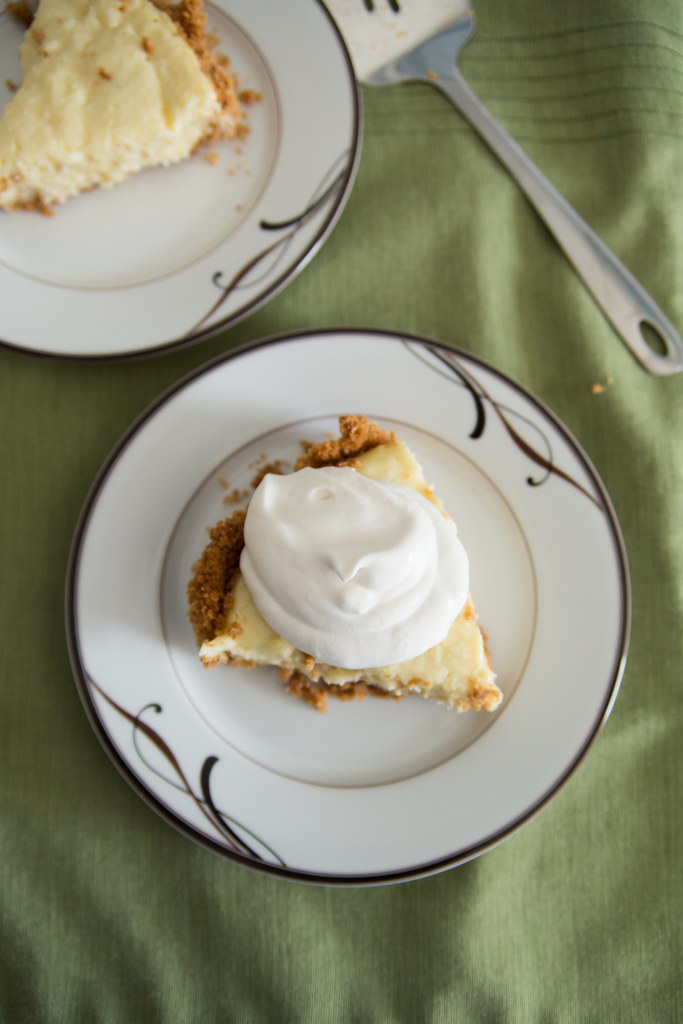
Yesterday was Easter and that means that we got to indulge in coconut cream pie. Now, coconut is not my favorite food in the world. In fact, I usually try to avoid it at all costs. I love the flavor of coconut but I really don’t care for the shaved coconut part. It just gets stuck in my teeth and yeah..

Coconut Cream Pie

But then I found finely shredded coconut! Now that was something I could get behind. It provides all the coconut flavor without the coconuty feel.

Ingredients

For the crust

  • 5 tablespoons unsweetened shredded coconut (DO NOT use finely shredded coconut here)
  • 9 graham crackers
  • 2 tablespoons sugar
  • 5 tablespoons melted butter

Filling

  • 1 14-ounce can coconut milk, well stirred
  • 1 cup whole milk
  • 1/2 cup unsweetened finely shredded coconut
  • 2/3 cup sugar
  • 1/4 teaspoon salt
  • 5 large egg yolks
  • 1/3 cup cornstarch
  • 1 1/2 teaspoon vanilla extract
  • 2 tablespoons butter, cut into 4 pieces

Directions

For the crust:

  1. Adjust oven rack to the middle position and heat oven to 325F. Spread 5 tablespoons coconut into a 9-inch glass pie plate and toast in the oven until golden brown. About 9 minute. Be sure to stir the coconut 2-3 times to prevent it from burning. When cool, reserve 1 tablespoon for garnish.
  2. Pulse the graham crackers and remaining 4 tablespoons toasted coconut in a food processor until the mixture is evenly fine crumbs. Transfer crumbs to a bowl and add the sugar. Mix to combine. Then add the melted butter and toss until the crumbs are evenly coated. Wipe out the now empty pie plate and empty the crumb mixture into it. Use the bottom of a 1/2 cup measuring cup to press the crumbs evenly into the bottom an dup the sides, forming a crust. Bake it until deep golden brown, about 22 minutes. Cool crust on a wire rack while making the filling.

For the filling:

  1. Bring the coconut milk, milk, finely shredded coconut, 1/3 cup sugar and salt to a simmer over medium-high heat, stirring occasionally with a wooden spoon to dissolve the sugar.
  2. When the mixture reaches a simmer, whisk the egg yolks in a medium bowl to break them up. Add the remaining 1/3 cup sugar and cornstarch until there are no lumps. Gradually whisk the simmering liquid into the egg mixture to temper it. Then return the mixture to the saucepan. Bring the mixture to a simmer over medium heat, whisking constantly until thickened, about 30 seconds. Off the heat, whisk in the vanilla and butter.
  3. Pour the filling into a cooled crust. Press a sheet of plastic wrap directly onto the surface of the filling. Refrigerate until the filling is cold and firm. At least 3 hours.
  4. To serve, spread or pipe some whipped cream over the chilled filling (you can also choose to spoon out the whipped cream as you are serving the pie) Sprinkle with remaining 1 tablespoon toasted coconut.

Short Rib Pot Pie

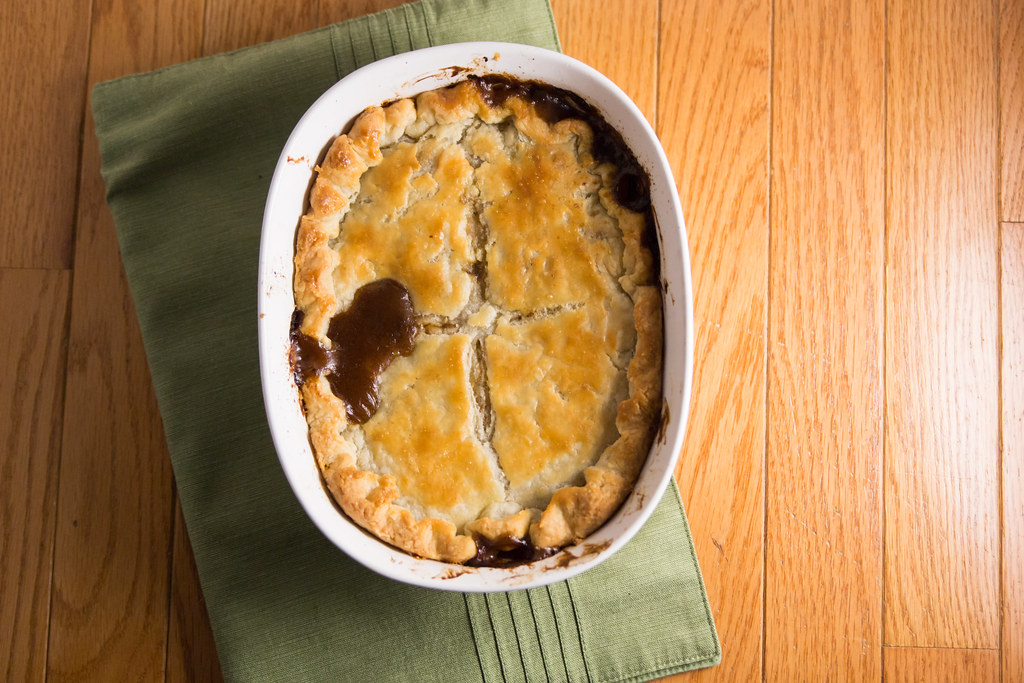
Whole Pot Pie

We’re suppose to get this massive snow storm starting tomorrow. No big deal. It’s just 12-18 inches of snow. In Richmond. What’s the worst that can happen? Oh that’s right, we could be stuck at home for the next few days. Thankfully I have us covered in the food department.

A couple weeks ago I had made some short ribs in the slow cooker and they were delicious. I didn’t just want to reheat the leftovers, I wanted to create something new. That’s when I came across the idea of making them into a pot pie. All the ingredients were right there in the leftovers. The only thing that was left to make was the crust and add in some peas. The result was divine.

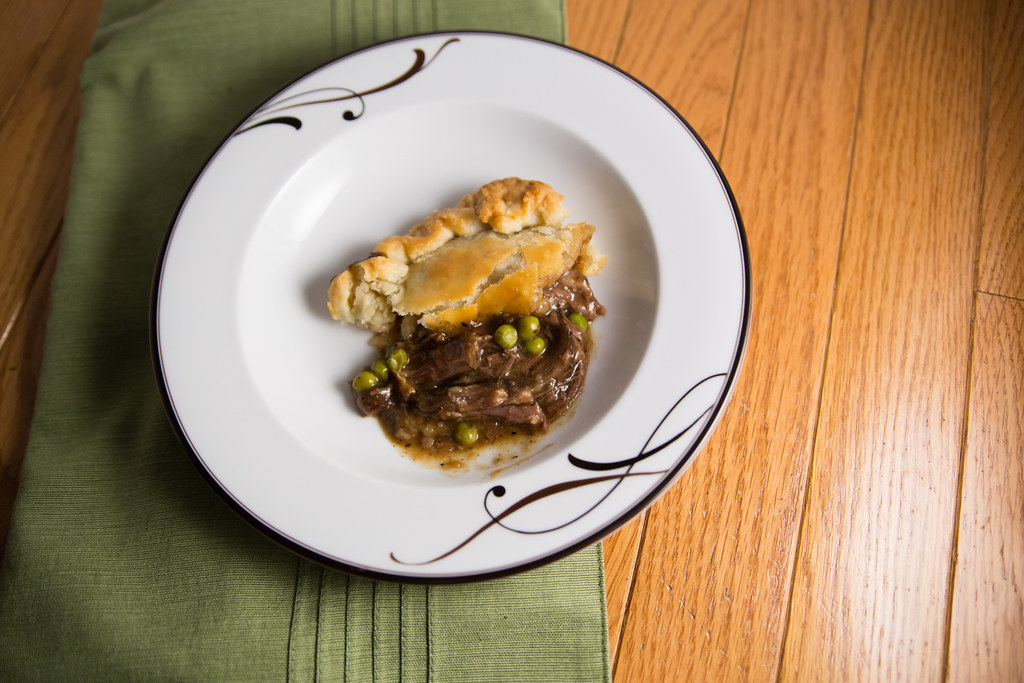
Short Rib Pot Pie Individual

While everyone else is feasting on their eggs, milk and bread, we will be indulging in short rib pot pie. A perfect meal for the cold winter weather.

Short Rib Pot Pie

Ingredients

Directions

  1. Preheat oven to 400F.
  2. Shred the leftover short ribs or pot roast and place it in a 1.5qt casserole dish. Add any vegetables that the ribs or roast may have cooked with. Add the peas. Cover everything with the gravy and mix to combine.
  3. Roll out the pie dough about 1 inch wider than your casserole dish. Then fold the excess over and flute the edge. Place the pie dough on top of the filling. Cut 4 slits in the top. Brush it with the egg wash.
  4. Bake for 40 mins or until the crust is golden and the filling is bubbling. Allow to rest for 10-15 minutes before serving.

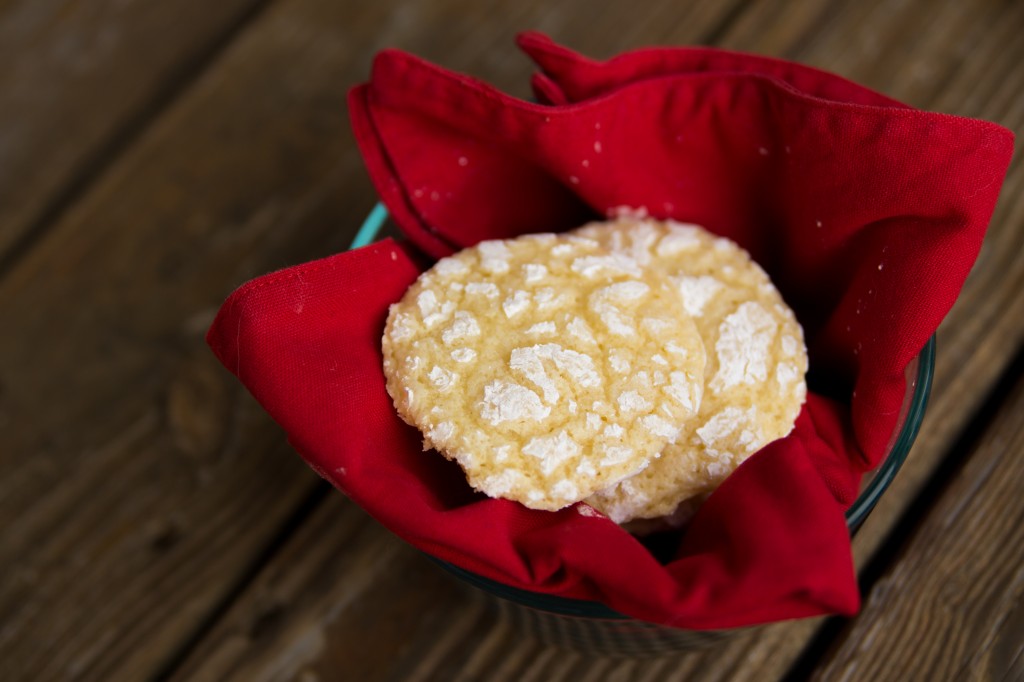
Lemon “Snowflakes”

day234-5I’ve been on a cookie baking kick this weekend. Today was by far the best cookie yet! I really thought that the lemon would be over powering and that I would hate it. Turns out, the lemon is perfectly balanced in this deliciously light and cakey cookie.

Ingredients
recipe from Cook’s Illustrated
makes about 2 dozen cookies

  • 1 1/2 cups all-purpose flour
  • 1/2 teaspoon baking powder
  • 1/2 teaspoon salt
  • 1/2 cup confectioners’ sugar
  • 1 1/4 cups granulated sugar
  • 4 teaspoons grated lemon zest plus 2 tablespoons juice (about 2 lemons worth)
  • 4 tablespoons butter, melted and cooled
  • 3 tablespoons vegetable oil
  • 1 large egg plus 1 large yolk
  • 1 teaspoon vanilla extract

Directions

  1. Whisk flour, baking powder, and salt together in medium bowl. Place confectioners’ sugar in small bowl and set aside. Process granulated sugar and lemon zest in food processor until finely ground, about 30 seconds. Add melted butter, oil, lemon juice, egg and yolk, and vanilla and process until pale and thickened, about 30 seconds. Transfer to bowl with flour mixture and stir until incorporated. Cover bowl with plastic wrap and chill until dough is firm, at least 1 hour.
  2. Adjust oven rack to middle position and heat oven to 350F. Line 2 baking sheets with parchment paper.
  3. Working with 1 1/2 tablespoons dough at a time, roll into balls, toss balls in confectioners’ sugar, and space them 2 inches apart on prepared sheets. Bake cookies, 1 sheet at a time, until cookies are cracked and set on top but look moist within cracks, 10-12 minutes. Let cookies cool on sheets for 5 minutes. Transfer to wire rack to cool completely.

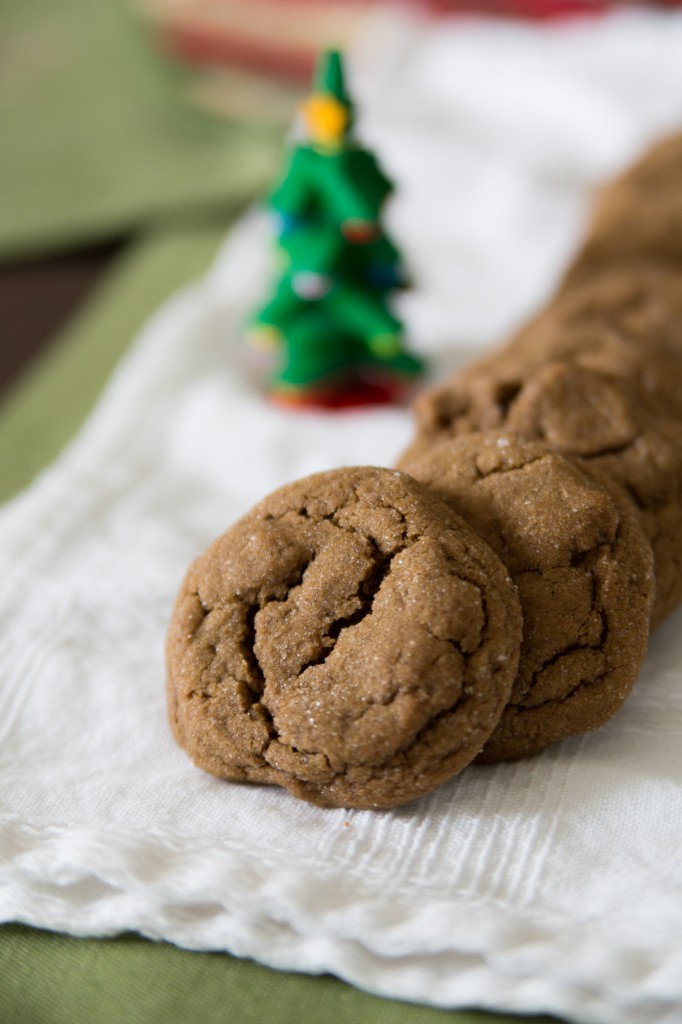
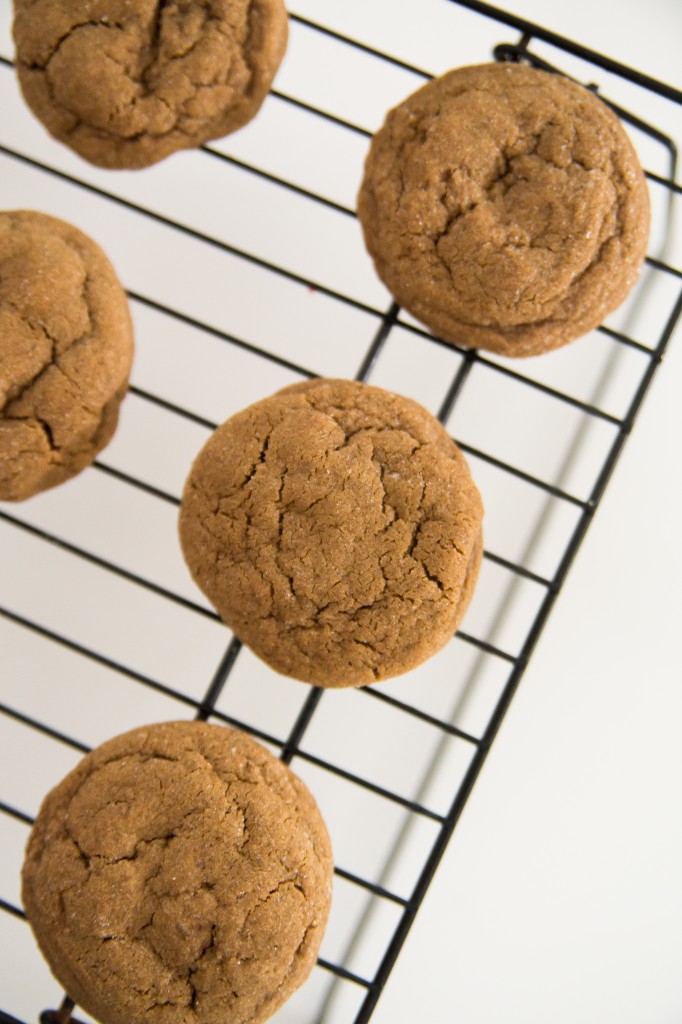
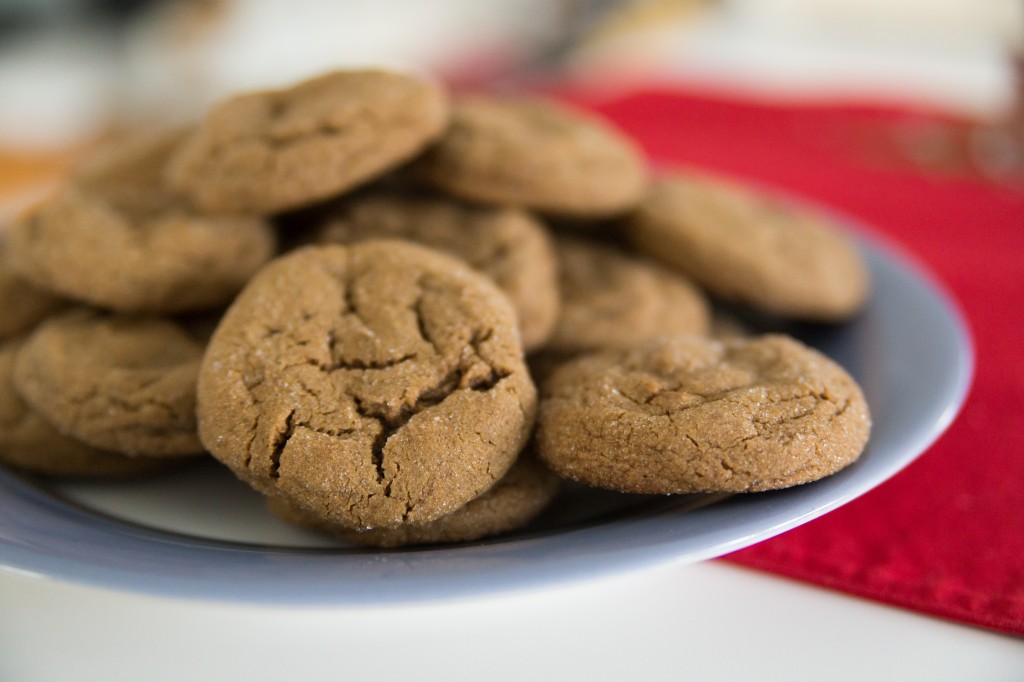
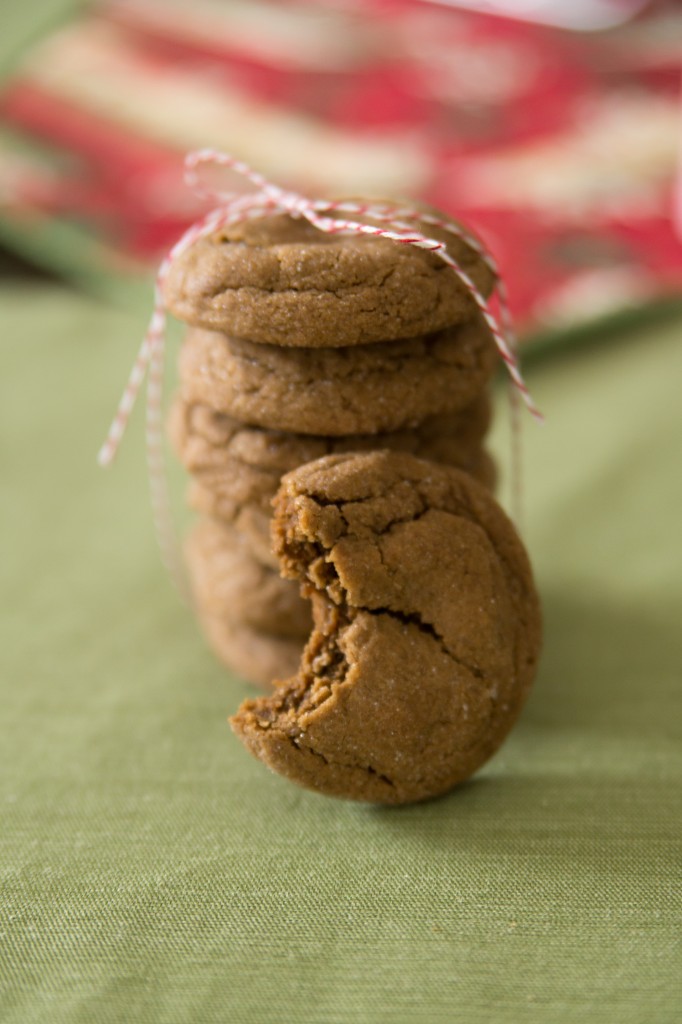
Project 365 – Day 233 – Molasses Cookies

day233-4Ingredients
recipe from Cook’s Illustrated
makes about 2 dozen

  • 1/3 cup sugar, plus 1/2 cup for rolling
  • 2 1/4 cups all-purpose flour
  • 1 1/2 teaspoons ground cinnamon
  • 1 1/2 teaspoons ground ginger
  • 1 teaspoon baking soda
  • 1/2 teaspoon ground cloves
  • 1/4 teaspoon ground allspice
  • 1/4 teaspoon salt
  • 12 tablespoons butter, softened
  • 1/3 cup packed brown sugar
  • 1 large egg yolk
  • 1 teaspoon vanilla extract
  • 1/2 cup molasses

Directions

  1. Adjust oven rack to middle position and preheat oven to 375F
  2. Spread 1/2 cup sugar in a shallow dish, set aside. In medium bowl, whisk flour, cinnamon, ginger, baking soda, cloves, allspice and salt together. Using stand mixer fitted with paddle, beat butter, brown sugar and remaining 1/3 cup sugar on medium speed until light and fluffy, about 3-6 minutes. Beat in egg yolk and vanilla until combined. Beat in molasses until incorporated. Reduce speed to low and slowly add flour mixture until combined.
  3. Working with 2 tablespoons dough at a time, roll into balls and then roll in sugar to coat. Space balls 2 inches apart on the baking sheet
  4. Bake cookies until edges are set and beginning to brown but centers are still soft and puffy, 10-12 minutes. Transfer to wire rack to let cool.day233-1day233-2day233-3

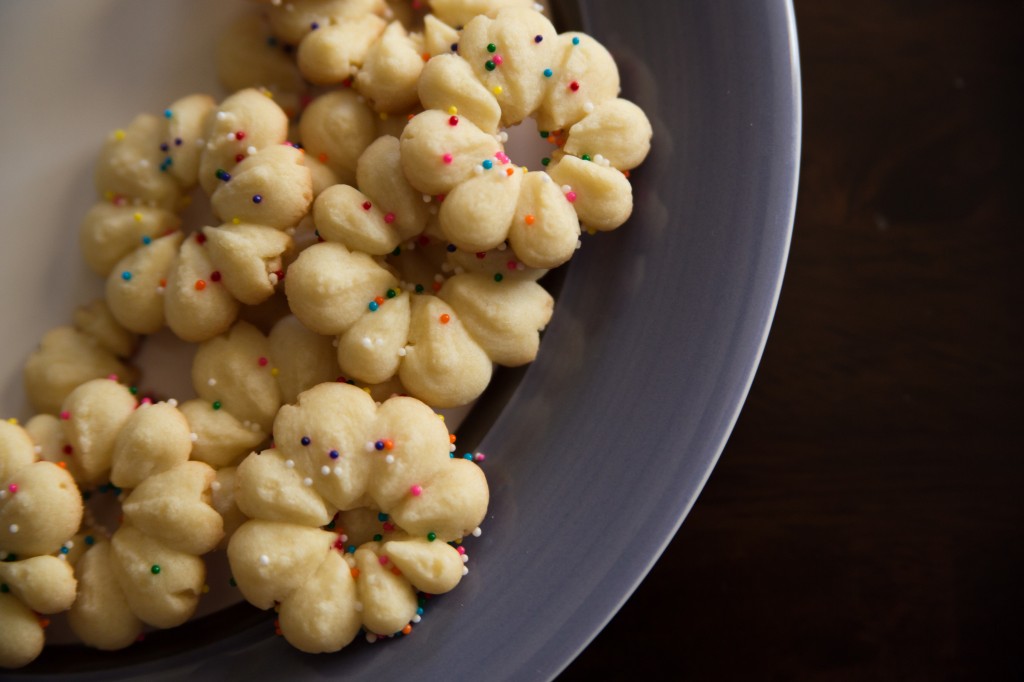
Project 365 – Day 232 – Spritz Cookies

day232-2When I was still living at home with my parents, I convinced my mom to buy a cookie press. We really had no idea what we were doing with it or how many cookies it would produce, but it was experimenting and making a complete mess of the kitchen. Today, that cookie press has gone to cookie press heaven. The last batch of spritz cookies that I was pressing out, was just too much pressure on it and the top part snapped. I guess I’ll have to buy a new one for next Christmas.

Ingredients
recipe from Cook’s Illustrated
makes about 6 dozen

  • 1 large egg yolk
  • 1 tablespoon heavy cream
  • 1 teaspoon vanilla extract
  • 16 tablespoons (2 sticks) butter, softened
  • 2/3 cup sugar
  • 1/4 teaspoon salt
  • 2 cups all-purpose flour

Directions

  1. Adjust oven rack to middle position and heat oven to 375F.
  2. Whisk egg yolk, cream and vanilla together in a small bowl. Using stand mixer fitted with paddle, beat butter, sugar and salt on medium-high speed until light and fluffy, 3-6 minutes. Beat in yolk mixture until combined, about 30 seconds, scraping bowl as needed. Reduce speed to low and slowly mix in flour until combined, about another 30 seconds.
  3. If using cookie press, follow manufacturer’s instructions to fill press. If using pastry bag, fit with 1/2 inch star tip and fill bag with half of the dough. Pipe cookies onto baking sheets, spacing them about 1 1/2 inches apart and refilling cookie press or pastry bag as needed. (Piped cookies should measure about 1 inch in diameter)
  4. Bake cookies until light golden brown, about 10-12 minutes. Let cookies cool on sheet for about 10 minutes and then transfer to wire rack to cool completely.

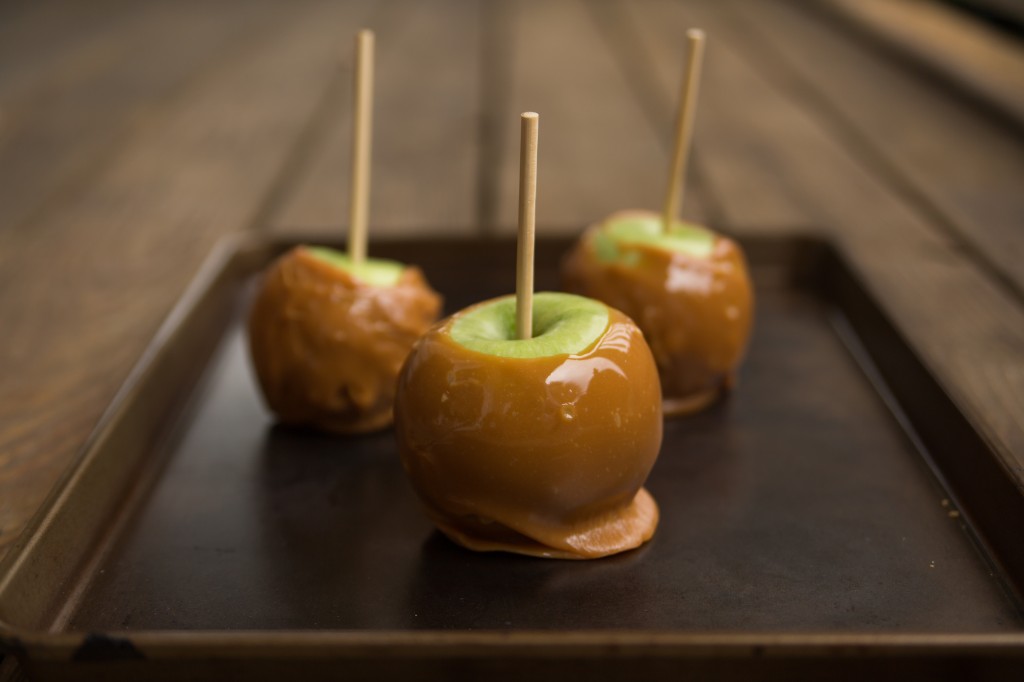
Project 365 – Day 189 – Caramel Apples

day189-1A few weeks ago we went up to Carter Mountain Orchard and picked about 10lbs worth of Granny Smith apples. They have been sitting in my refridgerator ever since. So instead of just letting them sit in the fridge until Thanksgiving, I decided to make some of them into caramel apples.

Ingredients

  • 5 granny smith apples
  • 1 package soft caramels (11oz)
  • 2tbls evaporated milk
  • candy apple sticks

Directions

  1. Wash, dry and take the stem off of your apples. If you bought your apples from the grocery store you’re going to want to dip the apples in boiling water for 15 secs to remove the wax coating. Just wipe the apples dry after they’ve been in the boiling water. Put skewer/stick into the top of the apple.
  2. In a medium sauce pan, combine the caramel and the evaporated milk. Over medium-low heat, warm the caramels until they are completely melted, stirring constantly.
  3. Dip the apples into the melted caramel and slowly spin the apple until it is completely covered. Allow the excess caramel to drip back into the pan.
  4. Place completed apples onto a cookie sheet lined with waxed paper that is greased with butter.
  5. Put the apples into the refridgerator for at least 2 hours to allow the caramel to set. Remove about 15 minutes before you serve them.

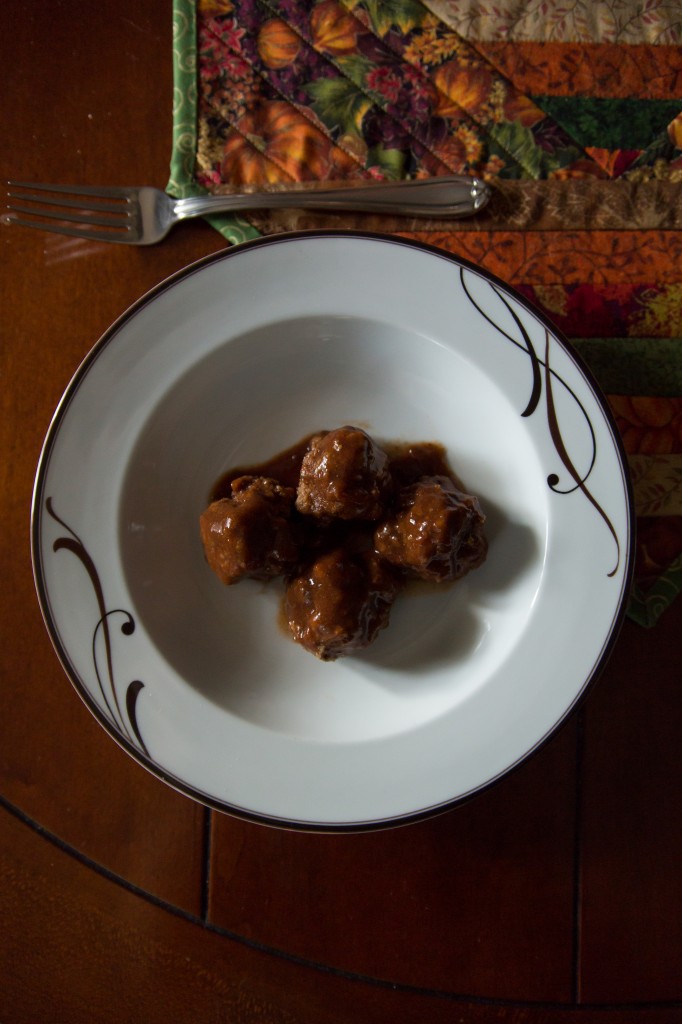
Project 365 – Day 168 – BBQ Glazed Meatballs

day168-1Ingredients:

  • 2 eggs
  • 2/3 cup milk
  • 1 1/4 cups soft bread crumbs
  • 1 tbls prepared horseradish
  • 1 1/2 lbs ground beef
  • 1 cup water
  • 1/2 cup ketchup
  • 1/2 cup chili sauce
  • 1/4 cup maple syrup
  • 1/4 cup soy sauce
  • 1 1/2 tsp ground allspice
  • 1/2 tsp ground mustard

Directions:

  1. Preheat oven to 375F. In a bowl, beat eggs and milk. Stir in bread crumbs and horseradish. Crumble beef over mixture and mix well. Shape into 1 1/2in balls.
  2. Place meatballs on a greased rack in a shallow baking pan. Bake for 15-20 mins.
  3. In a large saucepan, combine the remaining ingredients. Bring to a boil; add the meatballs. Reduce heat; cover and simmer for 15 minutes or until heated through, stirring occasionally.

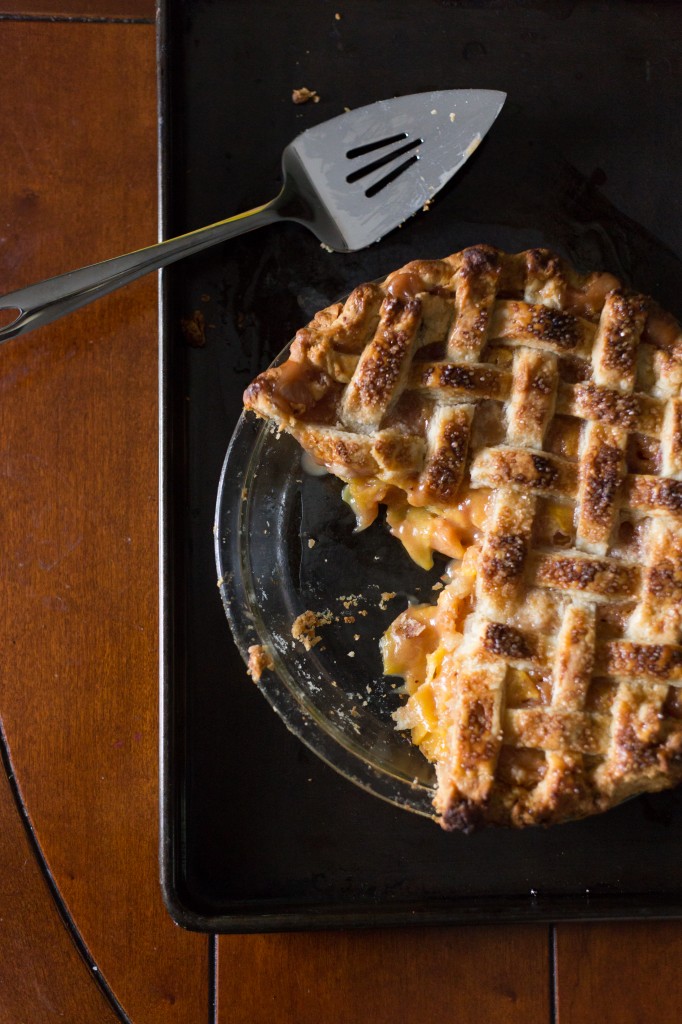
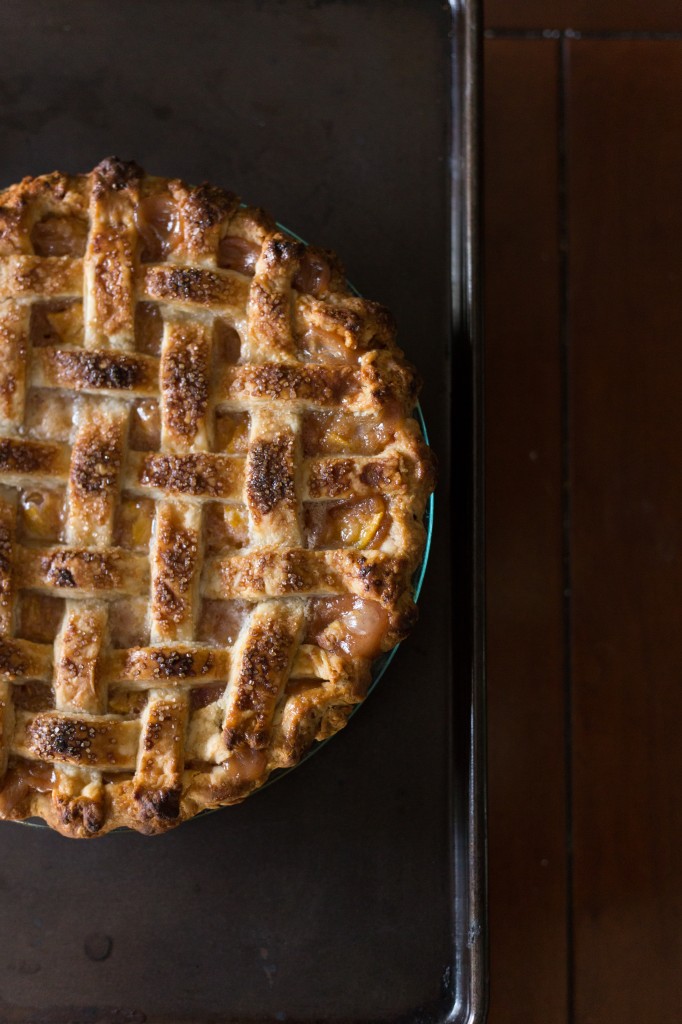
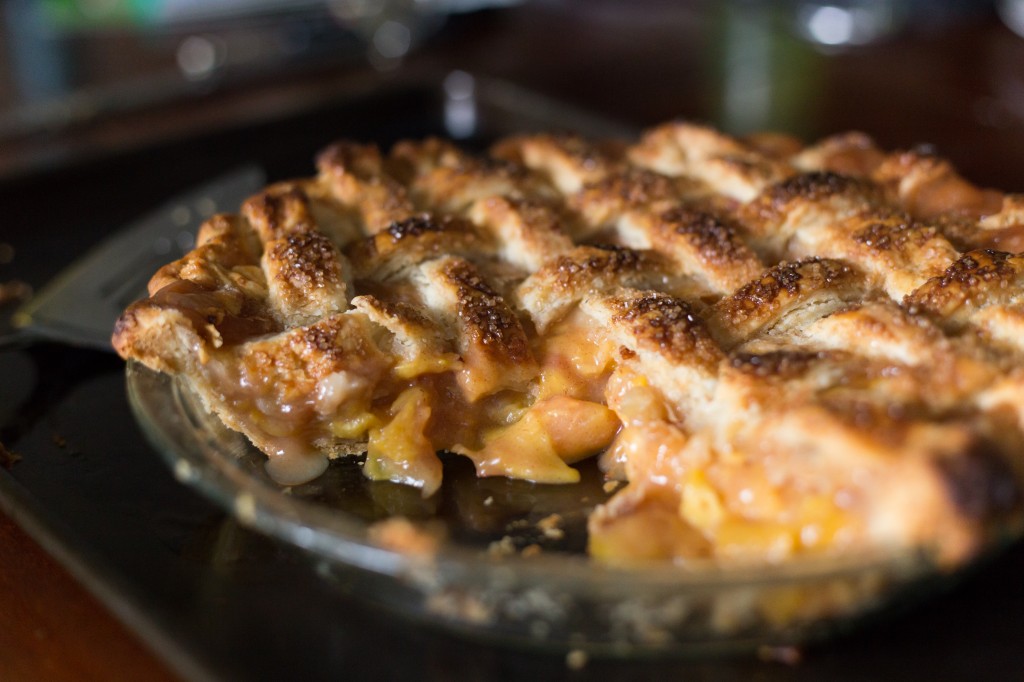
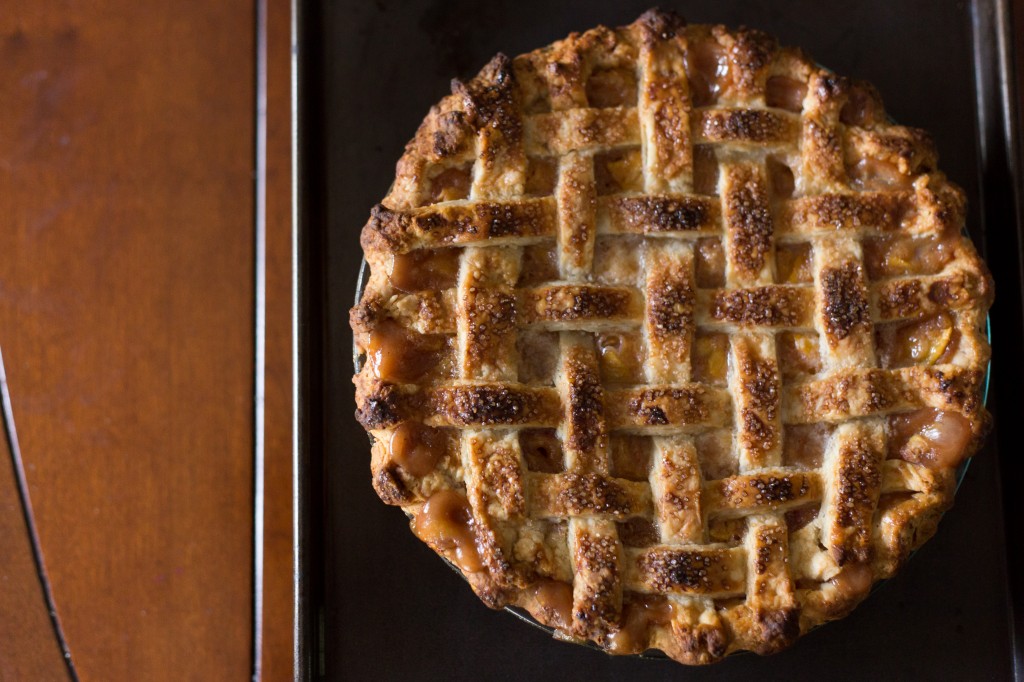
Project 365 – Day 137 – Lattice-topped Peach Pie

day137-3This post is a 2-for-1. I originally planned to publish this recipe almost a year ago but I unfortunately never got around to it. This is probably one of my favorite pies ever; peach. It is the perfect way to say good-bye to summer. I hope you enjoy it.

day137-1

Ingredients:

  • double recipe of 9in pie crust
  • 6-7 medium, ripe peaches
  • 4 tablespoons flour
  • 1 tablespoon fresh lemon juice
  • 1/2 cup sugar
  • 1/4 heaping cup brown sugar
  • 1/2 teaspoon cinnamon
  • 1/4 teaspoon fresh nutmeg
  • pinch of salt
  • turbinado sugar for sprinkling on the crust

Directions:

  1. Preheat oven to 500F. Adjust the oven rack to the lowest position. Follow the directions for rolling out the pie dough and then refrigerate it while you are preparing the rest of the mixture.
  2. Peel, halve and pit each peach. Cut each peeled peach into 1/4-inch slices. Place into a large bowl and toss with the lemon juice. Set aside.
  3. In a small bowl, combine sugars, flour, cinnamon, nutmeg, and salt. Combine the sugar-and-spice mixture with the peach slices.
  4. Turn the peach mixture into the dough-lined pie plate. Remove the other disk of dough from the refrigerator. Roll the dough to a 15 by 11-inch rectangle, about 1/8-inch thick. With a pizza wheel or paring knife, cut the rectangle into 1 1/4-inch wide strips (about 8 of them).
  5. To make the lattice, lay 4 strips of dough on top of the pie filling. Fold the first and third strips back, then place a long strip of dough slightly to the right of the center as shown. Unfold the first and third strips over the perpendicular strip and fold the second and fourth strips back. Add a second perpendicular strip. Now unfold the second and fourth strips. Repeat this process with 2 more perpendicular strips. Trim off the excess lattice ends, fold the rim of the shell up over the lattice strips and flute.
  6. Place the pie on the a baking sheet and lower the oven temperature to 425F. Bake the pie until the top crust is golden, about 25 to 30 minutes. Rotate pie from front to back and reduce the oven temperature to 375F; continue baking until the juices bubble and the crust is a deep golden brown, 25-30 minutes longer.
  7. Transfer the pie to a wire rack; cool to room temperature, at least 4 hours.
  8. To rewarm the pie, preheat the oven to 350F and warm up pie for about 20-30 minutes. Serve with ice cream on top. May be kept at room temperature for up to 2 days.day137-4 day137-2

A Hint of Bourbon: Spiked Pumpkin Pie and Whipped Cream

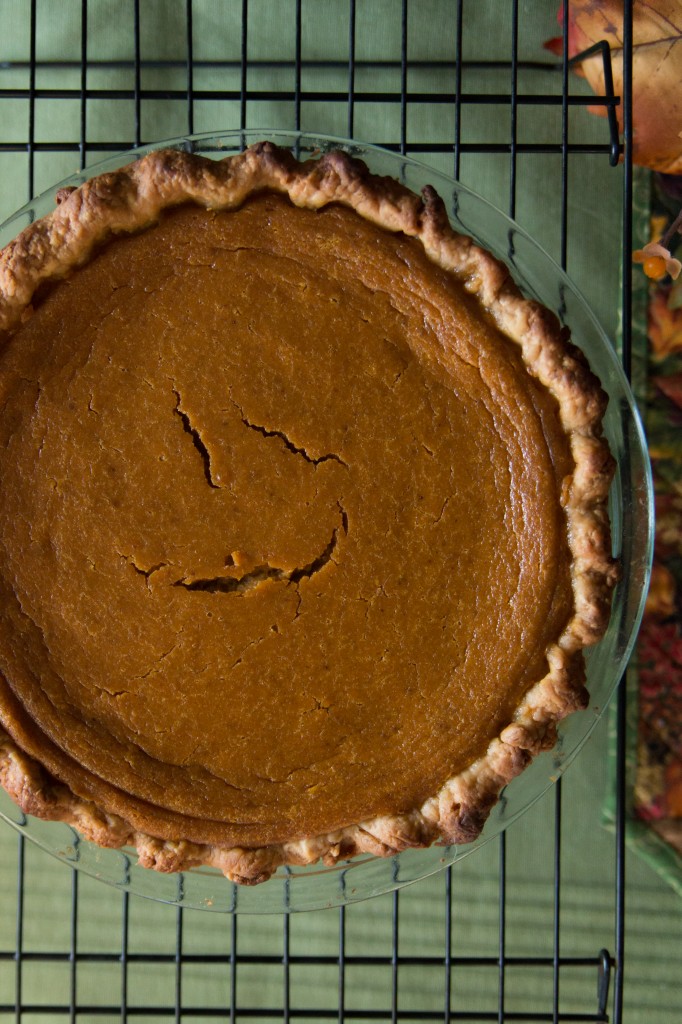
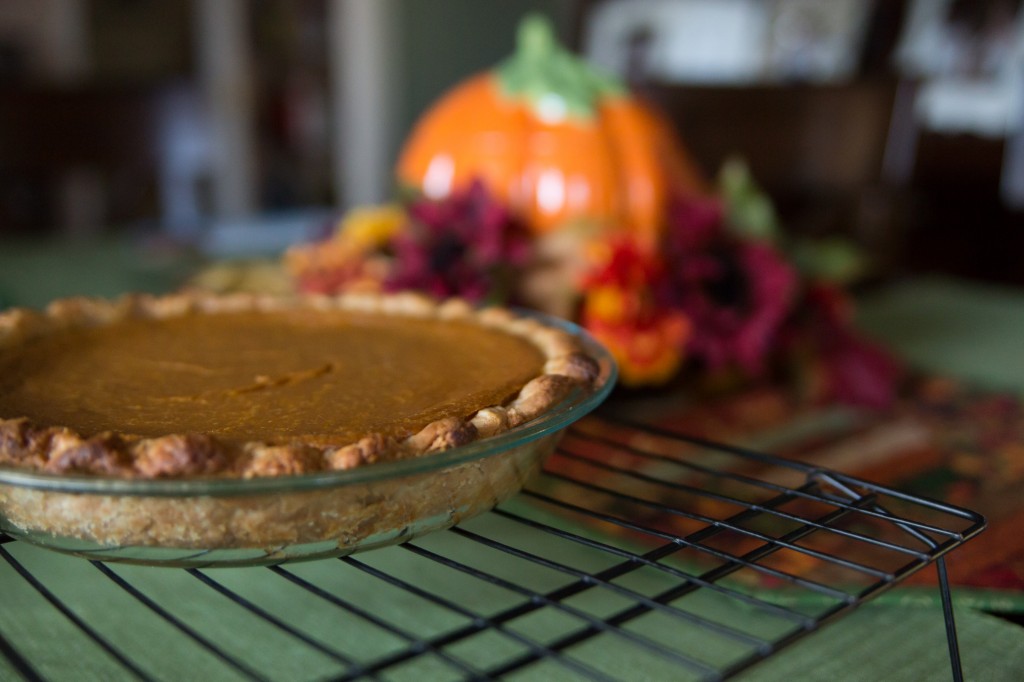
Pumpkin Pie

Last night as Stephen and I were chatting over dinner, we started to talk about Thanksgiving and what we were looking forward to most. We both agreed that we could live without having turkey (or any main entrée for that matter). It’s not that we don’t enjoy turkey, and we certainly love the leftovers, we just don’t think it’s worth all the effort. Now, will we still have a turkey on Thanksgiving? Of course! But it’s not the main attraction to me.

If I had my way, I would just have stuffing with gravy and pumpkin pie. Now, I was not always a big fan of pumpkin pie, or pie for that matter. I always loved the flavor and spices that come along with pumpkin, but the texture was something less than desirable. Maybe I got used to it, maybe I grew up and just realized what I was missing, or maybe my palate changed. I don’t know, but I know that pumpkin pie has become my all time favorite part of Thanksgiving.

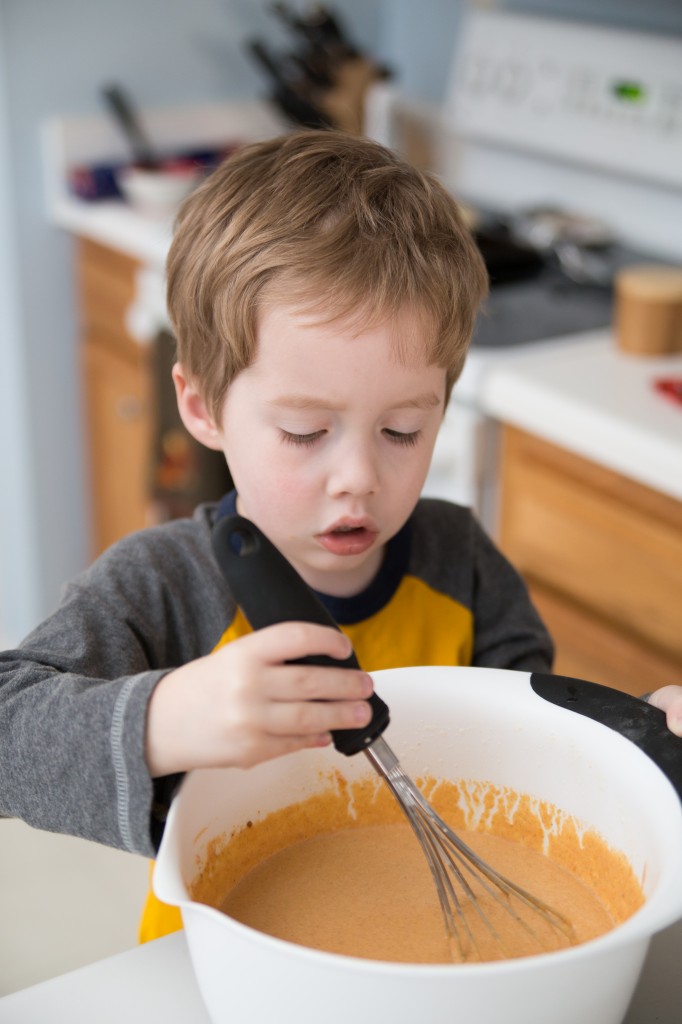
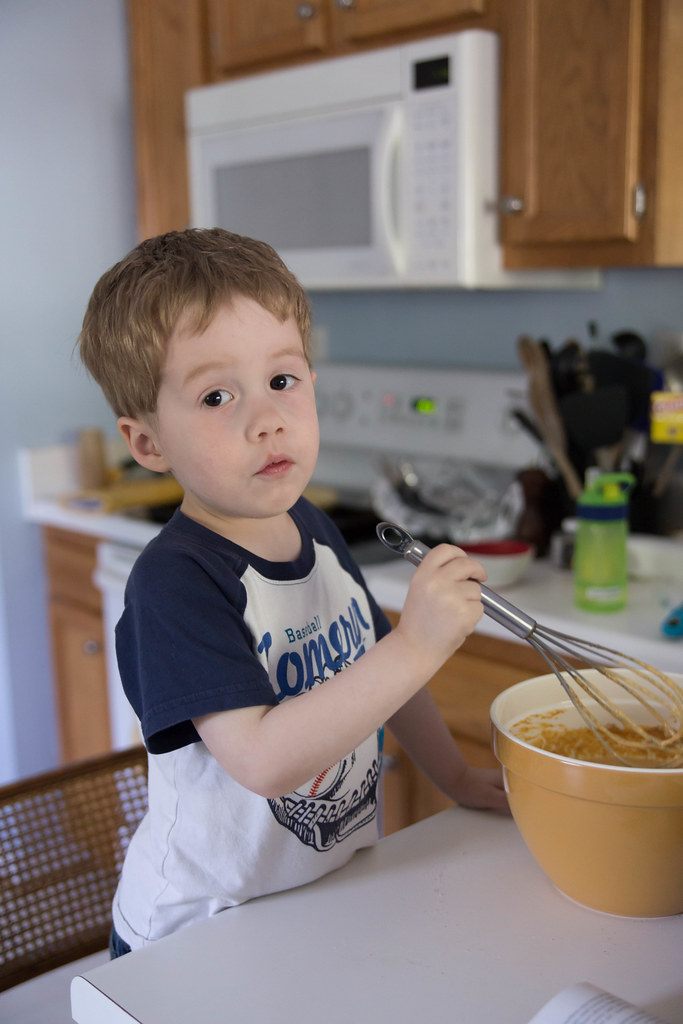
Stopped for a minute to tell me he's concentrating

Personally, I love pumpkin pie just by itself, but I think that what helps set this pie apart from others is the homemade bourbon whipped cream. It is simply divine. You could use whipped cream from a can, but trust me, the taste will not be the same. There is nothing like homemade whipped cream. And it has bourbon in it, so how could you go wrong?

This is when I asked him to smile

Bourbon Spiked Pumpkin Pie makes filling for one 9-inch pie (You may have a little leftover depending on the depth of your pie plate)
adapted from Bride & Groom: First and Forever Cookbook

Ingredients

  • 1 9-inch pie crust recipe
  • 1/4 cup white sugar
  • 1/2 cup brown sugar
  • 1 teaspoon kosher salt
  • 1 teaspoon ground cinnamon
  • 1/2 teaspoon ground ginger
  • 1/8 teaspoon ground cloves
  • 1/8 teaspoon freshly grated nutmeg
  • 2 eggs
  • 1 can pumpkin (15 ounces)
  • 1 1/2 cups heavy cream
  • 2 teaspoons vanilla extract
  • 1 tablespoon bourbon
  • 1 tablespoon milk

Directions

  1. Preheat the oven to 400F. Remove the pie plate from the refrigerator and pierce the bottom of the crust with a fork a few times to prevent it from bubbling. Line it with aluminum foil, folding the excess foil over the edges. Fill it with pie weights. *Note: If you do not have pie weights, you can use coins, beans or rice instead. Bake on a rimmed baking sheet on the 2nd to lowest rack in the oven for 15 minutes. Carefully remove the foil and weights, rotate the baking sheet, and bake until the crust is light golden brown, 5-10 additional minutes. Remove the pie plate and baking sheet from the oven.
  2. Adjust the oven to 425F. Stir together the sugar, kosher salt, cinnamon, ginger, cloves, and nutmeg in a small bowl. Set aside.
  3. Whisk the eggs in a large bowl. Add the pumpkin, cream, vanilla, bourbon, and the sugar-and-spice mixture and mix well.
  4. Brush the entire crust with an egg wash. Fill the shell to the rim with the pumpkin mixture. (Depending on the pie shell and the dish, you may have as much as 1/3 cup of the pumpkin mixture left over.)
  5. Bake for 15 minutes. Reduce the oven to 350F and bake until the pie is set in the center, 40 to 50 minutes more. (The filling will still jiggle when moved.) Transfer the pie to a wire rack and let it cool completely. *Note: I find that because my pie plate is pretty shallow that I only need to bake my pie for about 35 mins at 350F. But if you have a deep pie plate you may have to cook it for the 40-50 mins.

Ingredients for Bourbon Whipped Cream

  • 1 cup heavy cream
  • 3 tablespoons sugar
  • 1 tablespoon bourbon, plus more as needed

Directions for Bourbon Whipped Cream

  1. Combine the cream, sugar, and 1 tablespoon bourbon in a metal bowl. (Metal bowls will stay colder, yielding a better whip.)
  2. Beat on high until soft peaks form, about 1 minute. The cream should slowly fall over forward when lifted with a whisk.
  3. Add more bourbon, if desired.

1 2