Recipes

Foolproof Pie Crust

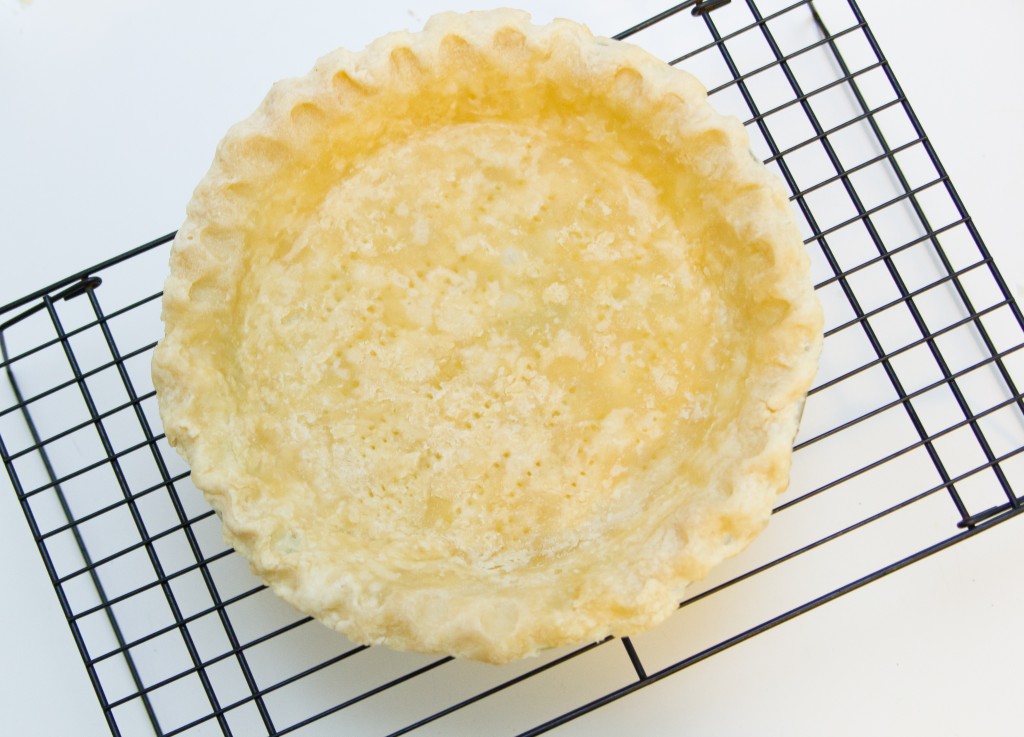
IMG_1420

I had planned on putting this post out on the 1st day of November, but then life got in the way. Liam was getting over a cold which of course meant that I also go it. Inevitably the post was put on hold. Now that we’re all starting to feel better, and Liam is giving me a few minutes at the computer while he watches Mickey Mouse, I can finally get to sharing my Foolproof Pie Crust.

The foundation of every good pie is the crust. If your crust is lacking flakiness or isn’t very tender, then it usually doesn’t matter how delicious the rest of the filling is. This is why many people turn to pre-made frozen pie crusts. While there are some decent products on the market today, there is just something special about making your crust from scratch. 

When I was growing up, my nan would always make all of her crusts from scratch. That was just the way her generation did things. Unfortunately, I was never able to get her recipe from her, but I do have her old rolling pin. And I feel like a part of her is with me every time I make a pie. Because I didn’t have her recipe, I had to search the internet for my own. And in 2009, I came across a simple, easy and delicious recipe thanks to Cook’s Illustrated.

Traditional pie crusts are made by cutting butter or shortening into flour, and then mixing that with cold water. The trick is to not over mix the dough. The chefs at Cook’s Illustrated seem to have solved this problem by cutting the water in half, and replacing it with cold vodka. Now whether or not this truly has any effect on the texture of the crust, I can’t say. But ever since using this recipe, I have received nothing but compliments on all my pies. The best part is that you can use it for quiches, pies, tarts, or cobblers. The possibilities are endless.

In my next post, I’ll share my Bourbon-spiked Pumpkin Pie with Homemade Bourbon Whipped Cream.

IMG_0445

Foolproof Pie Crust – makes one 9-inch pie crust
Recipe from Cook’s Illustrated

Ingredients

  • 1 1/4 cups of all-purpose flour
  • 1/2 tsp salt
  • 1 tablespoon sugar
  • 6 tablespoons cold unsalted butter, cut into 1/4 inch slices
  • 1/4 cup cold vegetable shortening, cut into 2 pieces
  • 2 tablespoons cold vodka
  • 2 tablespoons cold water

Directions

  1. In a medium sized bowl, mix together 3/4 cup of the flour, salt and sugar.
  2. Cut the butter and shortening into the flour mixture using a pastry mixer. Mix until the dough starts to collect in uneven clumps. There should be no uncoated flour.
  3. Add the remaining 1/2 cup of flour and mix until the flour is incorporated with the rest of the mixture.
  4. Sprinkle the vodka and water over the mixture. Using a rubber spatula, fold the dough until it sticks together. (You may have to add more water or vodka if it doesn’t come together. I usually add water or vodka a tablespoon at a time)
  5. Flatten the dough into a 4-inch disk and wrap it in plastic. Refrigerate it at least 45 minutes or up to 2 days.
  6. Remove dough from refrigerator and roll out on a generously floured counter to a 12-inch circle, about 1/8 inch thick. Roll dough loosely around the rolling pin and unroll into your 9-inch pie plate, leaving at least 1-inch overhang. Ease dough into the plate by lifting the edge with one hand while pressing it into the plate bottom with the other hand. Leave the overhanging dough in place.
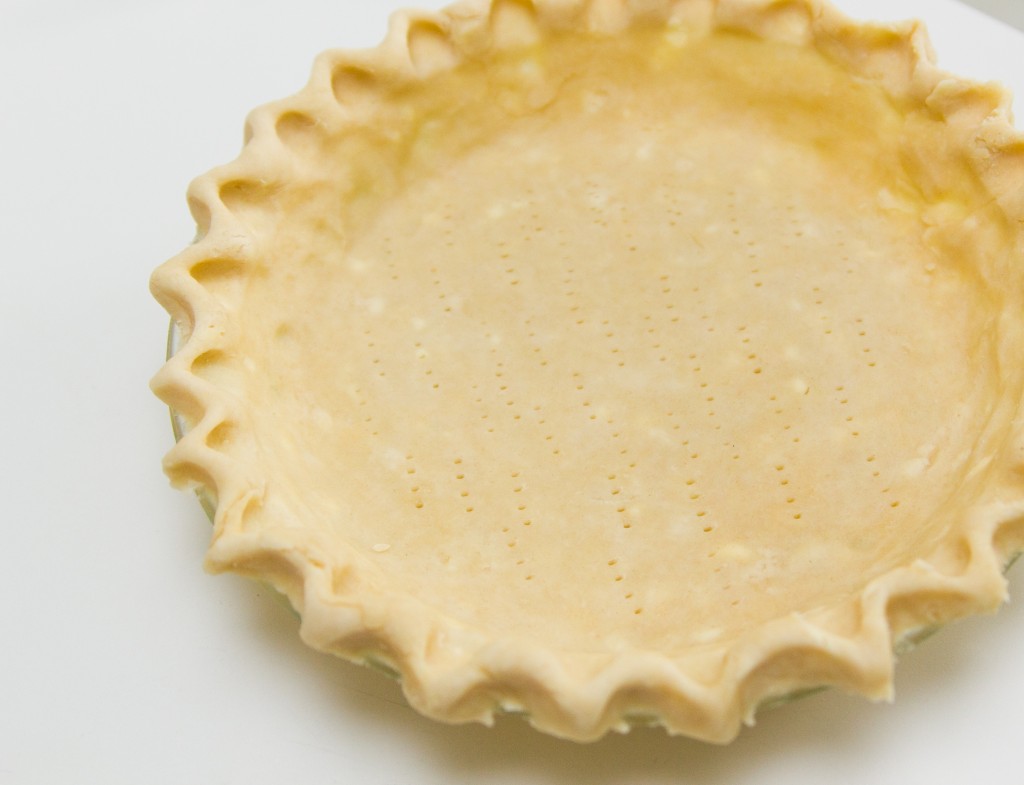
  7. Trim overhang to 1/2 inch beyond the lip of the pie plate. Fold the overhang under itself. Place the dough in the refrigerator for 15-20 minutes to firm up before fluting the edges.
  8. Remove the dough from the refrigerator and use your thumb and forefinger to flute the edges of the dough. Cover with plastic and return dough to the refrigerator for 30 minutes.
  9. Your dough is now ready to be blind baked if making a custard style pie. Blind baking usually isn’t necessary when making fruit pies.

Pumpkin Cream Cheese Brownies

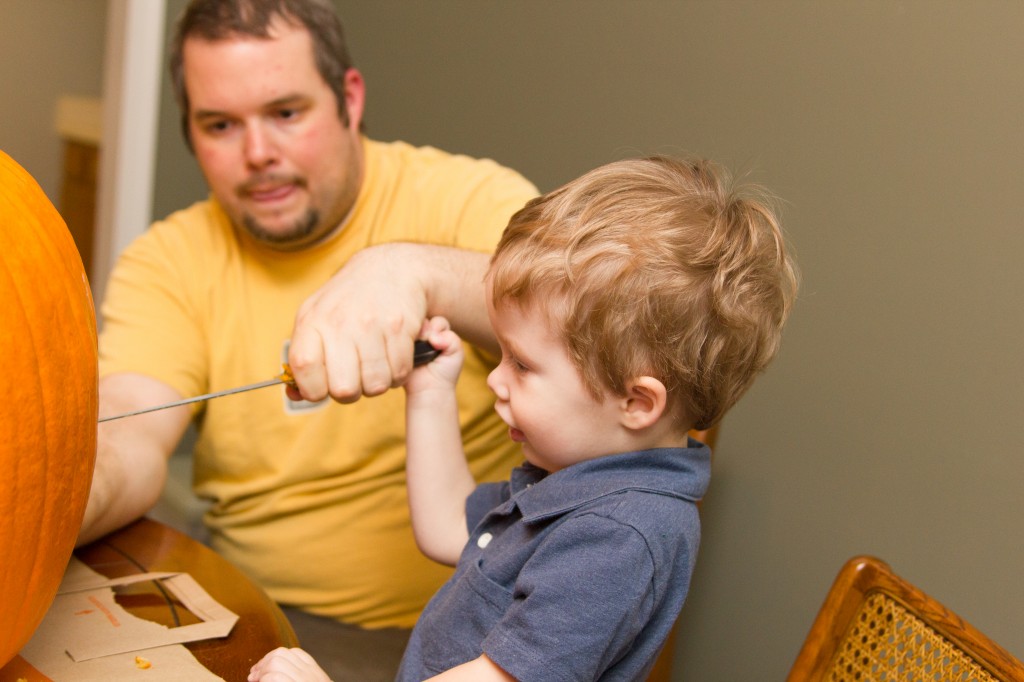
IMG_2279Last night, in preparation for Halloween, we finally got around to carving up our pumpkins. We typically like to wait until the day before so our creations can be as fresh as possible for the big night.

IMG_2261Now, as if carving two large pumpkins wasn’t enough to do in a night, I decided I wanted to try out a new recipe as well. I guess I thought that it could be something fun to do with Liam while Stephen was busy carving. Yeah, remind me not to do that again.

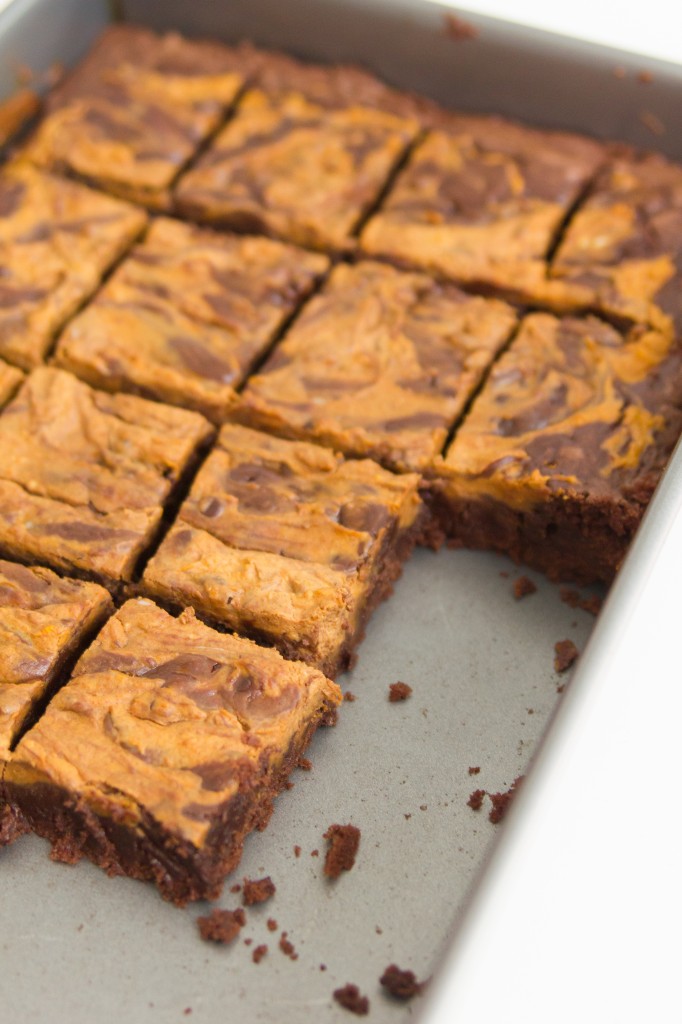
IMG_2302Liam is typically a big help in the kitchen. He has helped me make cookies, pumpkin pie and other desserts. However, those are all recipes I’ve made before. I don’t even need a recipe in front of me most of the time, so it’s easy to let Liam have fun stirring all the ingredients together. While these brownies are delicious, I think I’m going to have to have another go at it before I allow a toddler to “help” me. I should have just left Liam to assist his dad with the pumpkin carving.

I hope everyone has a fun and safe Halloween this year!

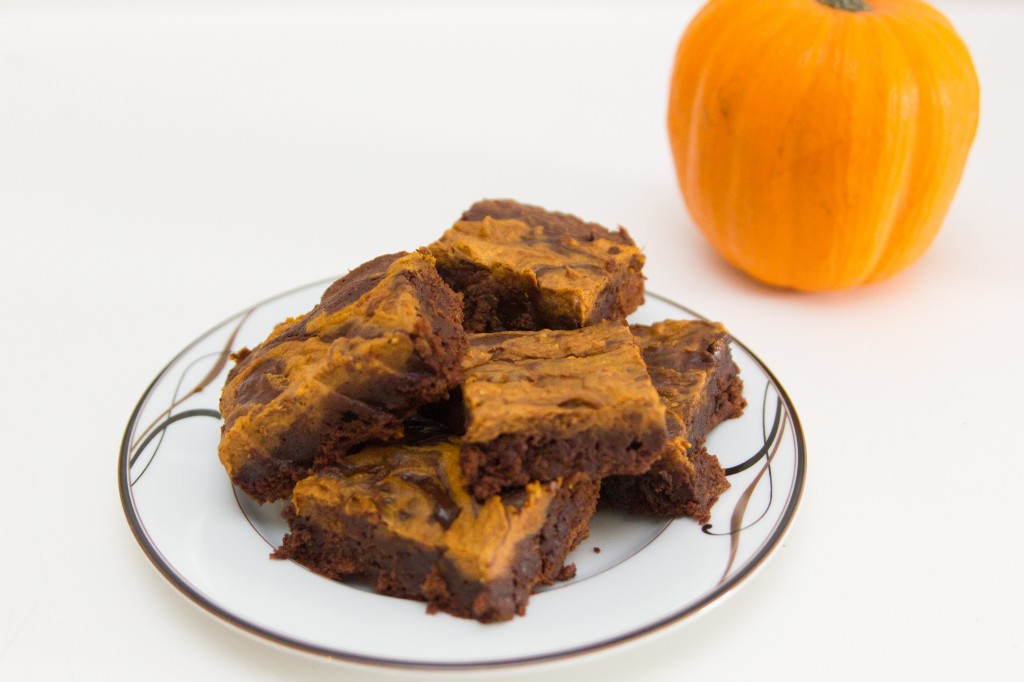
IMG_2296

Pumpkin Cream Cheese Brownies
Adapted from The Chew

Ingredients

  • 1 stick Unsalted Butter
  • 8 oz Semi Sweet Chocolate
  • 1 3/4 cup Flour
  • 1/4 cup Cocoa Powder
  • 1 tsp Baking Powder
  • 1/2 tsp Salt
  • 1/2 cup Brown Sugar
  • 1/2 cup Granulated Sugar
  • 4 Eggs
  • 1 tbs Vanilla Extract
  • 1 cup Mini Chocolate Chips
  • 1/2 cup Pumpkin
  • 4 oz Cream Cheese (room temperature)
  • 1 tsp Ground Cinnamon
  • 1/4 tsp Ground Nutmeg
  • 1/4 tsp Ground Ginger

Directions

  1. Preheat oven to 350 F and grease a 13 x 9 inch baking dish.
  2. Melt butter and chocolate over a double boiler and set aside.
  3. In a medium bowl, combine the flour, cocoa powder, baking powder, and salt.
  4. In a larger bowl. whisk together the eggs, sugars and vanilla.
  5. Dump the flour mixture into the egg mixture and mix until just combined.
  6. Fold in the melted chocolate and butter. Gently fold in the mini chocolate chips.
  7. In another bowl, whip the pumpkin, cream cheese and spices together.
  8. Pour the brownie batter into the prepared baking dish and use a spatula to create an even layer in the pan.
  9. Dollop the pumpkin mixture in 4 to 6 places on the brownie. Take a butter knife and carefully swirl the pumpkin mixture throughout the brownie batter. Kitchen Knives have a vital role in getting it right.
  10. Bake for 25-30 minutes until a toothpick inserted comes out dry. Cool for 15 minutes.

Mellow Mushroom Pizza Dough Copycat

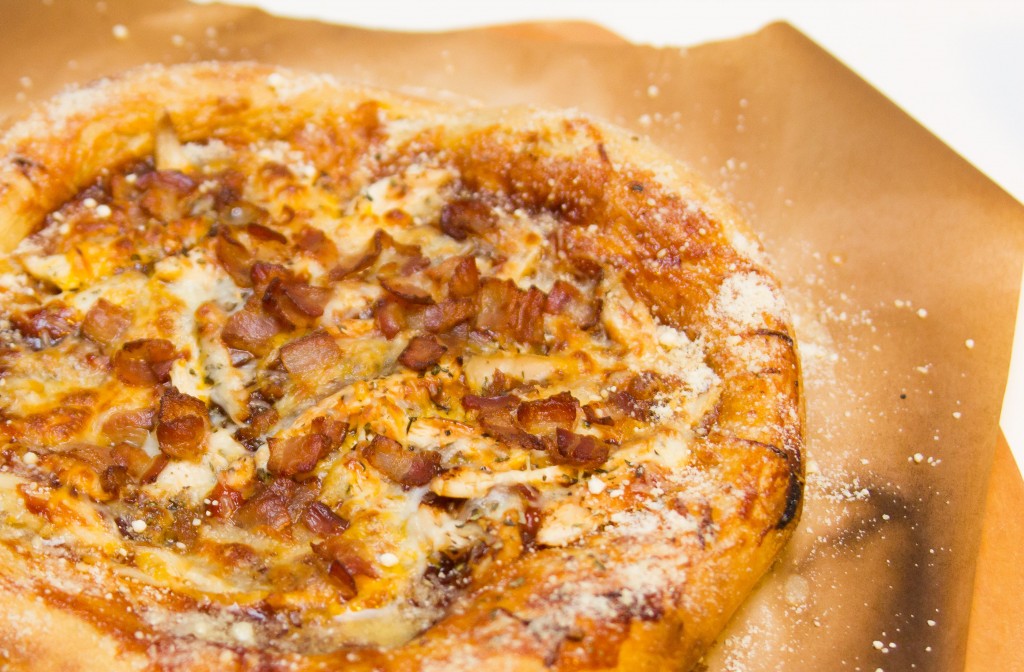
IMG_0919Have you ever been to Mellow Mushroom? They recently opened up a location down in Carytown and I’ll be honest, I was a little skeptical at first. We already loved a local pizzeria right down the road. How could this place be any better than that? 

Well if you have ever tasted MM’s pizza, then you will agree, that it is truly intoxicating. The crust has a subtle sweet taste. It has perfect texture and darn it, it just tastes so damn good! It looks like it’s made with whole wheat flour, but I’ve come to find out that isn’t the case. The secret is in the molasses.

IMG_1364Most pizza or bread dough recipes call for some kind of sugar to be added to the mixture. This helps to feed the yeast and ultimately allows the dough to rise. MM has replaced the common sugar ingredient with molasses. The molasses gives the crust it’s darker color and I think it adds a more complex flavor to it overall.

Now, making a trip down to MM for my pizza fix can get quite expensive. I had to find a recipe that would deliver exceptional taste and texture. And after hunting through blogs, forums and Pinterest, I think I have finally found the perfect recipe.

As I mentioned in my previous post, here is my copycat mellow mushroom pizza dough recipe.

Mellow Mushroom Pizza Dough Copycat – makes about two 12″ pizzas
Recipe adapted from Lark and Lola
Tips and Tricks

Ingredients:

  • 1 1/2 cups hot water (I try to get my water between 105-110)
  • 2 1/2 Tbsp molasses
  • 1 Tbsp olive oil
  • 2 packets of instant yeast (or 4 1/2 tsp if you buy your yeast in bulk)
  • 3 1/2 cups bread flour
  • 2 tsp salt
  • cornmeal (used for dusting your parchment paper)
  • melted garlic butter
  • parmesan cheese crumbs

Directions:

  1. In a measuring cup, combine water, olive oil and molasses. TIP: Measure out the olive oil first and then the molasses. That way the molasses won’t stick to the spoon.
  2. Mix flour, salt and instant yeast together. Make a well in the middle of the flour mixture and slowly pour the water mixture into it.
  3. Using the paddle attachment, run mixer on low to bring all the ingredients together (should take about 30 secs to 1 minute).
  4. Switch to the hook attachment and run mixer on medium for about 15 minutes. Your dough ball should be slightly tacky but not sticky.
  5. Form dough into a ball and place in a lightly greased bowl. Cover loosely with plastic wrap and place it in the refrigerator overnight to rise. Or you can let it rise on the counter top for 2 hours.
  6. Preheat oven to 500°F with your pizza stone inside on the very bottom shelf. Once your oven reaches 500°F, you need to preheat the stone for another 30 minutes before placing your pizza in the oven.
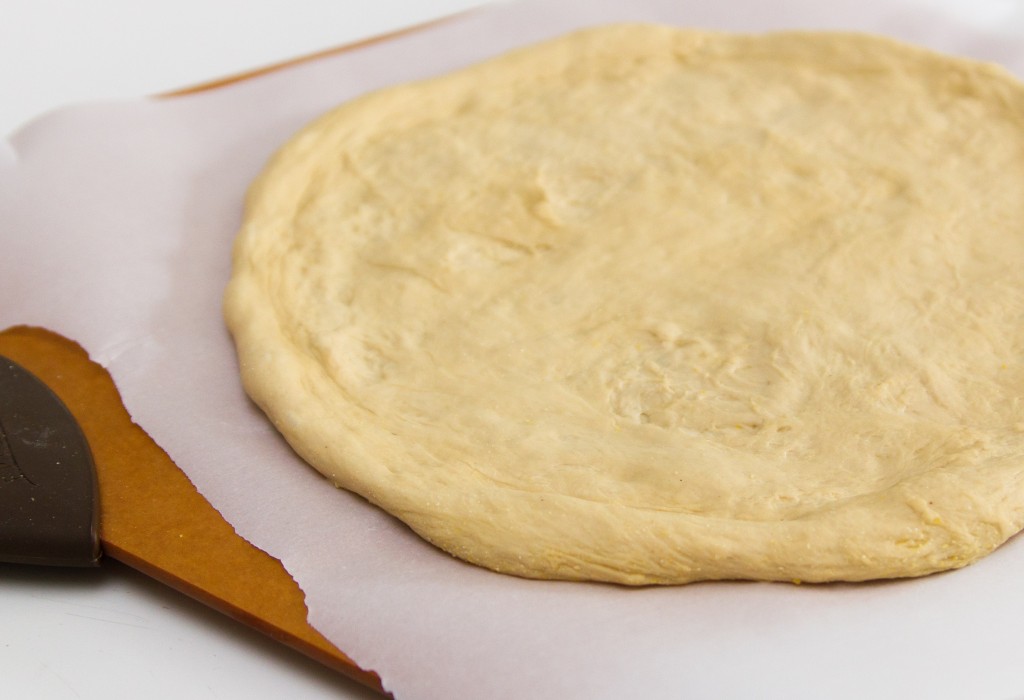
  7. Take dough out of the fridge and cut the dough into 2 equal parts. Take each piece and place it cut side down on your counter. Use the palm of your hand to smash it down a little. Then start to fold the sides in on itself to create a ball. (Alton Brown has a great demo on how to do this.) Then slowly roll the ball around on the counter with your hands cupped on either side to make the dough ball as tight as possible. Cover with a tea towel and allow to sit for 30 minutes. Repeat with other dough half. (I usually place the 2nd dough ball in the fridge to use for later in the week. It can stay refrigerated for about 5 days in a ziplock bag.)
  8. After your dough has rested for 30 minutes, you can start to form it into your pizza crust. I like to form my dough on parchment paper sprinkled with cornmeal. Again, Alton Brown has a great demo on this and can explain it a lot better than I could.
  9. Brush whole pizza with olive oil and top as desired. Place it in the oven for about 7-9 minutes or until the crust is a nice golden brown.
  10. Remove pizza from oven and brush crust with melted garlic butter immediately. Then sprinkle with parmesan cheese. Cut and serve.

Homemade Vanilla Extract

IMG_0363

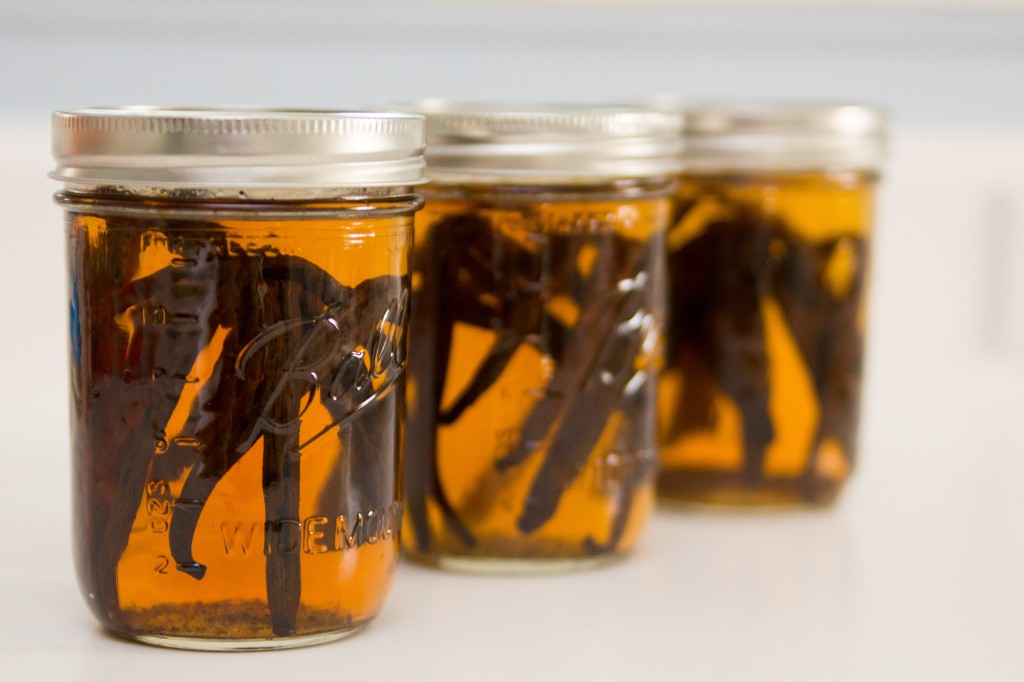
It has been awhile since I’ve had a food post. I think it’s because I hate cooking in the summer. We usually spend the season cooking on the grill, which is Stephen’s domain. But I wanted to get a start on making vanilla extract so I would have it come fall. Which happens to be my favorite season for baking.

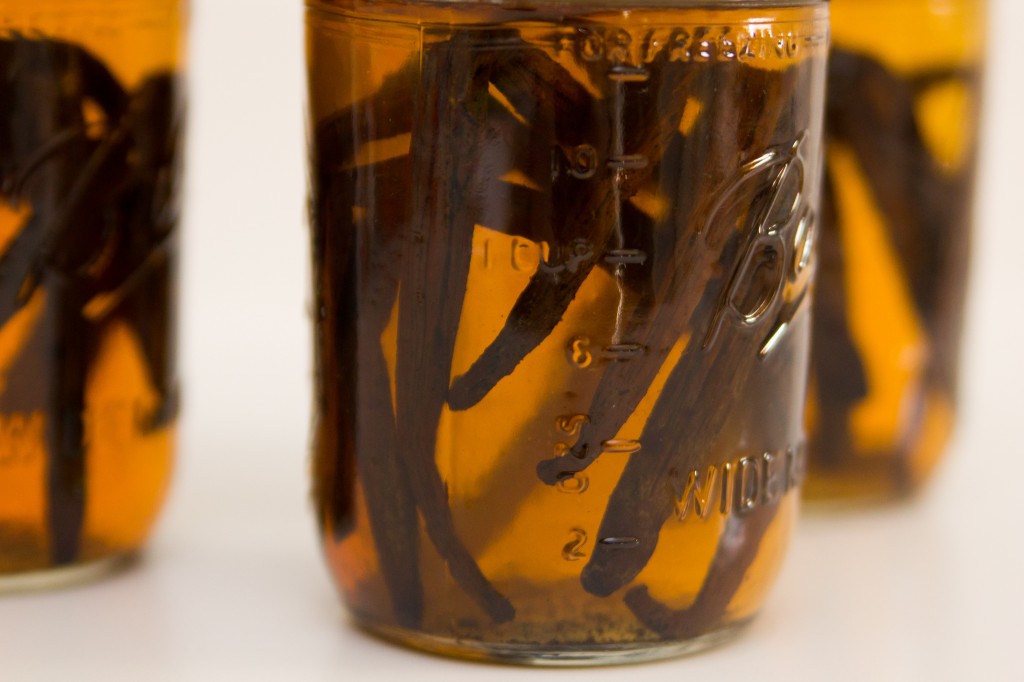
Vanilla extract is something that I have wanted to make for a long time. If you’re like my mom, you might ask why would you make your own extract when you can just buy it in the store. And to that I say, why not? All it takes is some vanilla beans, alcohol and time.

IMG_0370

Homemade Vanilla Extract

Ingredients

Directions

  1. Use a knife to spilt the bean in half lengthwise. Leave about 1/2 inch at each end intact.
  2. Put 8 beans into each of the pint size jars. Pour 1 2/3 cups of vodka into each of the jars.
  3. Close jar and store in a cool, dry place for at least 8 weeks. Give the bottle a shake every week or so.
  4. After 8 weeks, strain the extract through a colander lined with cheesecloth into a bowl. Pour the resulting extract into the 4 oz Boston Round Bottles.

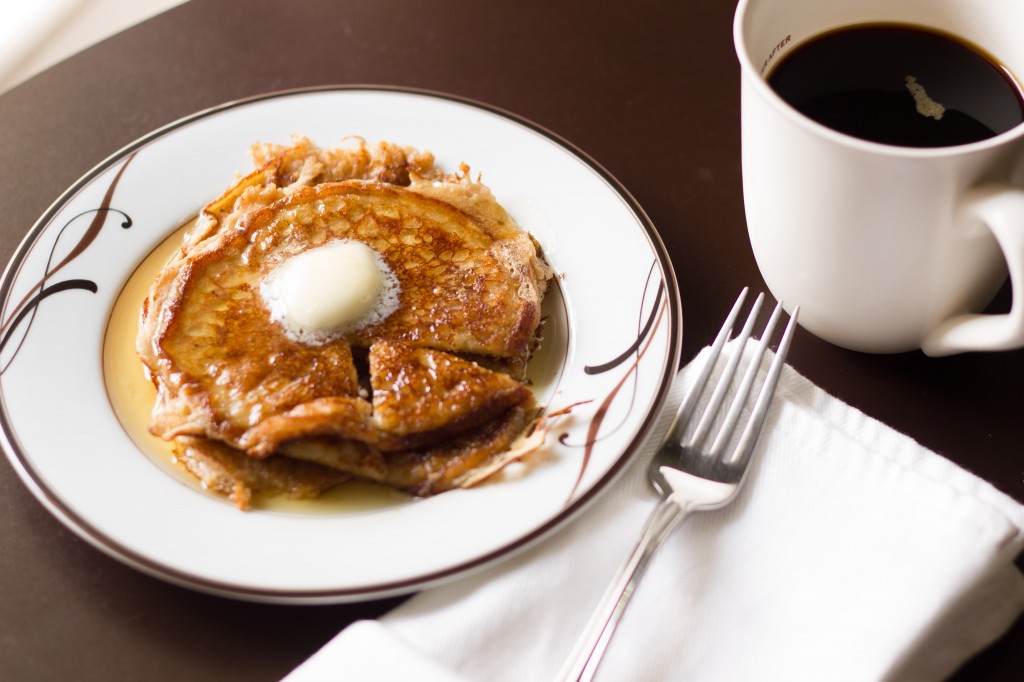
Pancakes. It’s What for Breakfast

I am not a fan of pancakes. They are either tough, soggy, dry, rubbery, and well you get the point. Personally, I prefer French toast. But that’s for another post.

That being said, I woke up one morning a couple weeks ago with a huge craving for some delicious pancakes, slathered in butter and drizzled with maple syrup (and no, I am not pregnant). Plus I knew that it would be something different that Liam would actually eat. It would be a nice change from his usual diet of Cheerios (or Bee with milk as he likes to call it).

This recipe has changed my mind regarding pancakes and I’m willing to give them a second chance.

IMG_8207

Buttermilk Spice Pancakes

Ingredients

  • 3/4 cups flour
  • 1 tablespoon baking powder
  • 1/2 cup sugar
  • 1/2 teaspoon cinnamon
  • 1/4 teaspoon fresh grated nutmeg
  • 1 egg (lightly beaten)
  • 1 1/4 cup buttermilk
  • 4 tablespoons butter (melted and slightly cooled)

Directions

  1. Preheat oven to 200F. Place a sheet pan inside.
  2. Combinen flour, baking powder, sugar, cinnamon and nutmeg in a large bowl
  3. In another bowl, combine the egg, buttermilk and melted butter.
  4. Make a well in the dry ingredients and mix in the wet ingredients until just combined. Allow batter to rest for at least 15 minutes. There will be small lumps in the batter.
  5. Heat a griddle to medium heat. Grease lightly with butter and drop spoonfuls of batter onto the griddle. When bubbles begin to form on the surface, it is time to flip the pancake. Once golden brown on both sides, transfer to the pan in the oven to keep warm.
  6. Serve with butter and maple syrup.

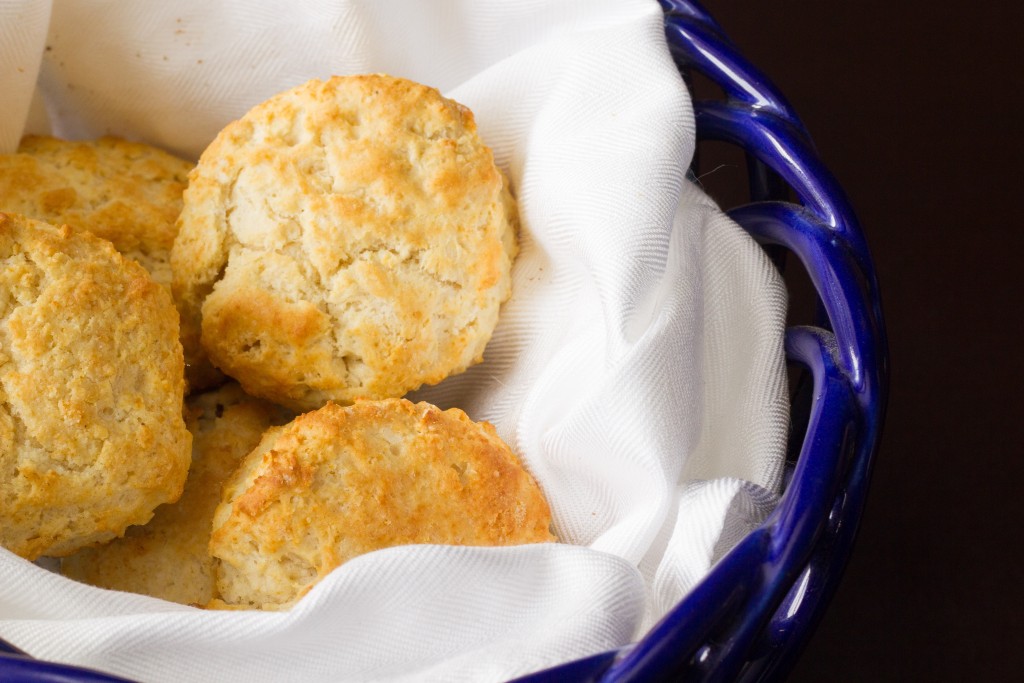
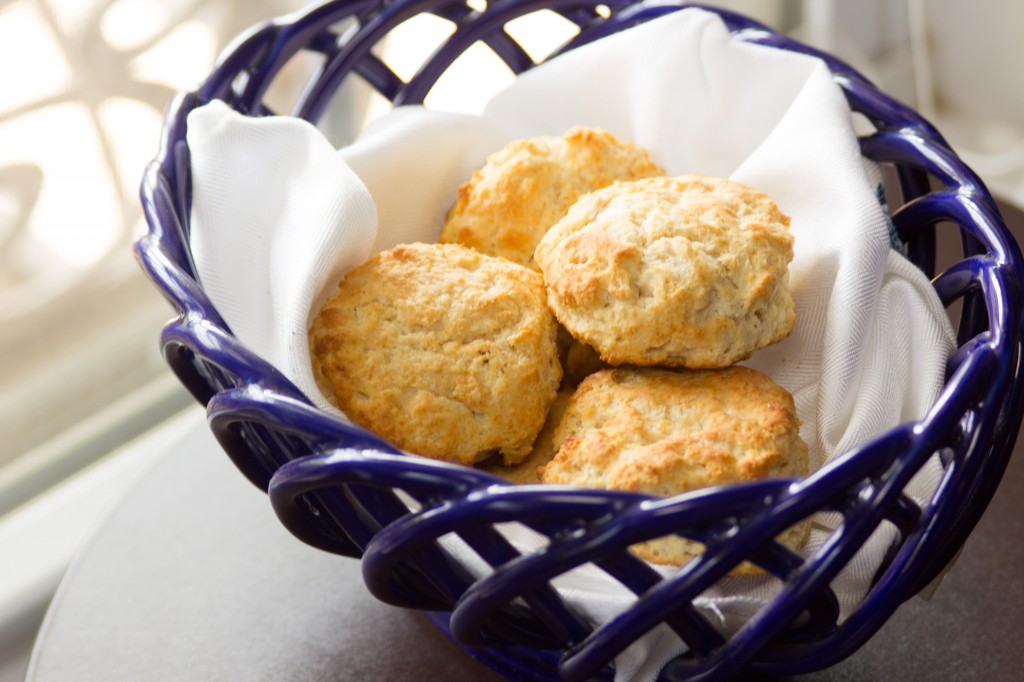
Southern Buttermilk Biscuits

IMG_7663

I have a small obsession with biscuits.

It doesn’t matter if they are covered in gravy or served piping hot with butter, I want them in my mouth. Growing up, we perfected the canned biscuits, but they were a far cry from the deliciousness that could be found in restaurants. After I found this recipe, I always make sure to bake a batch whenever I have buttermilk in the house.

IMG_7685

Southern Buttermilk Biscuits
Recipe courtesy of Alton Brown

Makes around 1 dozen biscuits

Ingredients

  • 2 cups flour
  • 4 teaspoons baking powder
  • 1/4 teaspoon baking soda
  • 3/4 teaspoon salt
  • 2 tablespoons butter
  • 2 tablespoons shortening
  • 1 cup buttermilk, chilled

Directions

  1. Preheat oven to 450F degrees
  2. In a large mixing bowl, combine flour, baking powder, baking soda and salt. Use your fingertips to rub the butter and shortening into the dry ingredients until the mixture looks like crumbs. 
  3. Make a well in the center and pour the chilled buttermilk. Stir just until the dough comes together. The dough will be very sticky.
  4. Turn dough onto floured surface, dust top with flour and gently fold dough over on itself 5 or 6 times.
  5. Cut out biscuits with a 2-inch cutter. Place the biscuits on a parchment paper lined baking sheet.
  6. Reform scrap dough, working it as little as possible and continue cutting (Only reform the dough once. Reforming it anymore than that will result in tough biscuits)
  7. Bake until the biscuits are tall and light gold on top. 15-20 minutes.

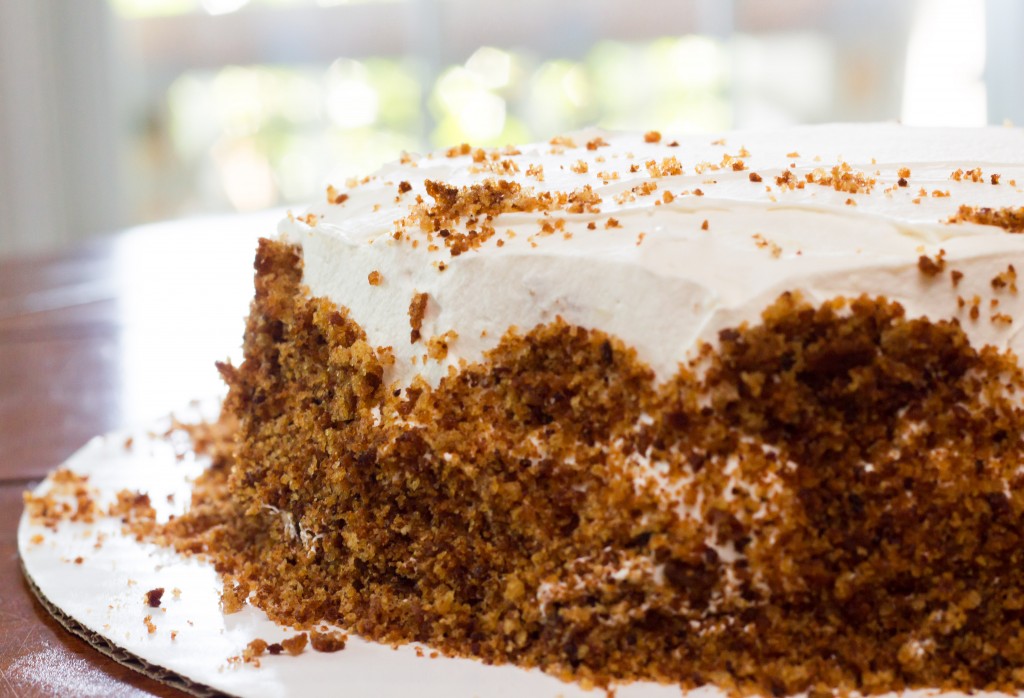
Make Mother’s Day a Piece of Cake

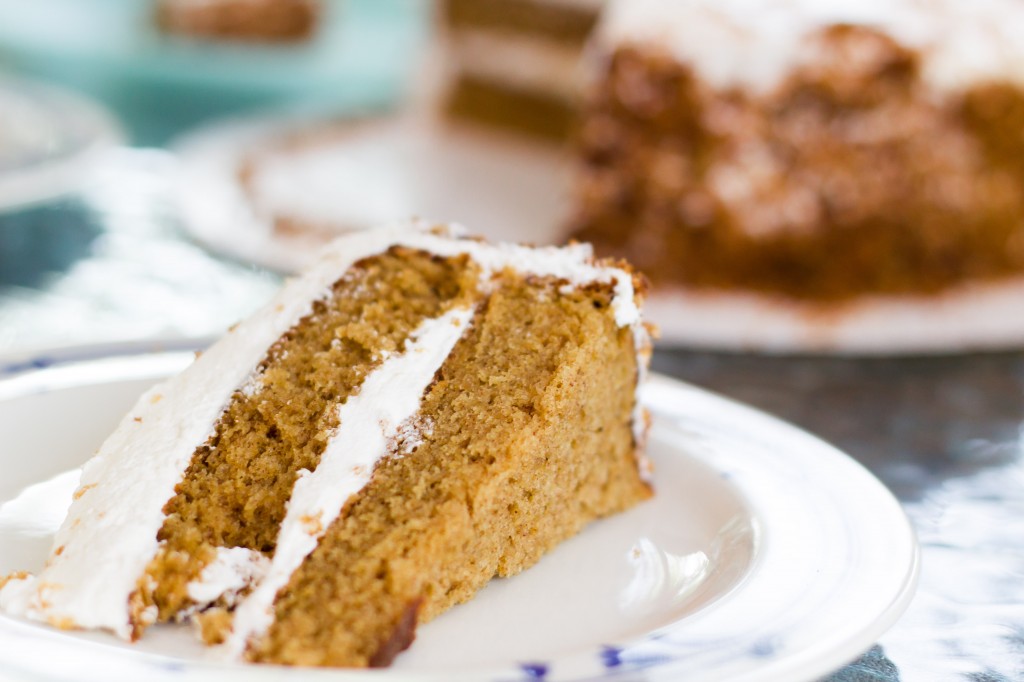
IMG_7620May is a busy time of year for my family. Not only is Mother’s day just around the corner, but both Stephen’s mom and my mom both have birthdays this month. And what is a birthday without cake?

Before I start, making a cake is my Everest in the baking world. I think I have a really high standard for how cake should taste, and I constantly seem to (at least in my mind) fail to meet that goal. However, this recipe for buttermilk spice cake turned out quite nicely. Not perfect, but it was delicious. And with Mother’s day this weekend, it makes the perfect dessert for Mom to enjoy.

IMG_7563

Buttermilk Spice Cake with Italian Meringue Cream Cheese Frosting
Recipe courtesy Emeril Lagasse

Ingredients:

  • 2 cups brown sugar, lightly packed
  • 1 stick butter, softened
  • 1/2 cup vegetable oil
  • 5 large eggs, separated
  • 2 cups all-purpose flour
  • 1 teaspoon baking soda
  • 1 teaspoon baking powder
  • 1 1/2 teaspoons cinnamon
  • 1/2 teaspoon fresh grated nutmeg
  • 1/4 teaspoon ground cloves
  • 1/4 teaspoon ground allspice
  • Pinch salt
  • 1 cup buttermilk

Directions:

  1. Preheat oven to 350F
  2. Lightly grease 2 (9-inch) cake pans. Cut 2 (9-inch) parchment paper rounds (easy guide to cutting parchment paper rounds) and line the bottom of the pans. Once placed in the pan, grease and flour the parchment rounds.
  3. In a large mixing bowl with an electric mixer, cream the brown sugar and butter. Then add the oil in a steady stream.
  4. Then, add the egg yolks, 1 at a time, beating well after each addition.
  5. In a separate bowl, sift the flour, baking soda, baking powder, spices and salt.
  6. Alternating the flour mixture and the buttermilk, add it to the batter until just combined. Make sure to begin and end with the dry ingredients.
  7. With a stand mixer and a separate bowl (or electric mixer if that’s what you have), beat the egg whites until stiff peaks form.
  8. Fold the egg whites into the cake batter in thirds.
  9. Pour batter evenly into the prepared pans and bake until the center springs back when touched, about 25-30 minutes.
  10. Remove cakes from the oven and cool on wire racks. After the cakes have cooled, invert them onto sheets of parchment paper.

Italian Meringue Cream Cheese Frosting:
Recipe adapted from Whisk-Kid

Ingredients

  • 5 egg whites, room temperature
  • 1 1/4 cup sugar, divided (You will be cooking 1 cup with water to make your syrup and whipping the eggs with a 1/4 cup)
  • 2 sticks butter, room temperature
  • 1 tsp vanilla extract
  • 1/2 cup water
  • 8 oz cream cheese, room temperature

Directions

  1. Place your candy thermometer on the edge of a small sauce pan. Pour in 1 cup of sugar first and then pour the water over top to moisten. DO NOT STIR.
  2. Turn the heat up to medium. While the sugar is cooking, poor the egg whites into the bowl you plan to whip the icing in. Then wait for the syrup to come to about 230F-235F.
  3. At this point, and only at this point, should you begin to whip your egg whites using the whip attachment. Start on slow until they get frothy, then increase the speed to medium-high. Add the remaning 1/4 cup of sugar in a slow, steady stream just after the eggs begin to stiffen. Continue to whip until the meringue no longer slides in the bowl.
  4. When the sugar reaches 245F (which should happen right as you are done whipping your egg whites), or the firm ball stage, turn off the heat and turn the mixer up to high speed.
  5. Begin to pour the syrup into the bowl at a very slow and steady pace, making sure to avoid hitting the whip with the syrup.
  6. After the sugar is added, beat the icing for 10-15 minutes until the bowl is cool to touch.
  7. Once the meringue becomes light and fluffy, it is time to add the butter. Divide the butter into tablespoon pieces and add 1 at time to the icing with the mixer running on slow. Make sure that each piece is incorporated before adding the next.
  8. After all the butter is added, turn the speed up to high. It should take about 10-15 minutes for the buttercream to form. If your buttercream does not progress from the soupy stage, place your work bowl and whisk in the fridge for 7-10 minutes before whipping again.
  9. When the buttercream is thick and luxurious, pour in the vanilla extract and whip to combine.
  10. In a separate bowl, whip up the softened cream cheese. Once it is whipped, fold it into the buttercream. Be careful, this frosting can be delicate when the cream cheese is added. When the cake is iced, I recommended keeping the cake in the refrigerator until you are ready to serve it. 

Easy Barbecue Sauce

IMG_7239

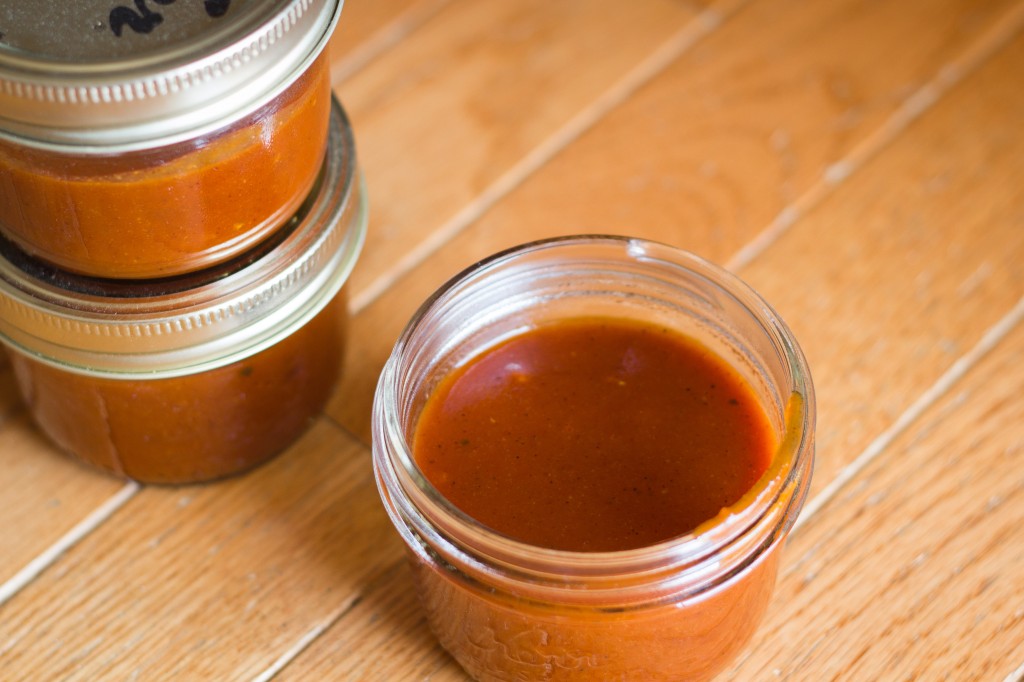
Now that it has finally started to be nice outside, we’ve been grilling for dinner almost every night. In an effort to stop using processed foods, I went about trying to make my own barbecue sauce. Little did I know that to make it from scratch, I needed to let it simmer for a couple hours to allow the tomatoes to break down. That’s when I came across a quick and easy barbecue sauce in a Cook’s Illustrated cookbook. While it may not be completely unprocessed, it is at least a little better than buying a bottle of BBQ sauce from the store.

Easy Barbecue Sauce (makes about 1 1/2 cups)

  • 1 medium onion, peeled and quartered
  • 1/4 cup water
  • 1 cup ketchup
  • 5 tablespoons molasses
  • 2 tablespoons apple cider vinegar
  • 2 tablespoons Worcestershire sauce
  • 2 tablespoons Dijon mustard
  • 1 1/2 teaspoons liquid smoke
  • 1/4 teaspoon ground black pepper
  • 2 tablespoons vegetable oil
  • 1 medium garlic clove, minced
  • 1 teaspoon chili powder
  • 1/4 teaspoon cayenne pepper

Directions

  1. Process the onion with the water in a food processor until pureed and the mixture looks like slush. Strain mixture through a mesh strainer and press the solid with a rubber spatula until you have about 1/2 cups of juice. Discard the solids.
  2. Whisk the onion juice, ketchup, molasses, apple cider vinegar, Worcestershire, mustard, liquid smoke, and black pepper in a bowl.
  3. Heat the oil in a large saucepan over medium heat. Add the garlic, chili powder, and cayenne pepper. Cook for about 30 seconds, or until fragrant. Whisk in the ketchup mixture and bring to a boil. Reduce heat to medium-low and simmer gently, uncovered, for about 25 minutes. Cool the sauce to room temperature before using. (It can be refrigerated in an airtight container for up to 1 week.)

Chocolate Chip Cookies – The Way Nan Made ‘Em

IMG_6726

I think we can all agree that it has been a crazy Spring, at least weather wise. When it snowed last week, I was worried about finding activities to keep Liam busy. He doesn’t really care for going out in the snow yet. It’s like he forgets how to walk and will just stand in the middle of yard while the snow is falling all around him. He loves to watch it snow. But because he doesn’t actually know how to play/walk in the snow yet, I knew we would be house ridden. 

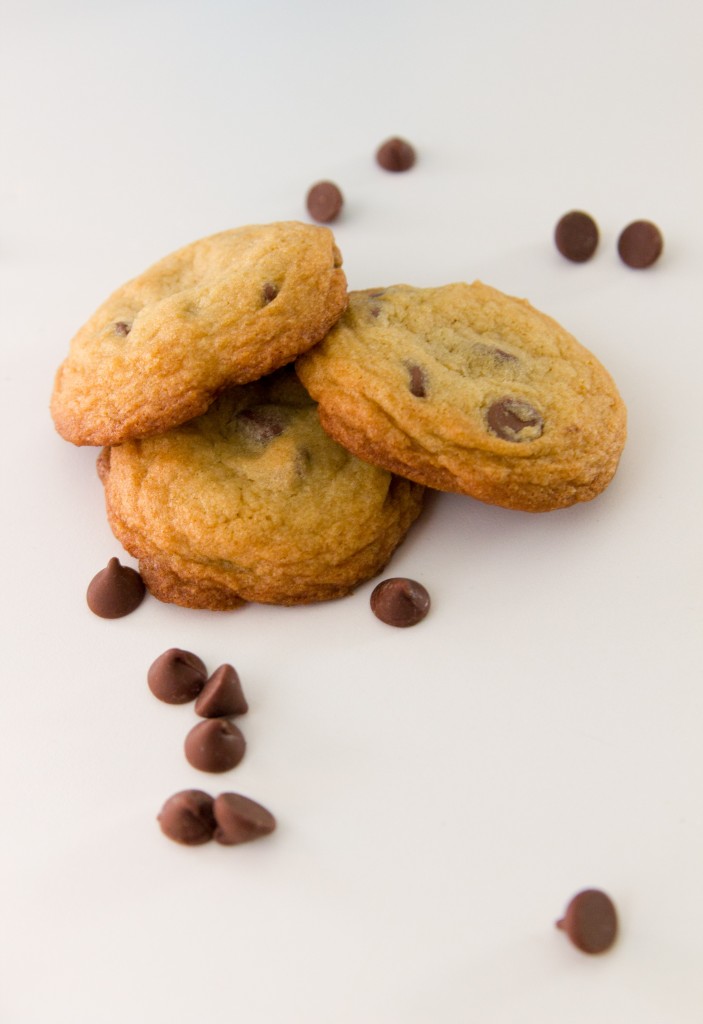
I decided that we would take a crack at making chocolate chip cookies. This was something that I always enjoyed doing with Nan when she was alive and I was a little girl. Now, my nan always used the recipe on the back of the Nestlé Toll House bag. Because of that, that is what I also use. They always turn out crispy on the edges and soft on the inside. Just the way I like them.

IMG_6676

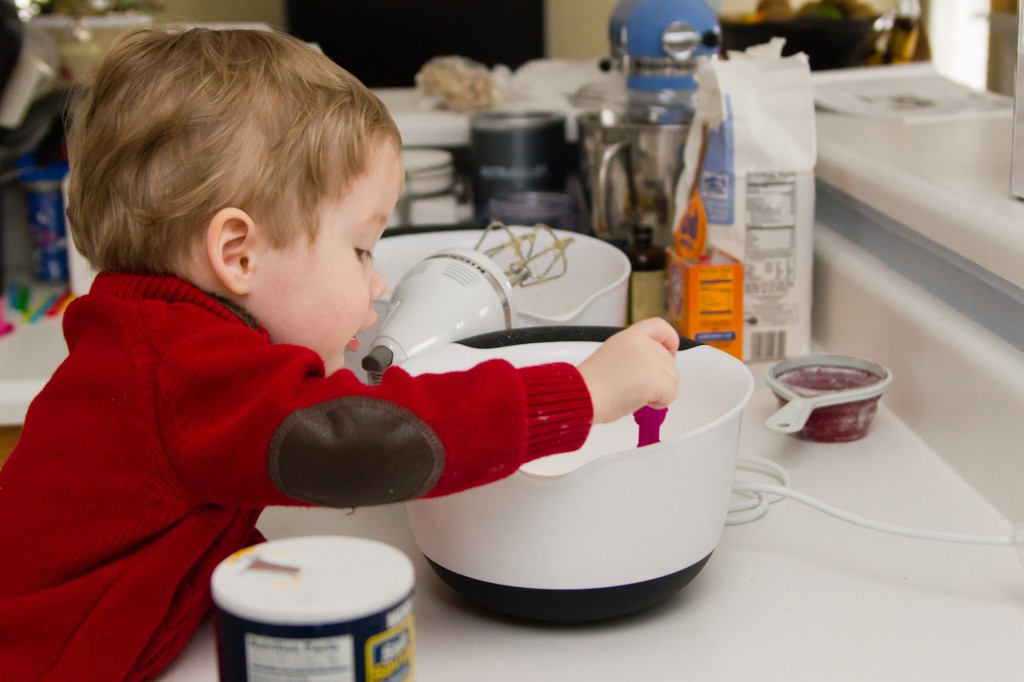
The first time I attempted to make cookies with Liam, it didn’t really go over too well. He didn’t understand what was going on and just wanted to play with the silverware drawer. This time he got into it a bit more. When it comes to baking (ok, maybe it’s not just baking), I can be a bit of a control freak. So when I let him stir the dry ingredients together, that was as big of a step for me as it was for Liam. Thankfully he wasn’t too messy with the whole process, and he let me help him mix the ingredients as well. He even tried to take a taste of the flour, which he didn’t seem to enjoy too much. After a while, he lost interest and plopped down on the chair he was standing on. I guess he wanted to take a supervisory role in creating these delicious chocolate healthy treats.

Liam

Nestlé Toll House Chocolate Chip Cookies:

  • 2 1/4 cups flour
  • 1 tsp baking soda
  • 1 tsp salt
  • 1 cup (2 sticks) butter, soften
  • 3/4 sugar
  • 3/4 brown sugar, lightly packed
  • 2 large eggs
  • 1 tsp pure vanilla extract (I usually put more than 1 tsp. I think it tastes better that way.)
  • 2 cups (12 oz package) Nestlé Toll House Milk Chocolate Morsels 
  • 1 cup chopped nuts (optional and I never put them in)

Directions:

  1. Preheat oven to 375F
  2. Combine flour, baking soda and salt. Set aside in a small bowl.
  3. Cream the butter, brown sugar, white sugar and vanilla extract until it is fluffy and creamy. Add eggs, one at a time, beating well after each addition.
  4. Gradually beat in flour mixture (I like to mix it in thirds). Be sure not to over mix.
  5. Stir in morsels (and nuts if you’re using them)
  6. Drop by rounded tablespoon onto parchment paper lined baking sheets
  7. Bake in the oven for 9-11 minutes or until golden brown on top. Allow to cool on baking sheet for 2 minutes and then transfer to a wire cooling rack for at least 10 minutes.  
  8. Enjoy!

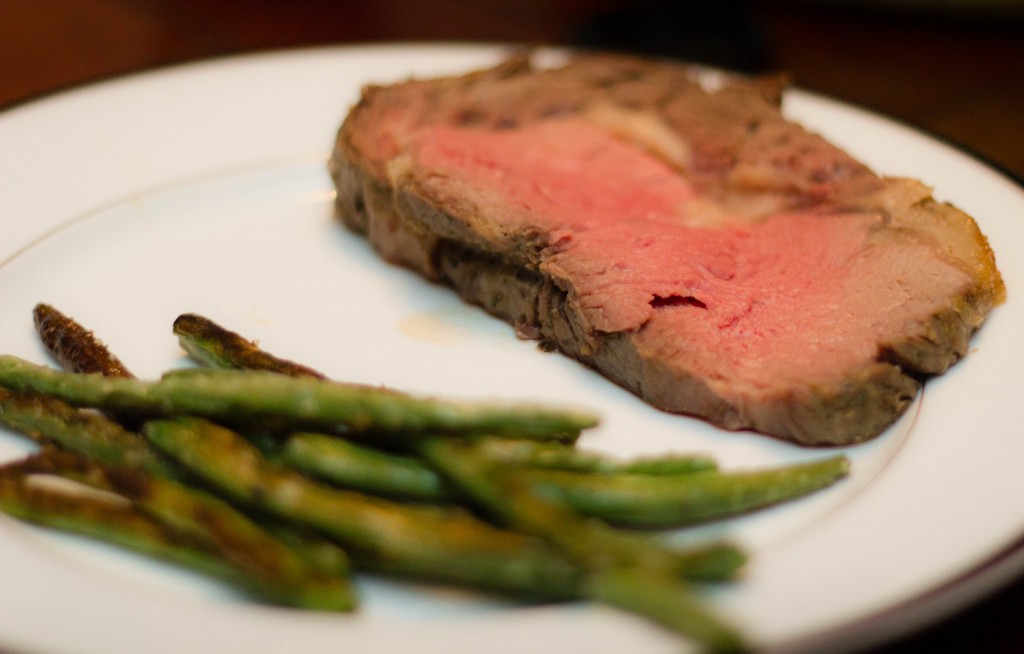
Restaurant Style Prime Rib

IMG_5331

When Stephen and I were still newlyweds, I was asked by my mother-in-law to make a standing rib roast for Christmas Eve dinner. At the time I was still working, and I would be working on Christmas Eve. I had also never made a rib roast before so I declined. I didn’t want to take on such a challenge for an important holiday meal.

Then, my birthday came about two months ago, and my mom bought me a roasting pan. I knew that the first meal I made with it should be something special. In my mind I thought I would make a turkey breast, but when I went to see the butcher, he had another idea. Once again I was brought face-to-face with the thought of cooking a prime rib. But this time there was no pressure. I didn’t have to worry about ruining a holiday feast. Besides, I had seen my mom cook this roast lots of Christmas’ before. How hard could it be?

As it turns out, prime rib really isn’t that hard to cook. The hardest part is making sure you get the meat thermometer in it correctly. Then all you have to do is put the roast in the oven and wait for it to reach the desired temperature. As a side note, I should mention that when it is time to take your beautiful roast out of the oven, you should be mindful of your surroundings. Otherwise you will be like me and dump red wine all over the floor. And yes, it even splashed up onto my ceiling (which I later had to have repainted because it would never come off). Moral of the story: don’t leave your red wine in the path of your roast! Thankfully I still had plenty to make my au jus and plenty to drink.

IMG_5323

Prime Rib:

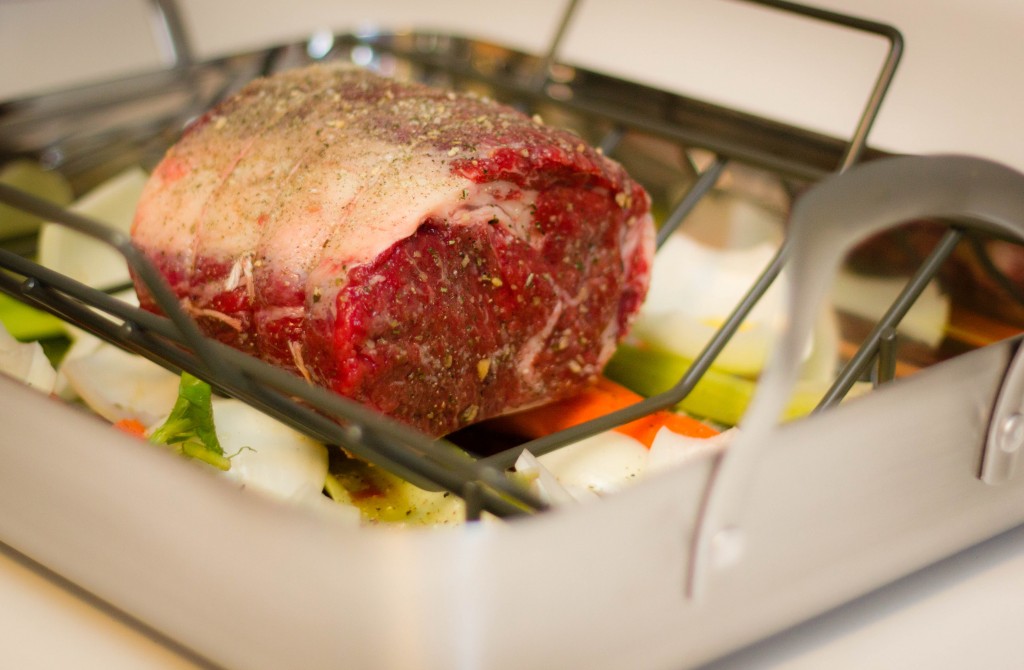
  • 1 2lb boneless rib roast (have your butcher tie up the roast as well to keep it from expanding or contracting unevenly while cooking)
  • 2 large onions (quartered)
  • 4-5 carrots (peeled)
  • 3-4 celery stalks
  • 4 cloves of garlic
  • Borsari seasoning (you can find this usually at Whole Foods by the butcher)
  • Olive oil (enough to baste onto the roast and then extra to sprinkle onto your vegetables on the bottom of the roasting pan)
  • Salt and pepper

Directions:

  1. Take your roast out of the refrigerator at least an hour before you start to cook it. The meat needs to come to room temperature so that it can cook evenly.
  2. Preheat the oven to 450F. 
  3. Place all of your cut vegetables in the bottom of the roasting pan. Season with salt and pepper. Drizzle with olive oil. This will help to develop the flavor of your au jus.
  4. Pat the roast dry and then place it, fat side up, on your roasting rack. Season with Borsari seasoning. Be sure to rub the seasoning into the roast to get the flavors into it. Roast it for 15 minutes at 450F.
  5. Lower heat to 325F. Cook the roast for about 25 minutes per pound or until the meat registers 120F (medium rare) on an instant read meat thermometer. 130F for medium.
  6. Transfer the roast to a cutting board and tent loosely with aluminum foil. Let rest for 20-30 minutes. The juices need time to redistribute and if you cut into it immediately you will have a dry, tasteless piece of meat. It will not get cold. I promise.
  7. Slice the meat about 1/2 inch thick and serve.

Au Jus:

  • Pan drippings
  • 1 cup of red wine
  • 2 cups of beef broth
  • Salt and pepper to taste
  • 1 tsp thyme

Directions:

  1. Place roasting pan on top of stove across two burners. Turn the burners on high-medium.
  2. Add the wine to the pan and cook over high heat until it has reduced. Be sure to scrape the bottom of the pan with a wooden spoon.
  3. Remove the vegetables from the pan. These can easily be served as a side dish or used later if you wish.
  4. Add the broth and cook until the liquid as reduced by about half. Whisk in thyme and season with salt and pepper, to taste.

1 2