Tips/Tricks

5 Simple Tips to Better Photos of Your Kids

When my son was born, I wanted to capture every minute that I could. And I will be the first to admit that some (okay, a lot) of those photos didn’t turn out the best that they could. Over the last few years I’ve learned a couple things from my mistakes and I think that my images are better because of it. I am by no means an expert and I certainly am still learning new techiniques every day. But I think it’s always fun to develop and share some tips that I know have helped me. That being said, here are a few tips that will hopefully help you in your quest for better photos of your children.

light

Use natural light. I know this may seem like common sense. This means turning off the random lamp or overhead light that you have on in your room. Whenever possible, try to turn off all the lights in your house. When the lights are on, it makes your subject look yellow and you don’t want that. It will feel dark and you’ll be wondering how in the world this is going to work. But it will, trust me. Try to place your subject as close as you can to your best natural light source. Whether that’s a window or large glass door. Be sure to pull up the blinds on your windows as well. Even if the slats are open, you will still get more natural light if you pull the blinds up completely.

sharkeyes

Try to face your subject towards the light source. There’s a term called shark eyes. Basically what it means is that when you look at your subject’s eyes, they will look black. Lifeless. Take a moment to really pay attention to some of your favorite photographs or even television shows and look at the eyes of the subject. Do you see that little catch of light in their eyes? Getting that catch light breathes life into your subject. It’s a small thing, but it makes a huge difference between a good image and a great one. Use it whenever possible and it will brighten up your images.

flash

If using an external flash, bounce it toward your light source. This one seems a little counterintuitive. Most people will tend to have their flash directed right at their subject. The problem with this is that it creates horrible shadows and usually leaves your subject washed out. The solution is to have your flash directed towards your light source. This helps to fill in the natural light when there may not be enough (ie a cloudy day).

crop

Be mindful of cropping. I will admit that this is a difficult one for me some days. I’m so focused on capturing the moment that I don’t take the time to really look through my camera’s viewfinder to see what I’m actually doing. This most often leads to hands, arms, feet or legs being chopped off (figuratively of course).

stepback

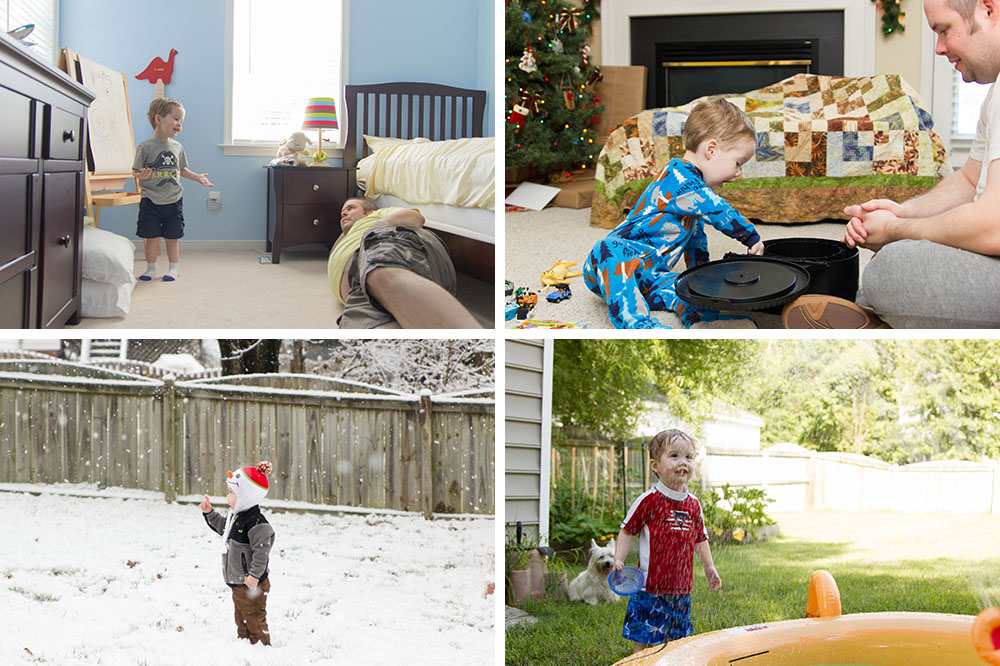
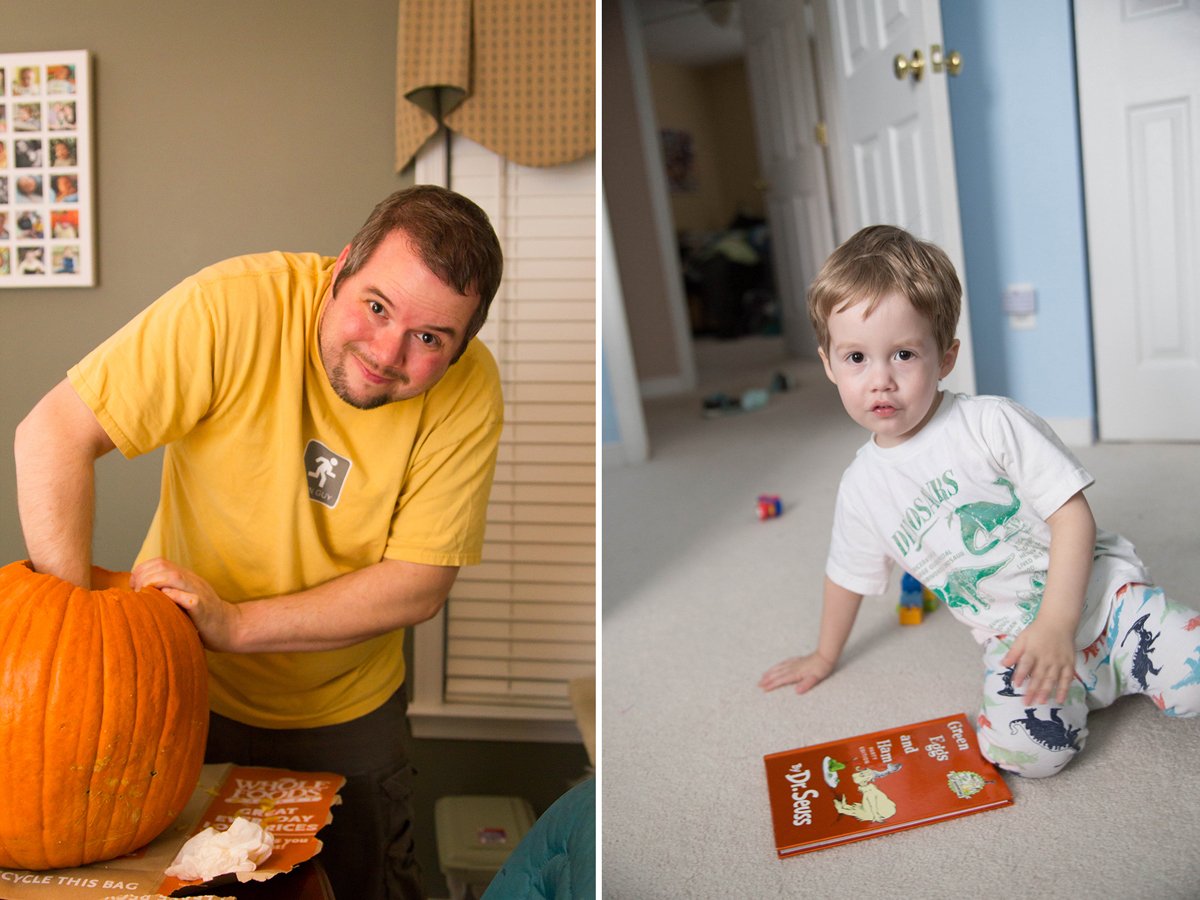
Step back. This is the hardest thing for me to do. Like most parents, I want to get images of my child smiling and looking right at the camera, but it doesn’t have to be that way. Some of my favorite photos are ones where I took a step back and really took in what was going on. You can hide behind a door frame or sneak a few shots in while your kid is playing quietly by themselves. This captures an image that is more raw and unstaged. Sometimes it’s not about shooting the “perfect” image but about the moment.

These are just a few best practices that I like to employ when photographing my son. I’m sure that I’ve missed some and I would love to hear from you. What are some of your tips or tricks for capturing great photos of your children?

My 5 Principles for the Perfect Pie

Pizza pie that is!

We have been on a bit of a pizza kick lately and let’s face it, pizza dough can be scary. Not only do you have to make sure you have combined all of your ingredients properly, but then you have to worry about shaping the dough without tearing it first. Finally, you have to get it into the oven without spilling all of your toppings. But trust me, homemade pizza dough is so worth it. And with my 5 Principles for the Perfect Pie, you’ll be whipping up crispy, chewy homemade pizza that will be sure to have your family asking for more.

IMG_1364

Principle #1: Patience

Pizza dough takes time. It will not be perfect the first time around. Nor will it be the perfect circle that you get when you actually go to the pizza parlor. The imperfections just means that it’s made with love. Try not to rush. If your dough springs back a bit after you’ve tried to stretch out the size you want, then it may need to rest for a little bit longer to allow the dough relax and become more pliable. Just cover it with a tea towel for 5 minutes and try again. The first time I made pizza dough, it tore in about 4 places, it was an odd starfish looking shape and it stuck to the pizza peel so I could never get it into the oven. Which brings me to my next tip.

Principle #2: Parchment Paper

This handy baking tool has really helped my pizza making skills. You still want to build you pizza on a pizza peel, but by using parchment paper, you can easily slip the pizza right onto your pizza stone without worrying about your pizza sticking to the peel. You can use cornmeal or flour to transfer your pie to the oven, but I really think parchment paper takes a lot of the guess work out of it. Plus you have no clean up afterwards.

Principle #3: Pizza Stone

If you don’t have a pizza stone already, then go out to the store now and buy one. Seriously, this tool is vital to producing a crispy delicious crust (which you can also use to make delectable artisan breads). Once you have your pizza stone, place it on the very bottom rack of your oven. Always make sure to preheat the stone for at least 30 minutes at 500°F.

Principle #4: Piling up toppings is a bad idea

When it comes to pizza, the notion that less is more works in our favor. I know it may be tempting to pile your pie full of sauce, bacon, sausage, cheese and all other kinds of delicious toppings. But be warned, if you do this then you are more likely to have a soggy pizza crust. In my opinion, your toppings are an accompaniment to the real star; your crust. After all, you’ve put a lot of hard work into making this dough into an appetizing crust, don’t make it droopy because you had to have a mountain of toppings. Keep it simple!

Principle #5: Practice

When all else fails, practice will help. Just like anything you want to become proficient in, you have to practice and making pizza is no different. There are days when my pizzas still have holes in them or are too thick in places. But that’s ok. It’s homemade. If I wanted it to look perfect, I would go up to the pizzeria up the road.

Do whatever you can to make your pizza skills great. Read blogs, watch tutorials, or take a cooking class. Trust me, your tummy will be thanking you at the end.

IMG_1110Make sure to check out my next blog post to get an awesome pizza dough recipe! (modeled after a popular mellow pizzeria)