Foolproof Pie Crust

IMG_1420

I had planned on putting this post out on the 1st day of November, but then life got in the way. Liam was getting over a cold which of course meant that I also go it. Inevitably the post was put on hold. Now that we’re all starting to feel better, and Liam is giving me a few minutes at the computer while he watches Mickey Mouse, I can finally get to sharing my Foolproof Pie Crust.

The foundation of every good pie is the crust. If your crust is lacking flakiness or isn’t very tender, then it usually doesn’t matter how delicious the rest of the filling is. This is why many people turn to pre-made frozen pie crusts. While there are some decent products on the market today, there is just something special about making your crust from scratch. 

When I was growing up, my nan would always make all of her crusts from scratch. That was just the way her generation did things. Unfortunately, I was never able to get her recipe from her, but I do have her old rolling pin. And I feel like a part of her is with me every time I make a pie. Because I didn’t have her recipe, I had to search the internet for my own. And in 2009, I came across a simple, easy and delicious recipe thanks to Cook’s Illustrated.

Traditional pie crusts are made by cutting butter or shortening into flour, and then mixing that with cold water. The trick is to not over mix the dough. The chefs at Cook’s Illustrated seem to have solved this problem by cutting the water in half, and replacing it with cold vodka. Now whether or not this truly has any effect on the texture of the crust, I can’t say. But ever since using this recipe, I have received nothing but compliments on all my pies. The best part is that you can use it for quiches, pies, tarts, or cobblers. The possibilities are endless.

In my next post, I’ll share my Bourbon-spiked Pumpkin Pie with Homemade Bourbon Whipped Cream.

IMG_0445

Foolproof Pie Crust – makes one 9-inch pie crust
Recipe from Cook’s Illustrated

Ingredients

  • 1 1/4 cups of all-purpose flour
  • 1/2 tsp salt
  • 1 tablespoon sugar
  • 6 tablespoons cold unsalted butter, cut into 1/4 inch slices
  • 1/4 cup cold vegetable shortening, cut into 2 pieces
  • 2 tablespoons cold vodka
  • 2 tablespoons cold water

Directions

  1. In a medium sized bowl, mix together 3/4 cup of the flour, salt and sugar.
  2. Cut the butter and shortening into the flour mixture using a pastry mixer. Mix until the dough starts to collect in uneven clumps. There should be no uncoated flour.
  3. Add the remaining 1/2 cup of flour and mix until the flour is incorporated with the rest of the mixture.
  4. Sprinkle the vodka and water over the mixture. Using a rubber spatula, fold the dough until it sticks together. (You may have to add more water or vodka if it doesn’t come together. I usually add water or vodka a tablespoon at a time)
  5. Flatten the dough into a 4-inch disk and wrap it in plastic. Refrigerate it at least 45 minutes or up to 2 days.
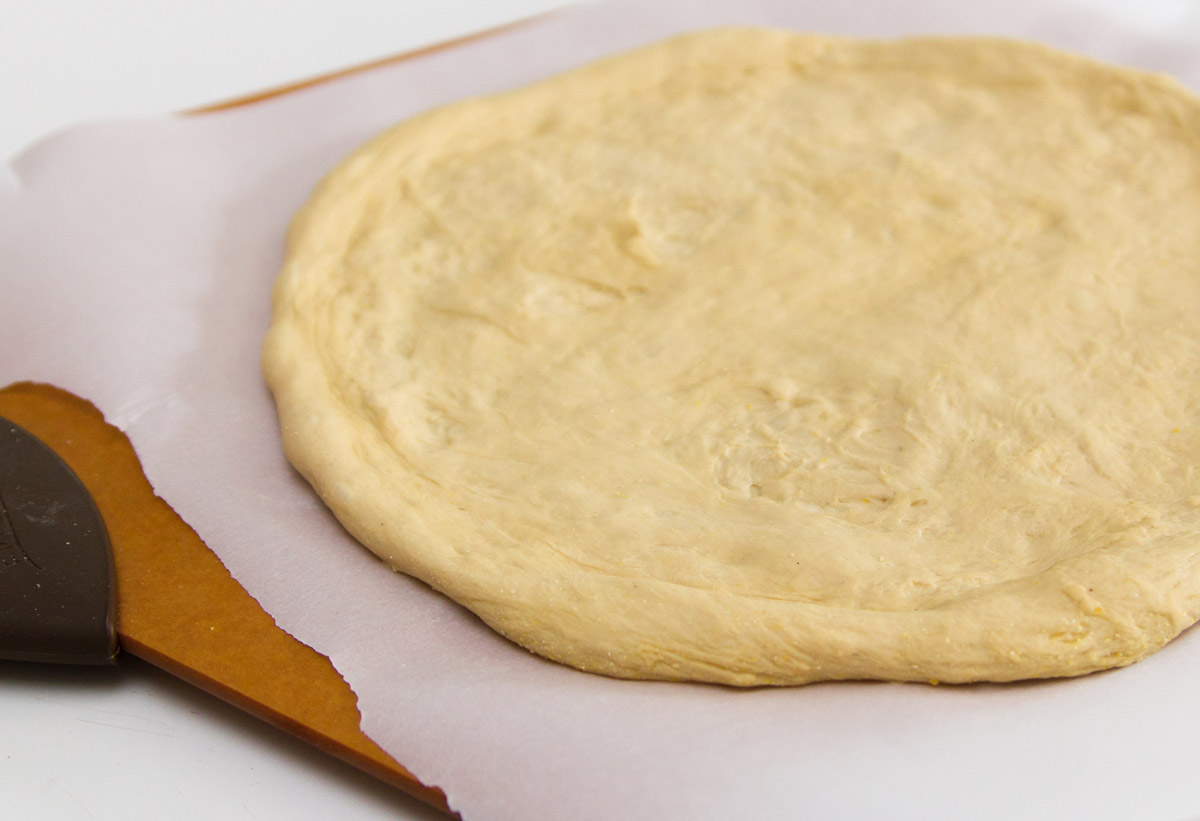
  6. Remove dough from refrigerator and roll out on a generously floured counter to a 12-inch circle, about 1/8 inch thick. Roll dough loosely around the rolling pin and unroll into your 9-inch pie plate, leaving at least 1-inch overhang. Ease dough into the plate by lifting the edge with one hand while pressing it into the plate bottom with the other hand. Leave the overhanging dough in place.
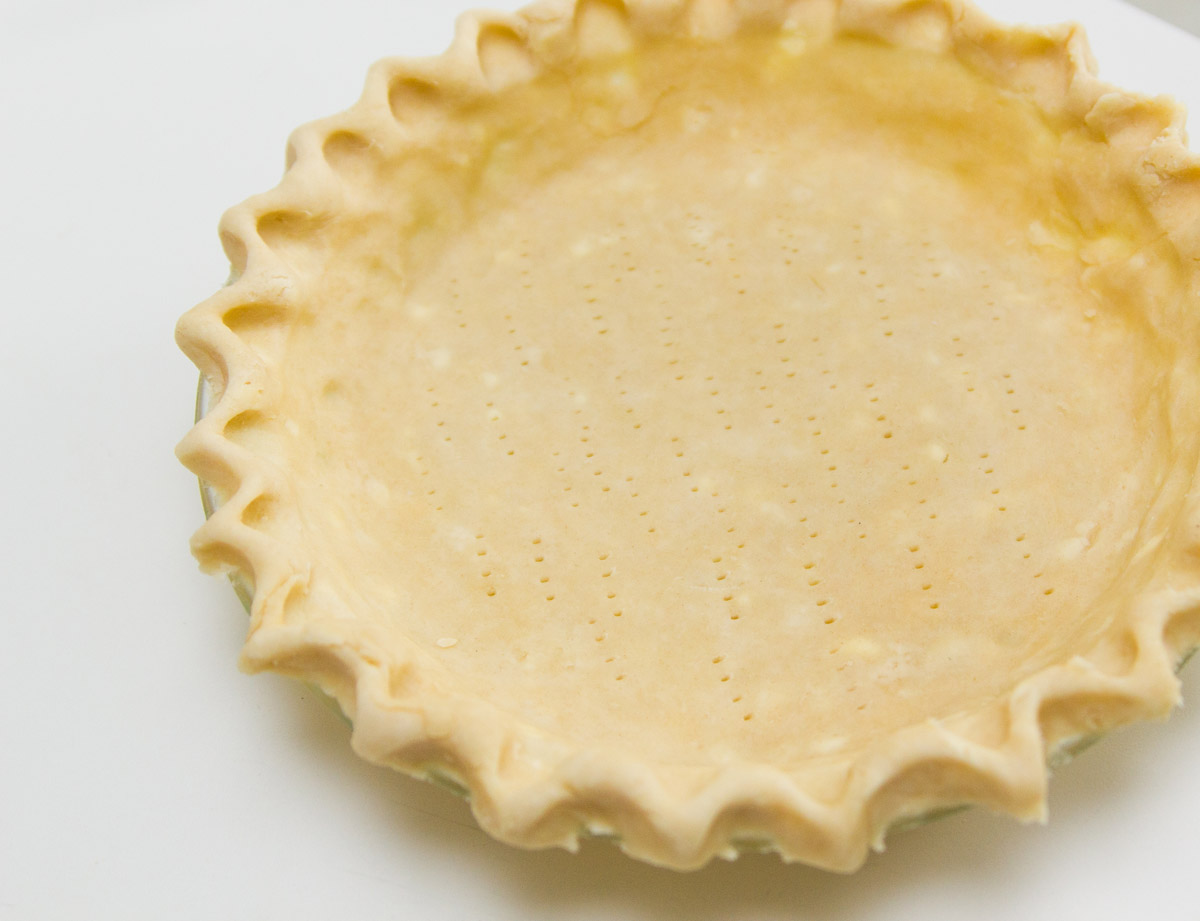
  7. Trim overhang to 1/2 inch beyond the lip of the pie plate. Fold the overhang under itself. Place the dough in the refrigerator for 15-20 minutes to firm up before fluting the edges.
  8. Remove the dough from the refrigerator and use your thumb and forefinger to flute the edges of the dough. Cover with plastic and return dough to the refrigerator for 30 minutes.
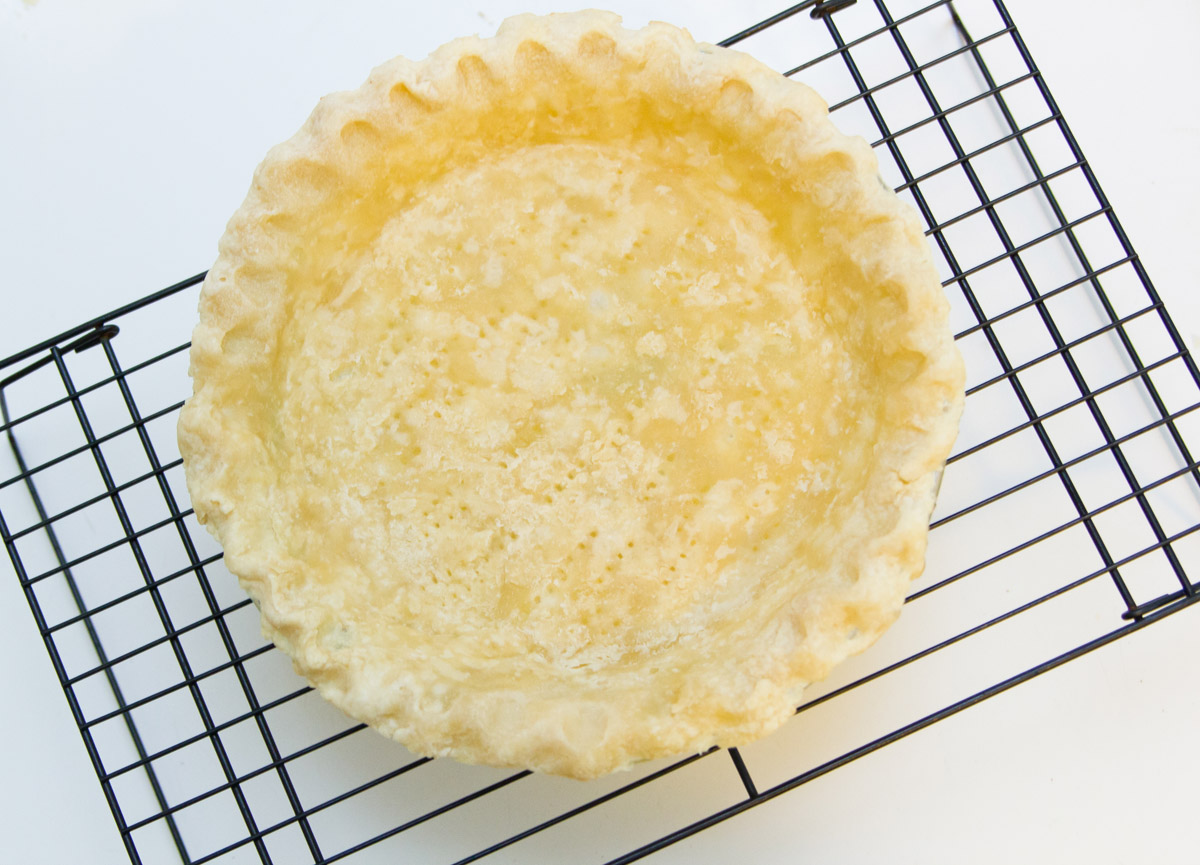
  9. Your dough is now ready to be blind baked if making a custard style pie. Blind baking usually isn’t necessary when making fruit pies.

Pumpkin Cream Cheese Brownies

IMG_2279Last night, in preparation for Halloween, we finally got around to carving up our pumpkins. We typically like to wait until the day before so our creations can be as fresh as possible for the big night.

IMG_2261Now, as if carving two large pumpkins wasn’t enough to do in a night, I decided I wanted to try out a new recipe as well. I guess I thought that it could be something fun to do with Liam while Stephen was busy carving. Yeah, remind me not to do that again.

IMG_2302Liam is typically a big help in the kitchen. He has helped me make cookies, pumpkin pie and other desserts. However, those are all recipes I’ve made before. I don’t even need a recipe in front of me most of the time, so it’s easy to let Liam have fun stirring all the ingredients together. While these brownies are delicious, I think I’m going to have to have another go at it before I allow a toddler to “help” me. I should have just left Liam to assist his dad with the pumpkin carving.

I hope everyone has a fun and safe Halloween this year!

IMG_2296

Pumpkin Cream Cheese Brownies
Adapted from The Chew

Ingredients

  • 1 stick Unsalted Butter
  • 8 oz Semi Sweet Chocolate
  • 1 3/4 cup Flour
  • 1/4 cup Cocoa Powder
  • 1 tsp Baking Powder
  • 1/2 tsp Salt
  • 1/2 cup Brown Sugar
  • 1/2 cup Granulated Sugar
  • 4 Eggs
  • 1 tbs Vanilla Extract
  • 1 cup Mini Chocolate Chips
  • 1/2 cup Pumpkin
  • 4 oz Cream Cheese (room temperature)
  • 1 tsp Ground Cinnamon
  • 1/4 tsp Ground Nutmeg
  • 1/4 tsp Ground Ginger

Directions

  1. Preheat oven to 350 F and grease a 13 x 9 inch baking dish.
  2. Melt butter and chocolate over a double boiler and set aside.
  3. In a medium bowl, combine the flour, cocoa powder, baking powder, and salt.
  4. In a larger bowl. whisk together the eggs, sugars and vanilla.
  5. Dump the flour mixture into the egg mixture and mix until just combined.
  6. Fold in the melted chocolate and butter. Gently fold in the mini chocolate chips.
  7. In another bowl, whip the pumpkin, cream cheese and spices together.
  8. Pour the brownie batter into the prepared baking dish and use a spatula to create an even layer in the pan.
  9. Dollop the pumpkin mixture in 4 to 6 places on the brownie. Take a butter knife and carefully swirl the pumpkin mixture throughout the brownie batter. Kitchen Knives have a vital role in getting it right.
  10. Bake for 25-30 minutes until a toothpick inserted comes out dry. Cool for 15 minutes.

Mellow Mushroom Pizza Dough Copycat

IMG_0919Have you ever been to Mellow Mushroom? They recently opened up a location down in Carytown and I’ll be honest, I was a little skeptical at first. We already loved a local pizzeria right down the road. How could this place be any better than that? 

Well if you have ever tasted MM’s pizza, then you will agree, that it is truly intoxicating. The crust has a subtle sweet taste. It has perfect texture and darn it, it just tastes so damn good! It looks like it’s made with whole wheat flour, but I’ve come to find out that isn’t the case. The secret is in the molasses.

IMG_1364Most pizza or bread dough recipes call for some kind of sugar to be added to the mixture. This helps to feed the yeast and ultimately allows the dough to rise. MM has replaced the common sugar ingredient with molasses. The molasses gives the crust it’s darker color and I think it adds a more complex flavor to it overall.

Now, making a trip down to MM for my pizza fix can get quite expensive. I had to find a recipe that would deliver exceptional taste and texture. And after hunting through blogs, forums and Pinterest, I think I have finally found the perfect recipe.

As I mentioned in my previous post, here is my copycat mellow mushroom pizza dough recipe.

Mellow Mushroom Pizza Dough Copycat – makes about two 12″ pizzas
Recipe adapted from Lark and Lola
Tips and Tricks

Ingredients:

  • 1 1/2 cups hot water (I try to get my water between 105-110)
  • 2 1/2 Tbsp molasses
  • 1 Tbsp olive oil
  • 2 packets of instant yeast (or 4 1/2 tsp if you buy your yeast in bulk)
  • 3 1/2 cups bread flour
  • 2 tsp salt
  • cornmeal (used for dusting your parchment paper)
  • melted garlic butter
  • parmesan cheese crumbs

Directions:

  1. In a measuring cup, combine water, olive oil and molasses. TIP: Measure out the olive oil first and then the molasses. That way the molasses won’t stick to the spoon.
  2. Mix flour, salt and instant yeast together. Make a well in the middle of the flour mixture and slowly pour the water mixture into it.
  3. Using the paddle attachment, run mixer on low to bring all the ingredients together (should take about 30 secs to 1 minute).
  4. Switch to the hook attachment and run mixer on medium for about 15 minutes. Your dough ball should be slightly tacky but not sticky.
  5. Form dough into a ball and place in a lightly greased bowl. Cover loosely with plastic wrap and place it in the refrigerator overnight to rise. Or you can let it rise on the counter top for 2 hours.
  6. Preheat oven to 500°F with your pizza stone inside on the very bottom shelf. Once your oven reaches 500°F, you need to preheat the stone for another 30 minutes before placing your pizza in the oven.
  7. Take dough out of the fridge and cut the dough into 2 equal parts. Take each piece and place it cut side down on your counter. Use the palm of your hand to smash it down a little. Then start to fold the sides in on itself to create a ball. (Alton Brown has a great demo on how to do this.) Then slowly roll the ball around on the counter with your hands cupped on either side to make the dough ball as tight as possible. Cover with a tea towel and allow to sit for 30 minutes. Repeat with other dough half. (I usually place the 2nd dough ball in the fridge to use for later in the week. It can stay refrigerated for about 5 days in a ziplock bag.)
  8. After your dough has rested for 30 minutes, you can start to form it into your pizza crust. I like to form my dough on parchment paper sprinkled with cornmeal. Again, Alton Brown has a great demo on this and can explain it a lot better than I could.
  9. Brush whole pizza with olive oil and top as desired. Place it in the oven for about 7-9 minutes or until the crust is a nice golden brown.
  10. Remove pizza from oven and brush crust with melted garlic butter immediately. Then sprinkle with parmesan cheese. Cut and serve.

My 5 Principles for the Perfect Pie

Pizza pie that is!

We have been on a bit of a pizza kick lately and let’s face it, pizza dough can be scary. Not only do you have to make sure you have combined all of your ingredients properly, but then you have to worry about shaping the dough without tearing it first. Finally, you have to get it into the oven without spilling all of your toppings. But trust me, homemade pizza dough is so worth it. And with my 5 Principles for the Perfect Pie, you’ll be whipping up crispy, chewy homemade pizza that will be sure to have your family asking for more.

IMG_1364

Principle #1: Patience

Pizza dough takes time. It will not be perfect the first time around. Nor will it be the perfect circle that you get when you actually go to the pizza parlor. The imperfections just means that it’s made with love. Try not to rush. If your dough springs back a bit after you’ve tried to stretch out the size you want, then it may need to rest for a little bit longer to allow the dough relax and become more pliable. Just cover it with a tea towel for 5 minutes and try again. The first time I made pizza dough, it tore in about 4 places, it was an odd starfish looking shape and it stuck to the pizza peel so I could never get it into the oven. Which brings me to my next tip.

Principle #2: Parchment Paper

This handy baking tool has really helped my pizza making skills. You still want to build you pizza on a pizza peel, but by using parchment paper, you can easily slip the pizza right onto your pizza stone without worrying about your pizza sticking to the peel. You can use cornmeal or flour to transfer your pie to the oven, but I really think parchment paper takes a lot of the guess work out of it. Plus you have no clean up afterwards.

Principle #3: Pizza Stone

If you don’t have a pizza stone already, then go out to the store now and buy one. Seriously, this tool is vital to producing a crispy delicious crust (which you can also use to make delectable artisan breads). Once you have your pizza stone, place it on the very bottom rack of your oven. Always make sure to preheat the stone for at least 30 minutes at 500°F.

Principle #4: Piling up toppings is a bad idea

When it comes to pizza, the notion that less is more works in our favor. I know it may be tempting to pile your pie full of sauce, bacon, sausage, cheese and all other kinds of delicious toppings. But be warned, if you do this then you are more likely to have a soggy pizza crust. In my opinion, your toppings are an accompaniment to the real star; your crust. After all, you’ve put a lot of hard work into making this dough into an appetizing crust, don’t make it droopy because you had to have a mountain of toppings. Keep it simple!

Principle #5: Practice

When all else fails, practice will help. Just like anything you want to become proficient in, you have to practice and making pizza is no different. There are days when my pizzas still have holes in them or are too thick in places. But that’s ok. It’s homemade. If I wanted it to look perfect, I would go up to the pizzeria up the road.

Do whatever you can to make your pizza skills great. Read blogs, watch tutorials, or take a cooking class. Trust me, your tummy will be thanking you at the end.

IMG_1110Make sure to check out my next blog post to get an awesome pizza dough recipe! (modeled after a popular mellow pizzeria)

Homemade Vanilla Extract

IMG_0363

It has been awhile since I’ve had a food post. I think it’s because I hate cooking in the summer. We usually spend the season cooking on the grill, which is Stephen’s domain. But I wanted to get a start on making vanilla extract so I would have it come fall. Which happens to be my favorite season for baking.

Vanilla extract is something that I have wanted to make for a long time. If you’re like my mom, you might ask why would you make your own extract when you can just buy it in the store. And to that I say, why not? All it takes is some vanilla beans, alcohol and time.

IMG_0370

Homemade Vanilla Extract

Ingredients

Directions

  1. Use a knife to spilt the bean in half lengthwise. Leave about 1/2 inch at each end intact.
  2. Put 8 beans into each of the pint size jars. Pour 1 2/3 cups of vodka into each of the jars.
  3. Close jar and store in a cool, dry place for at least 8 weeks. Give the bottle a shake every week or so.
  4. After 8 weeks, strain the extract through a colander lined with cheesecloth into a bowl. Pour the resulting extract into the 4 oz Boston Round Bottles.

Happy 4th!

I hope everyone had as nice of an Independence Day as we did. We spent the day with Stephen’s family on the Potomac River. The only cloud on the day was that Liam had no desire to be anywhere near the beach. Each time we put him down he would scream. Instead, he played on the grass by the river while Stephen enjoyed swimming in the river.

IMG_9428 IMG_9432 IMG_9434 IMG_9479 IMG_9554 IMG_9588 IMG_9606 IMG_9614 IMG_9640

Fountain!

To say that Liam is a little obsessed with fountains is probably an understatement. Most toddlers are interested in cars or trains. Not my son. All he cares about is when he will get to see a fountain. And to be fair, it is practically impossible to go anywhere in our area without going by at least one. Thankfully, this obsession was restrained to when we were in the car. But it has slowly crept it’s way into the house.

Not only do we want to see fountains (or water falls) all the time, but Liam also loves to make fountains out of his blocks. Then, he likes to drive the cars around them. Then Liam discovered the faucet. It wouldn’t be so bad if the kid didn’t want the faucet on 24/7. I mean I can only waste so much water in the name of fun before I start to feel bad about the environment (and my wallet for next month’s water bill). But this morning I caved and allowed him to play with the faucet for a good 30 minutes. He was happy and quiet. And really that’s all that matters, isn’t it?

IMG_8521 IMG_8525 IMG_8530 IMG_8541 IMG_8549 IMG_8565 IMG_8580


A Day Late

Yesterday was my dad’s birthday. I had every intention of writing this post then, but I found that it was just too difficult. It would have been his 72nd birthday. He was young by today’s standards. I can remember going up to Michigan to celebrate his 70th birthday and thinking that it was amazing that he had made it that far. Now, I wish that he would have made it farther.

I often joked with my mom that he was a cyborg; I thought that he would never pass away. Throughout the years of abuse that he put his body through, there were plenty of times that he put himself in harm’s way. But my dad was a fighter. And he fought right down to the end.

Yesterday was a difficult day. I should have been spending the day with him. His daycare center, Uncle Norm’s Place, would have had a party for him which I’m told would have included cake. He would have loved that. Then, Stephen, Liam and I would have gone over to my parents’ house for dinner followed by more cake. Instead, the day was spent at home with my family. We had a quiet dinner with my mom. It was not how I had ever imagined spending my dad’s birthday.

I know that in the coming years his birthday will become less grueling, and this just the first of many holidays to come this year. I hope wherever he is that he had a wonderful birthday.

*As a side note, I know some of you were at the memorial service that was held last weekend. I’ve included the video that was shown. I hope you enjoy seeing some of the pictures from my dad’s life.*

Pancakes. It’s What for Breakfast

I am not a fan of pancakes. They are either tough, soggy, dry, rubbery, and well you get the point. Personally, I prefer French toast. But that’s for another post.

That being said, I woke up one morning a couple weeks ago with a huge craving for some delicious pancakes, slathered in butter and drizzled with maple syrup (and no, I am not pregnant). Plus I knew that it would be something different that Liam would actually eat. It would be a nice change from his usual diet of Cheerios (or Bee with milk as he likes to call it).

This recipe has changed my mind regarding pancakes and I’m willing to give them a second chance.

IMG_8207

Buttermilk Spice Pancakes

Ingredients

  • 3/4 cups flour
  • 1 tablespoon baking powder
  • 1/2 cup sugar
  • 1/2 teaspoon cinnamon
  • 1/4 teaspoon fresh grated nutmeg
  • 1 egg (lightly beaten)
  • 1 1/4 cup buttermilk
  • 4 tablespoons butter (melted and slightly cooled)

Directions

  1. Preheat oven to 200F. Place a sheet pan inside.
  2. Combinen flour, baking powder, sugar, cinnamon and nutmeg in a large bowl
  3. In another bowl, combine the egg, buttermilk and melted butter.
  4. Make a well in the dry ingredients and mix in the wet ingredients until just combined. Allow batter to rest for at least 15 minutes. There will be small lumps in the batter.
  5. Heat a griddle to medium heat. Grease lightly with butter and drop spoonfuls of batter onto the griddle. When bubbles begin to form on the surface, it is time to flip the pancake. Once golden brown on both sides, transfer to the pan in the oven to keep warm.
  6. Serve with butter and maple syrup.

1 38 39 40 41 42