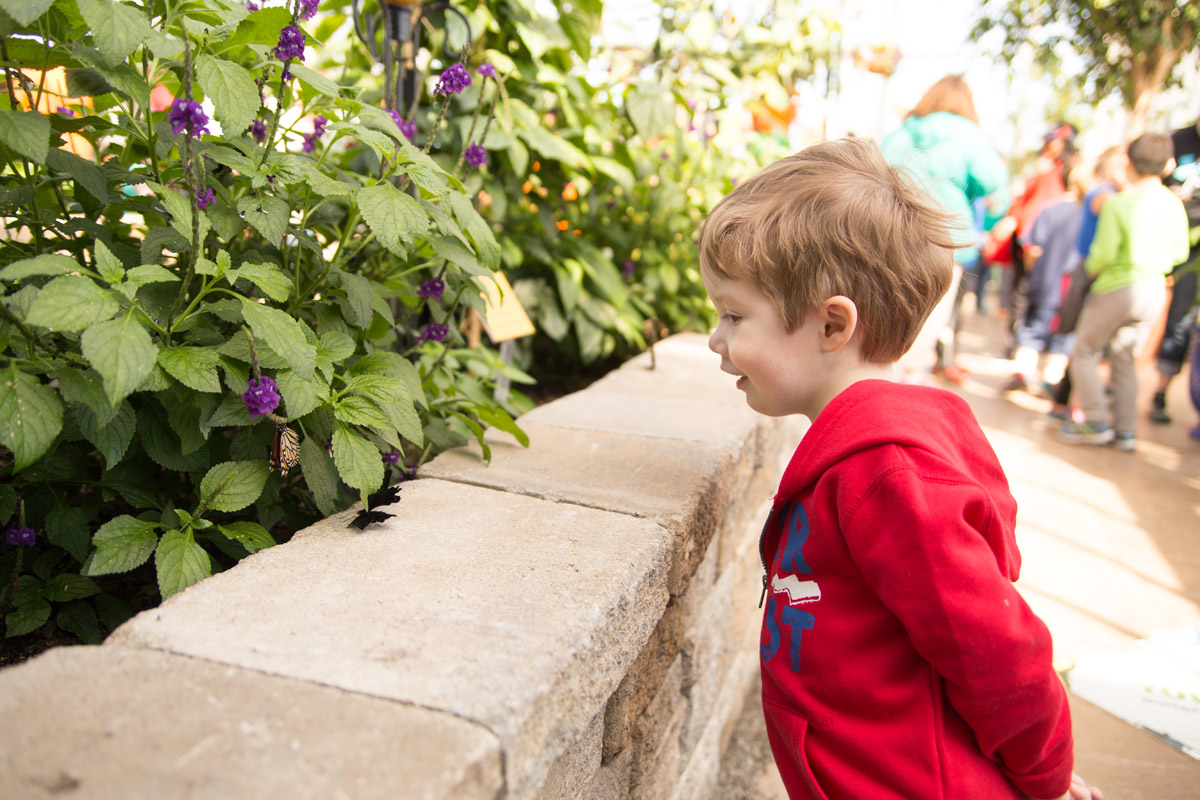
 This morning we ventured over to Lewis Ginter Botanical Gardens to check out some of the flowers that were in bloom. To my surprise they actually had the Butterflies LIVE! exhibit going already. We spent the morning exploring the gardens and checking out some beautiful butterflies. One even landed on Liam’s head but was gone before I could snap a photo. Here are a few other photos from our morning.


Project 365 – Day 3
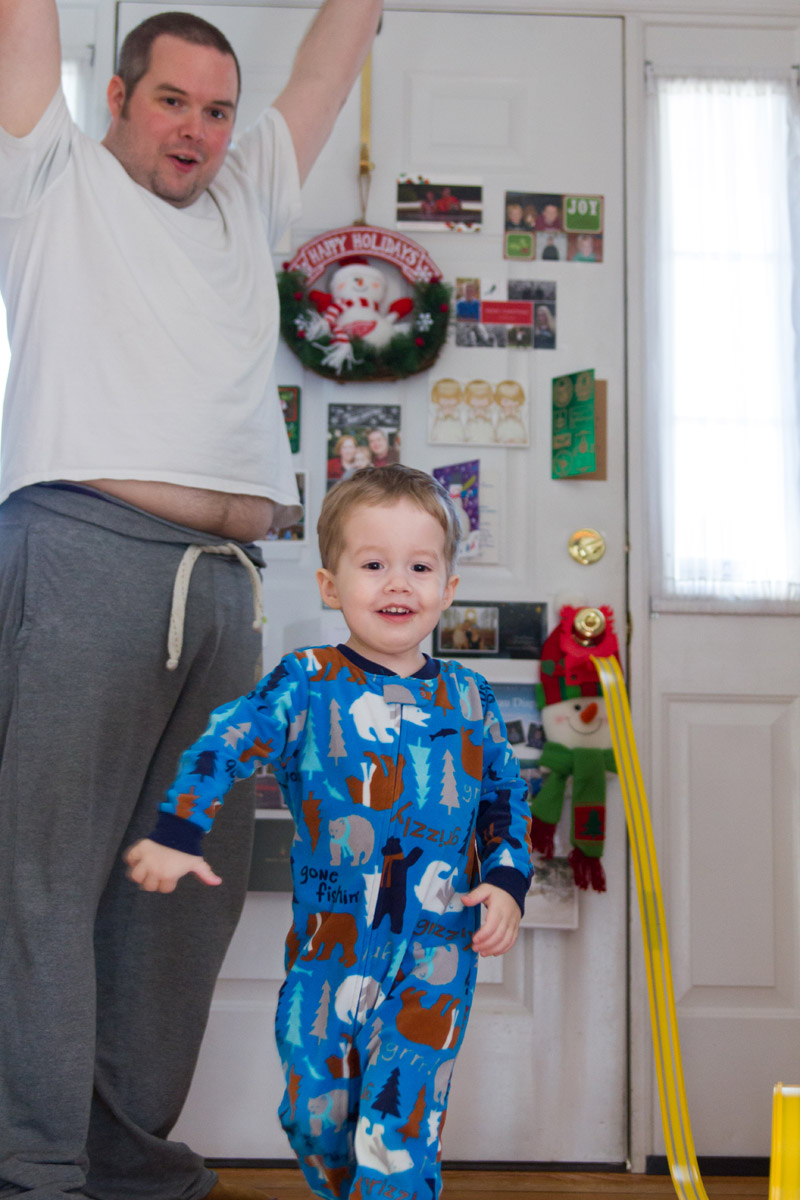
 I’m going to be honest today. This is not my favortie picture, but it was the best of what I had from this morning. I like it because it’s a nice playful moment between my husband and son while we were at the mall this morning. I guess photographing on a sunny day is something that I’m just going to have to work on 😉
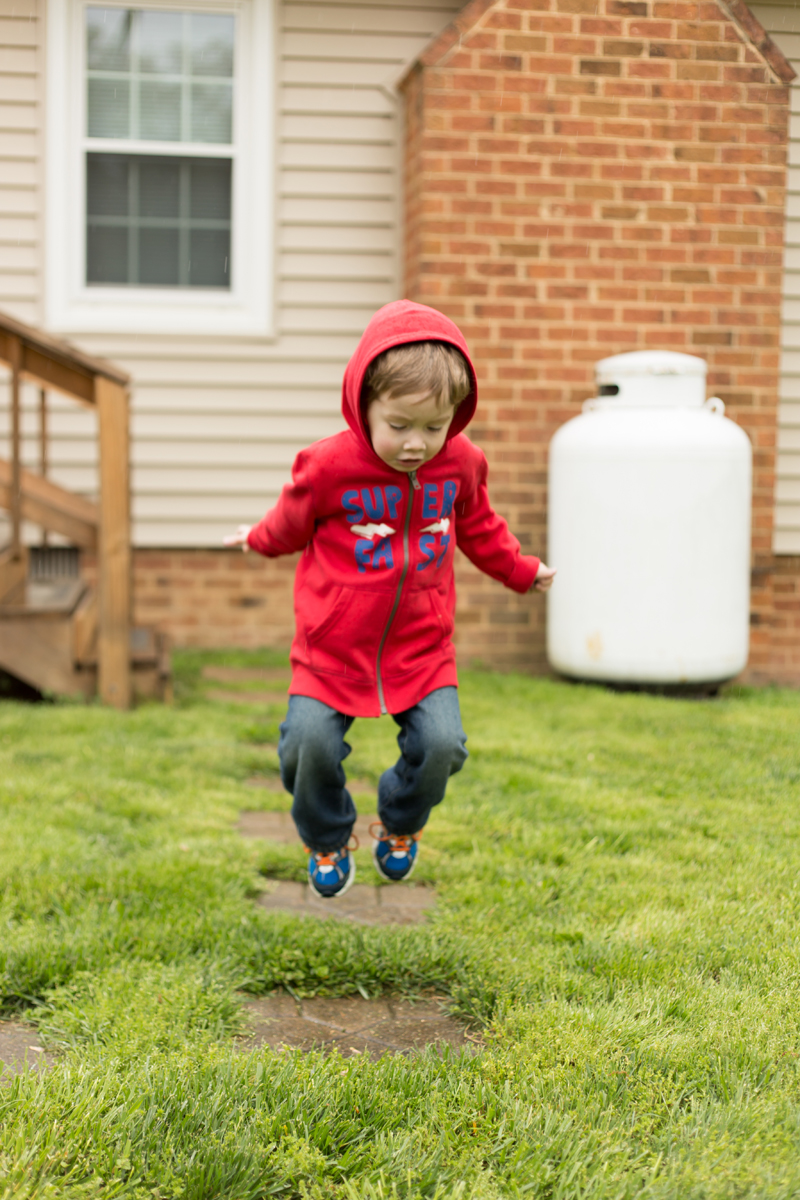
Project 365 – Day 2
 After breakfast this morning, we went over to Nana’s house for a bit to look and see if the eggs in her bird house had hatched yet. While we were there, Liam decided he wanted to play in the rain some. So nice to see him enjoying the rain for once.
Here’s Liam looking at the bird nest: 
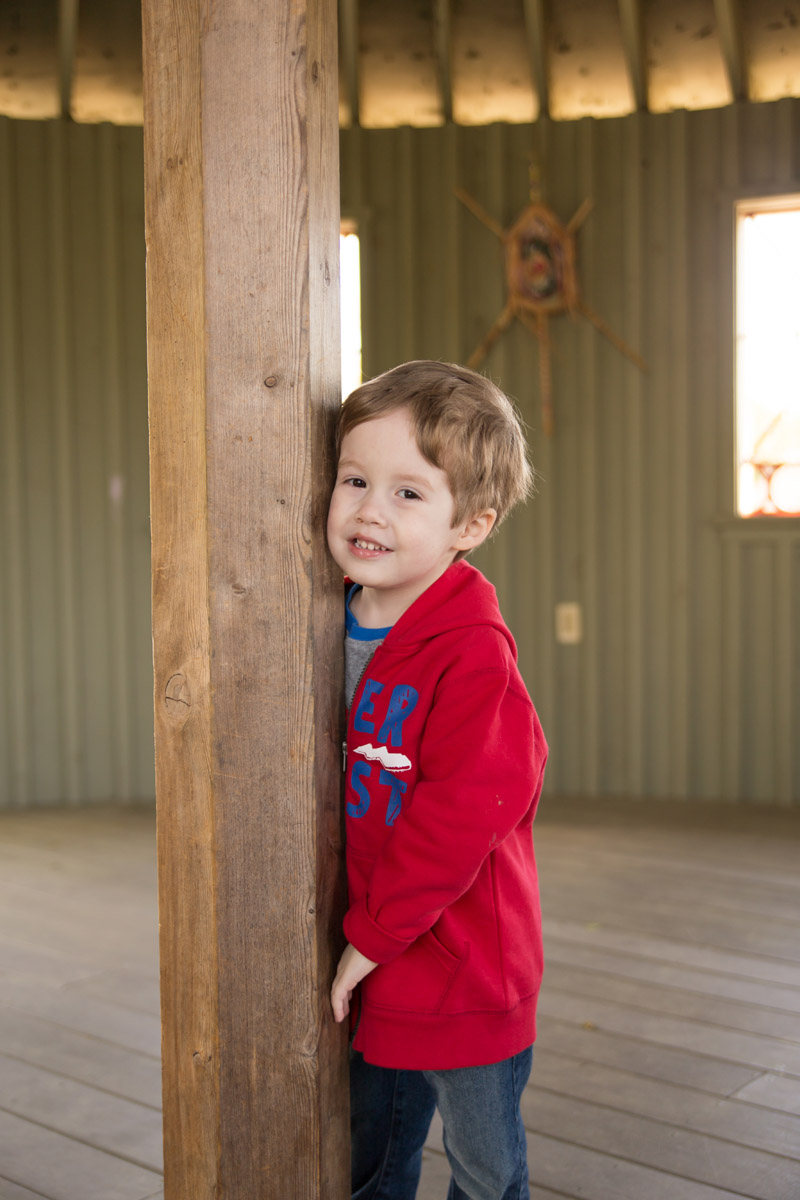
Project 365 – Day 1
 I’ve been slacking a bit on the photo front at home. Not that I haven’t been using my camera, but I feel like a lot of my photos have been a bit reptitive. Usually, I’ll break out my camera while Liam is playing on the floor with legos or other such toys. And while those are great memories, I know that I can do more. I’ve decided to really challenge myself over the next 365 days to really take some photos that are different.
Today, I felt like it was only approperiate to capture the stuffed animal that caused a middle of the night (I really don’t know what time it was because I was too afraid to look at the clock) wake-up call because it was suddenly missing. Of course it was just under some covers and thankfully Liam went back to bed without a problem. I wish I could say the same for myself.
My goal is to use my DSLR every day, but if I use my iPhone camera every once in awhile, I think I’ll be okay with that too. The point is just to get out there and capture the moment. I can’t wait to see the improvements that I make over this next year.
Here are a couple runner ups for my day 1 photo.


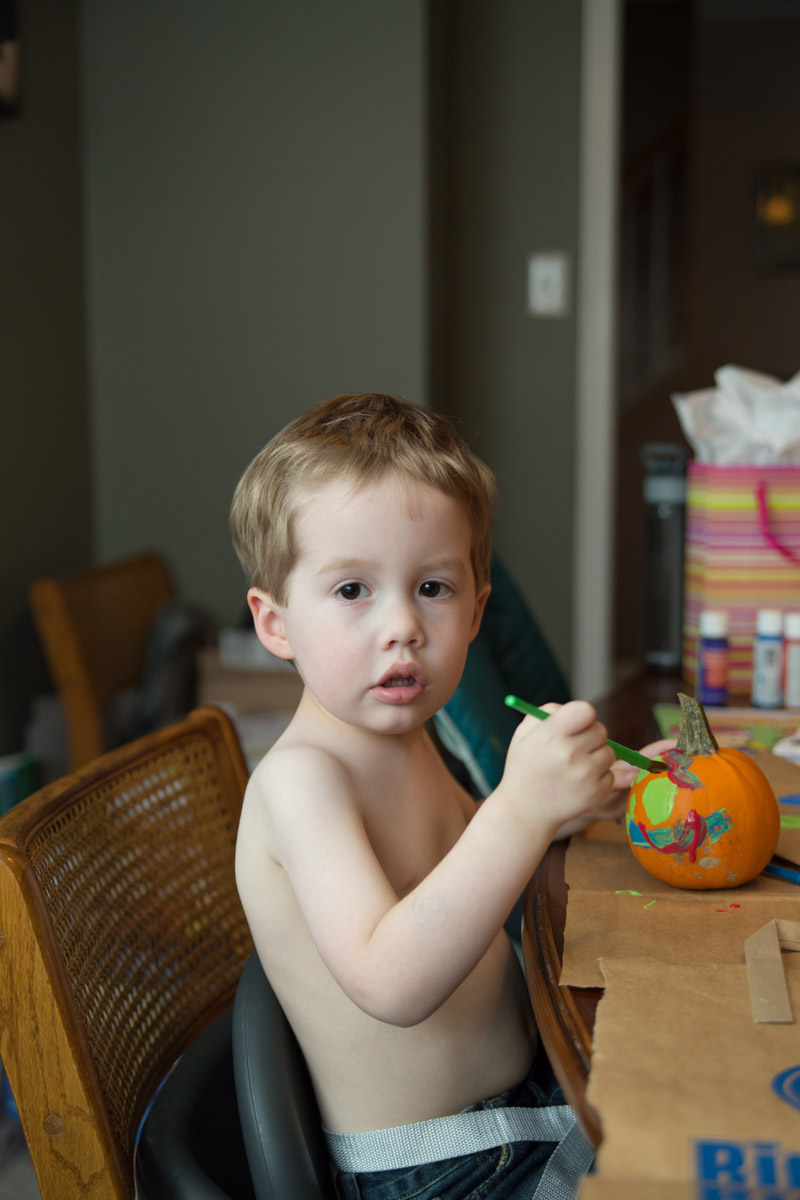
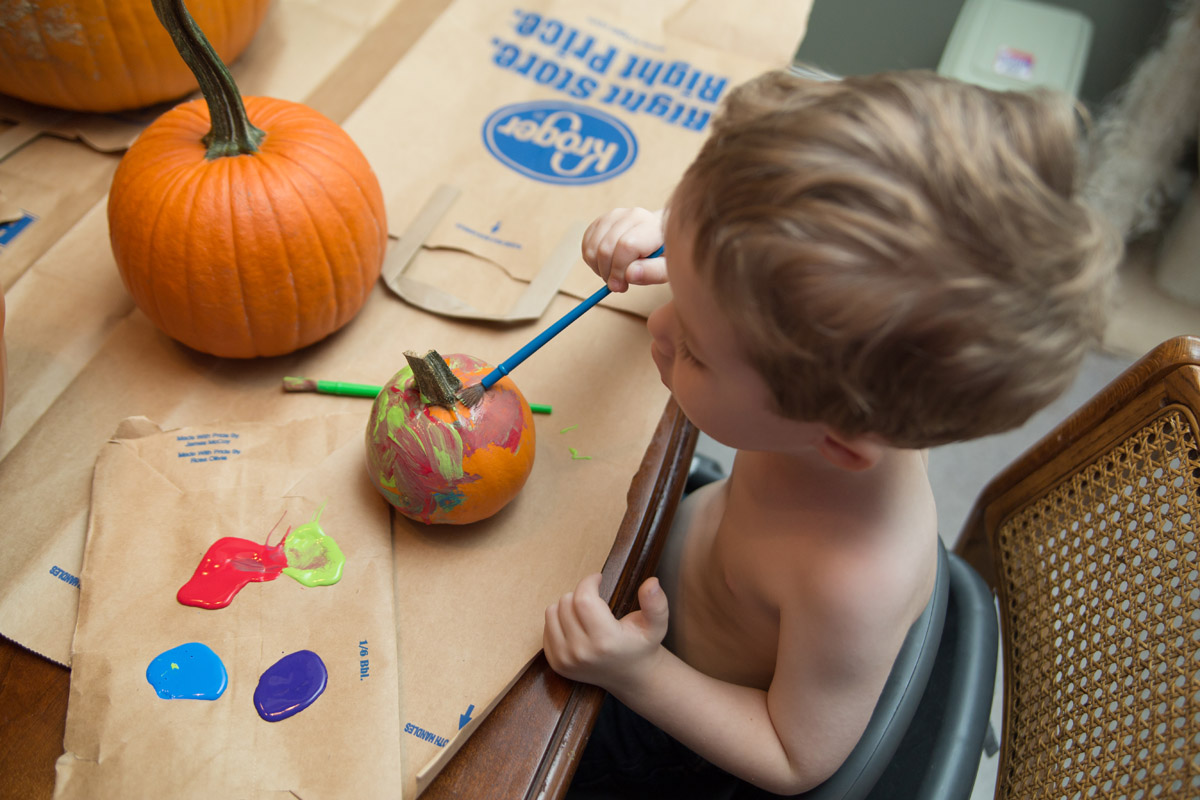
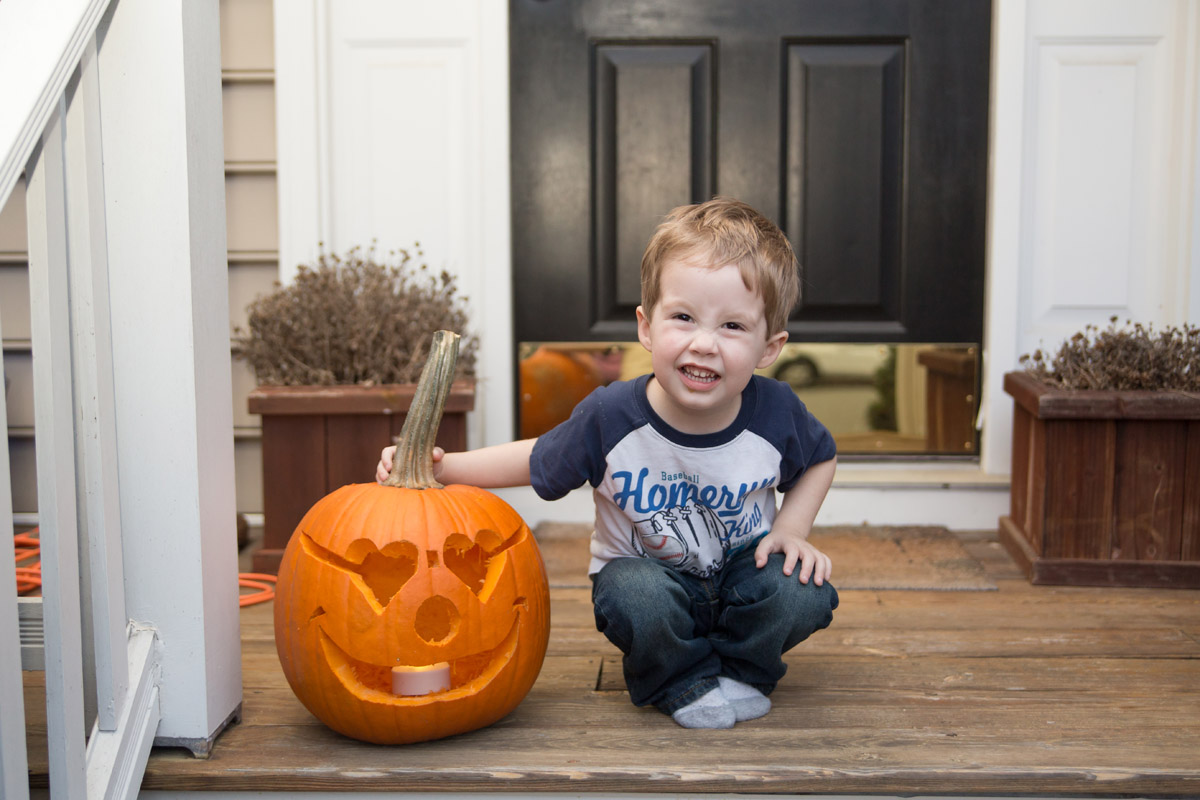
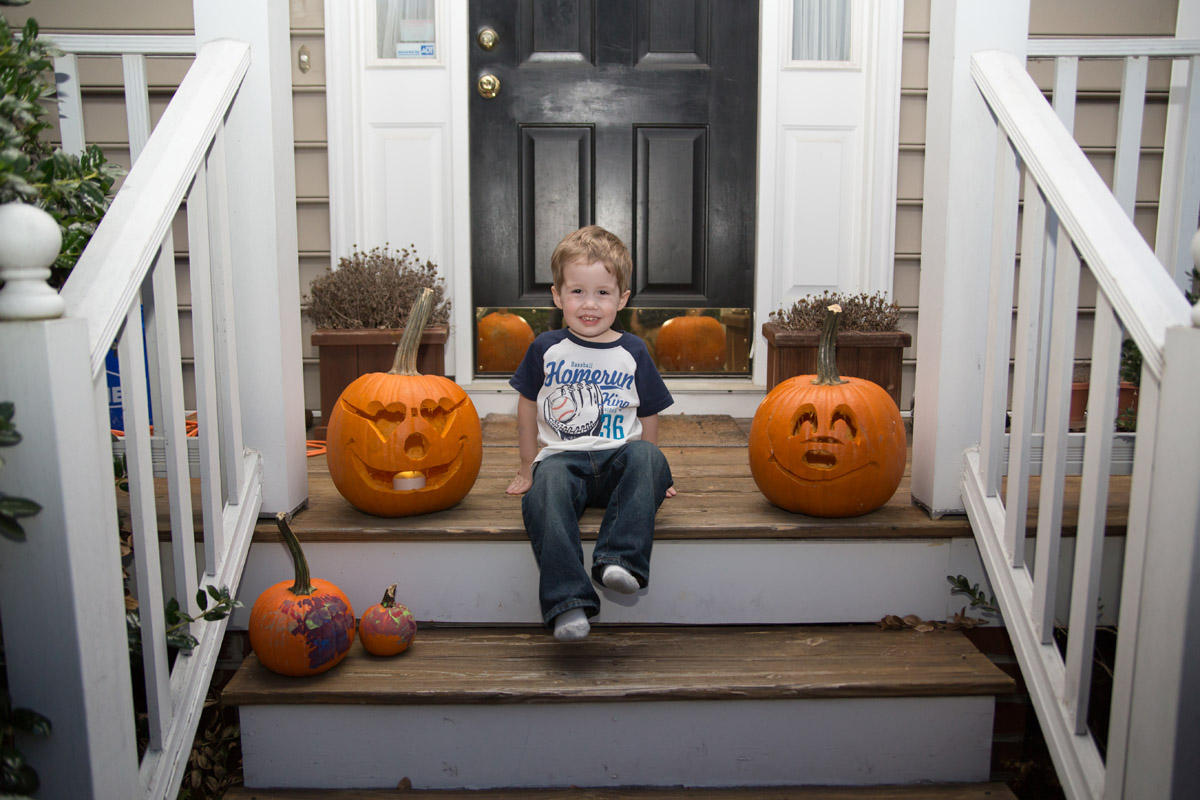
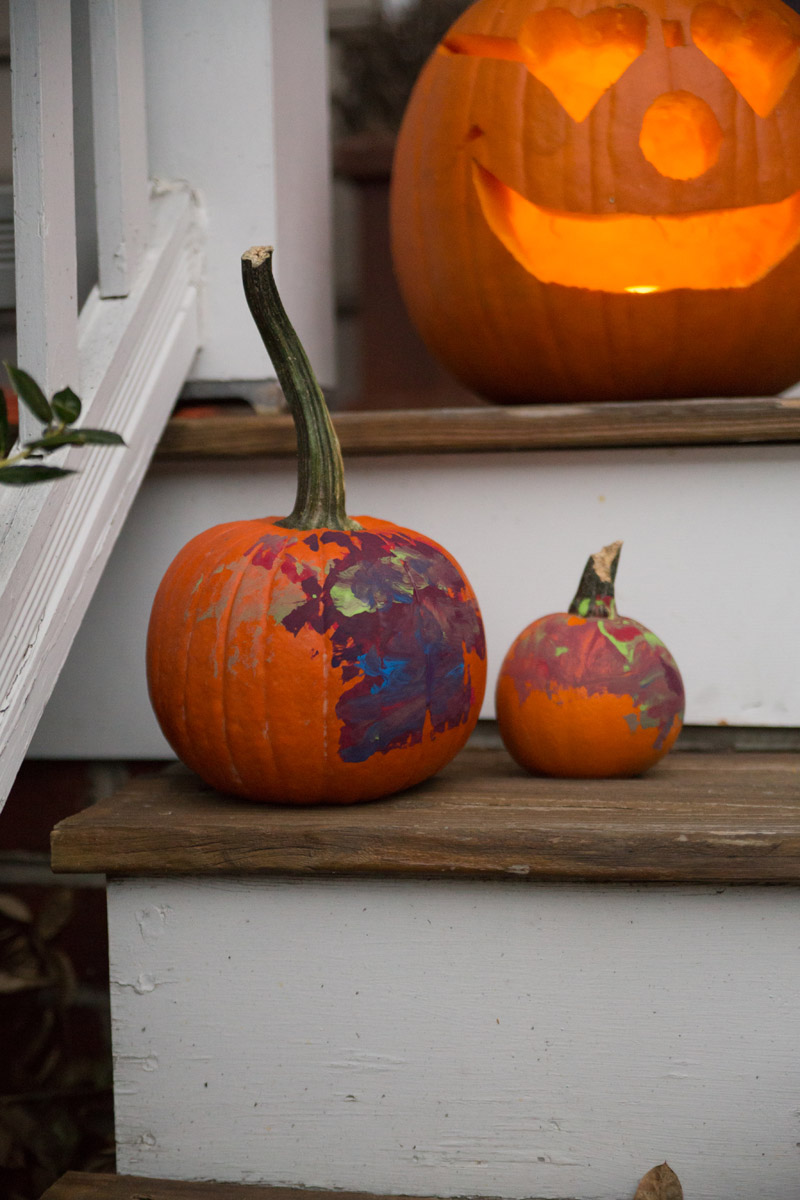
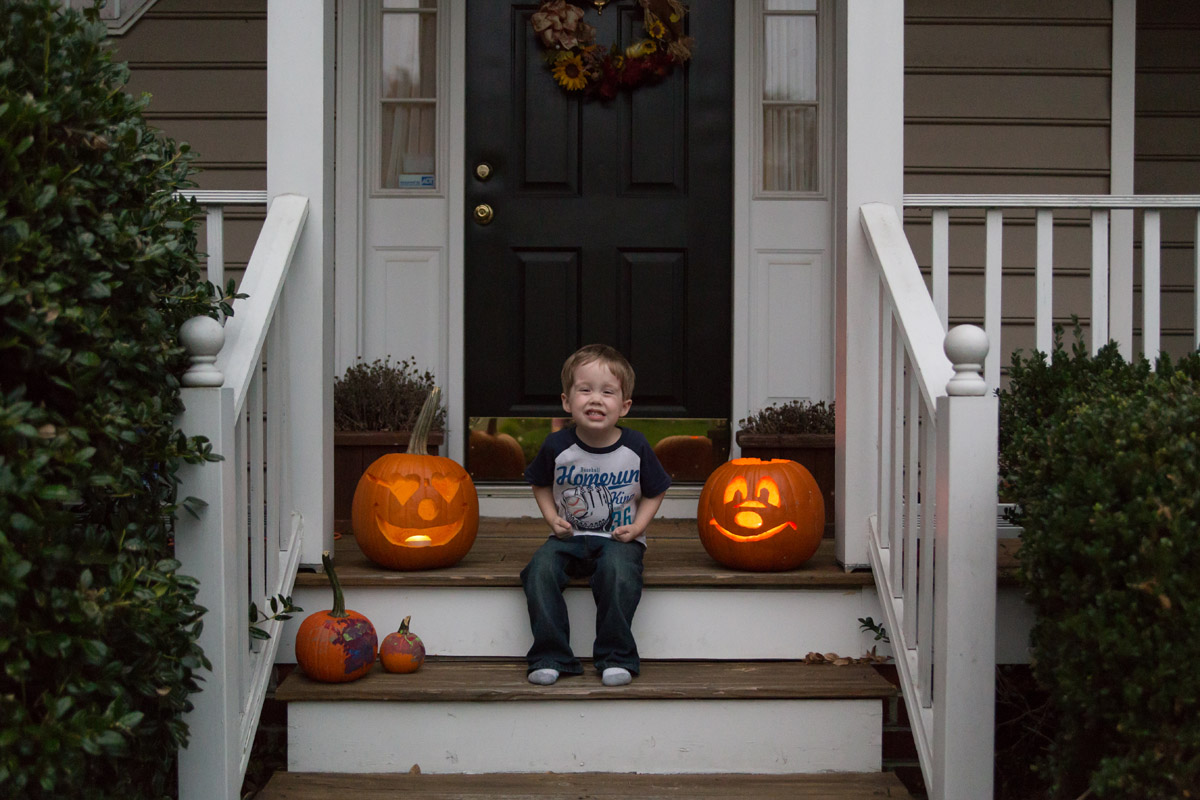
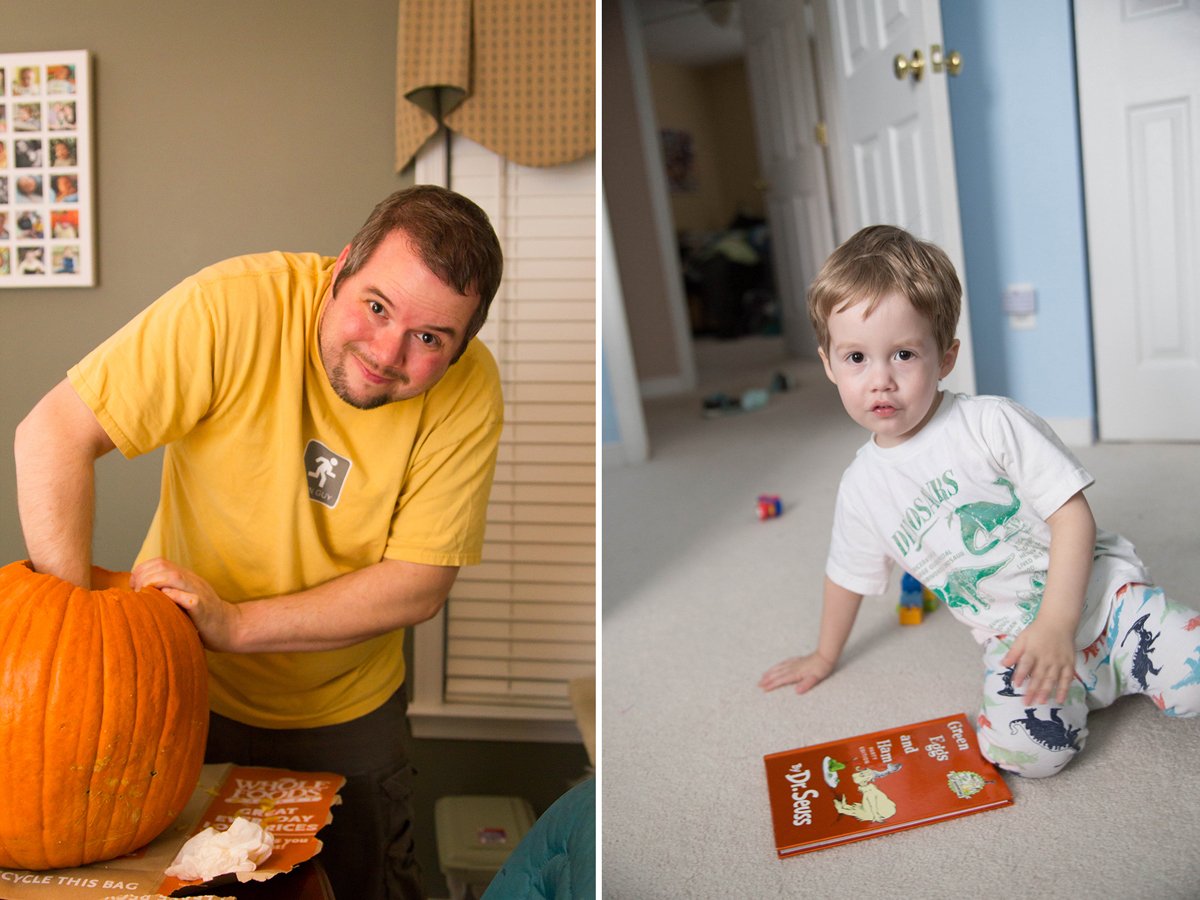
Pumpkin Carving Time
Whoa! Two posts in two days! What is the world coming to?
Sorry, now that I have that off my chest. Here’s a few photos from our pumpkin carving yesterday. Liam decided that he would rather paint his, which of course was perfectly fine. He even painted a recognizable face on it. And then he painted over it. Oh well, he’s three.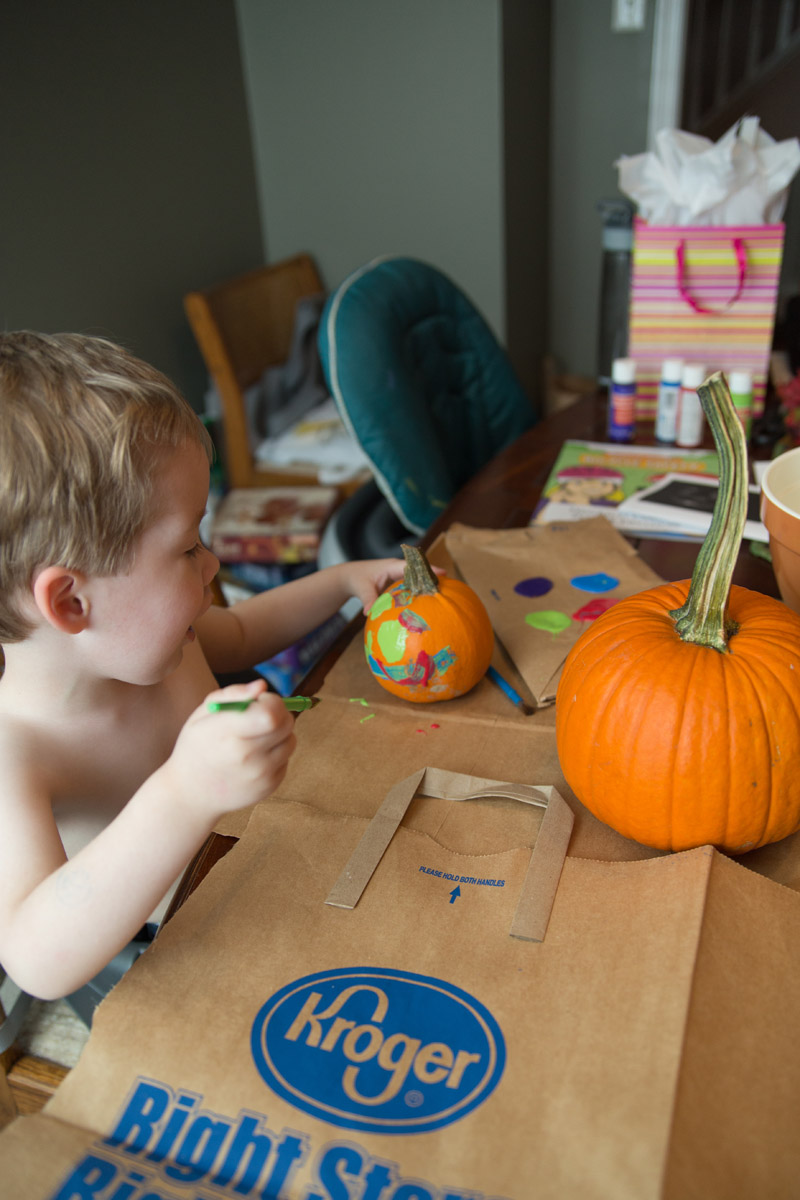
5 Simple Tips to Better Photos of Your Kids
When my son was born, I wanted to capture every minute that I could. And I will be the first to admit that some (okay, a lot) of those photos didn’t turn out the best that they could. Over the last few years I’ve learned a couple things from my mistakes and I think that my images are better because of it. I am by no means an expert and I certainly am still learning new techiniques every day. But I think it’s always fun to develop and share some tips that I know have helped me. That being said, here are a few tips that will hopefully help you in your quest for better photos of your children.
Use natural light. I know this may seem like common sense. This means turning off the random lamp or overhead light that you have on in your room. Whenever possible, try to turn off all the lights in your house. When the lights are on, it makes your subject look yellow and you don’t want that. It will feel dark and you’ll be wondering how in the world this is going to work. But it will, trust me. Try to place your subject as close as you can to your best natural light source. Whether that’s a window or large glass door. Be sure to pull up the blinds on your windows as well. Even if the slats are open, you will still get more natural light if you pull the blinds up completely.
Try to face your subject towards the light source. There’s a term called shark eyes. Basically what it means is that when you look at your subject’s eyes, they will look black. Lifeless. Take a moment to really pay attention to some of your favorite photographs or even television shows and look at the eyes of the subject. Do you see that little catch of light in their eyes? Getting that catch light breathes life into your subject. It’s a small thing, but it makes a huge difference between a good image and a great one. Use it whenever possible and it will brighten up your images.
If using an external flash, bounce it toward your light source. This one seems a little counterintuitive. Most people will tend to have their flash directed right at their subject. The problem with this is that it creates horrible shadows and usually leaves your subject washed out. The solution is to have your flash directed towards your light source. This helps to fill in the natural light when there may not be enough (ie a cloudy day).

Be mindful of cropping. I will admit that this is a difficult one for me some days. I’m so focused on capturing the moment that I don’t take the time to really look through my camera’s viewfinder to see what I’m actually doing. This most often leads to hands, arms, feet or legs being chopped off (figuratively of course).
Step back. This is the hardest thing for me to do. Like most parents, I want to get images of my child smiling and looking right at the camera, but it doesn’t have to be that way. Some of my favorite photos are ones where I took a step back and really took in what was going on. You can hide behind a door frame or sneak a few shots in while your kid is playing quietly by themselves. This captures an image that is more raw and unstaged. Sometimes it’s not about shooting the “perfect” image but about the moment.
These are just a few best practices that I like to employ when photographing my son. I’m sure that I’ve missed some and I would love to hear from you. What are some of your tips or tricks for capturing great photos of your children?
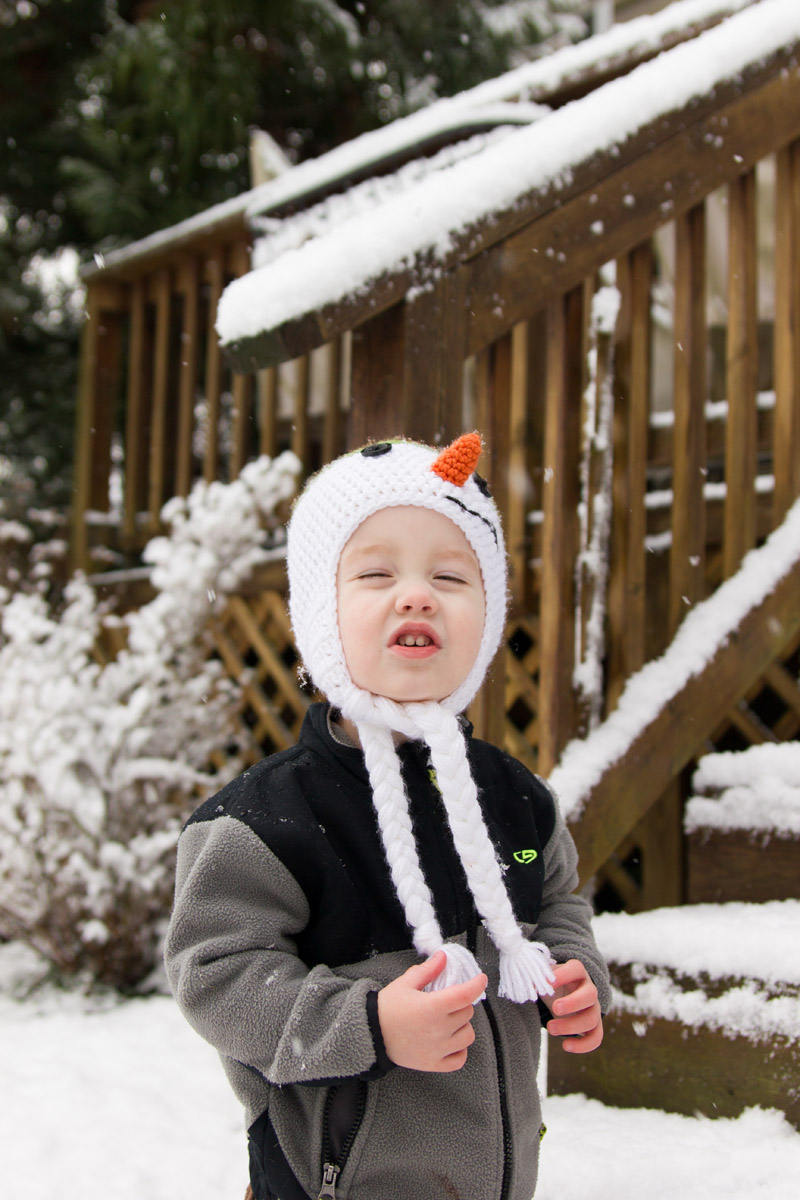
Snowy Morning
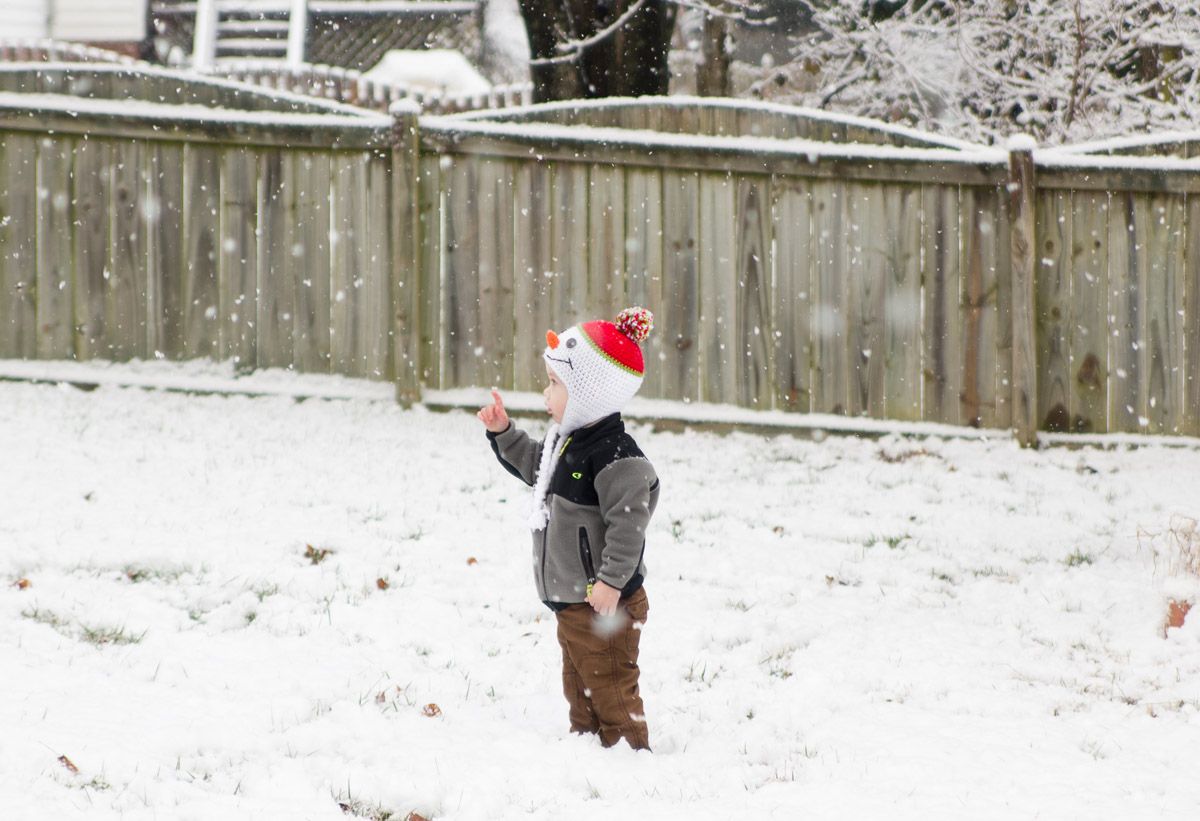 This morning we woke up to a wonderful surprise. SNOW! The one thing Munchkin consistently asked Santa for for Christmas. He was so excited to see the white flakes falling. Although, he was less than excited to walk around in it. Either way we still went out and he enjoyed “shoveling” the snow with his
 spatula – I mean shovel. But now the sun is out and the grass is back to its greener shade. It sure would be nice if it would snow and stick around for awhile. I never thought that I would ever say that before. 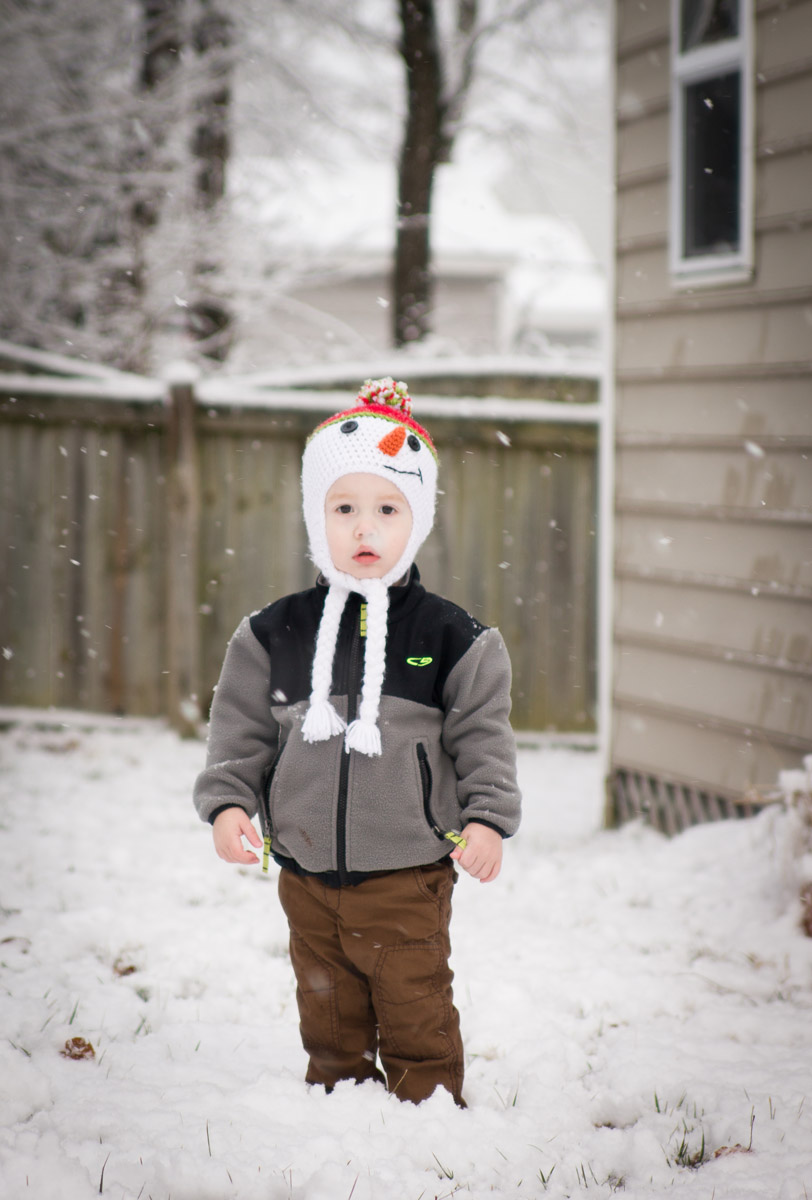

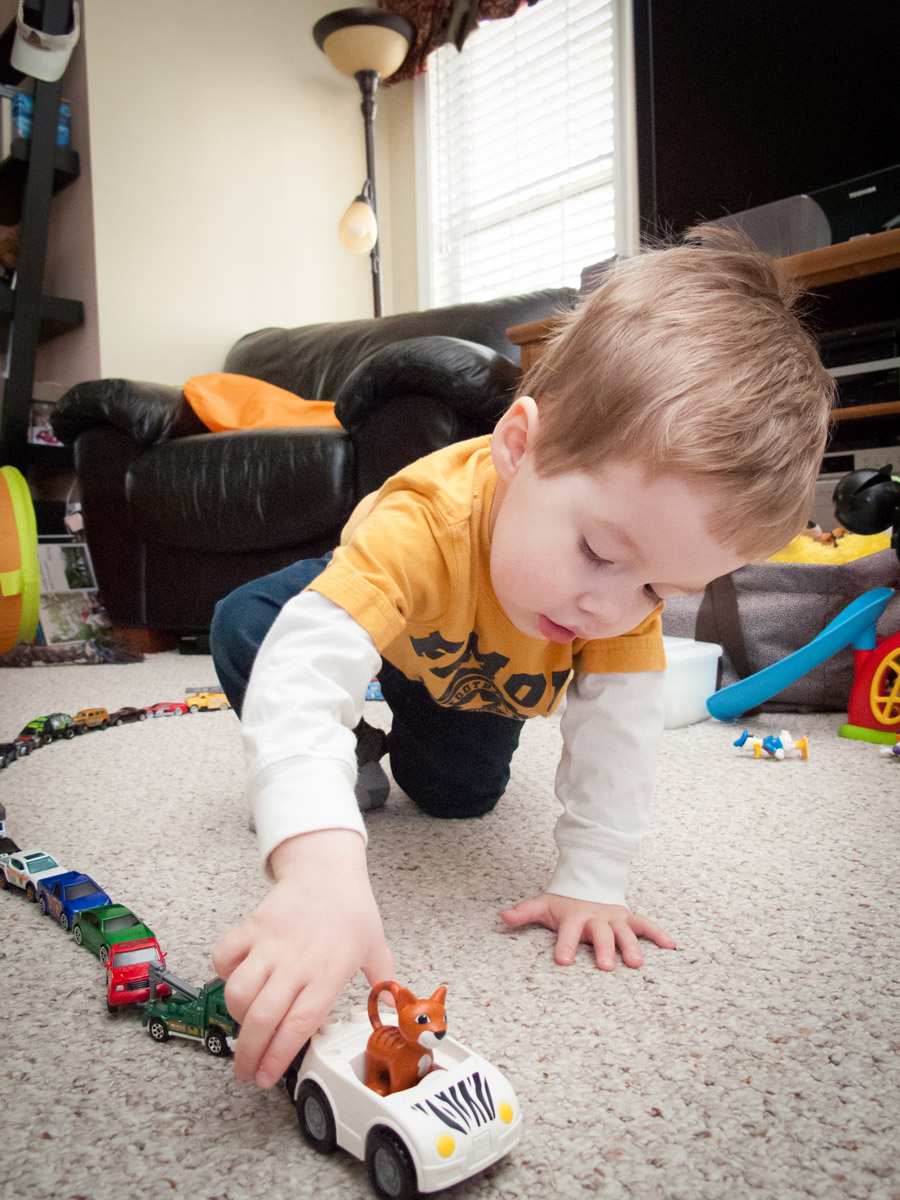
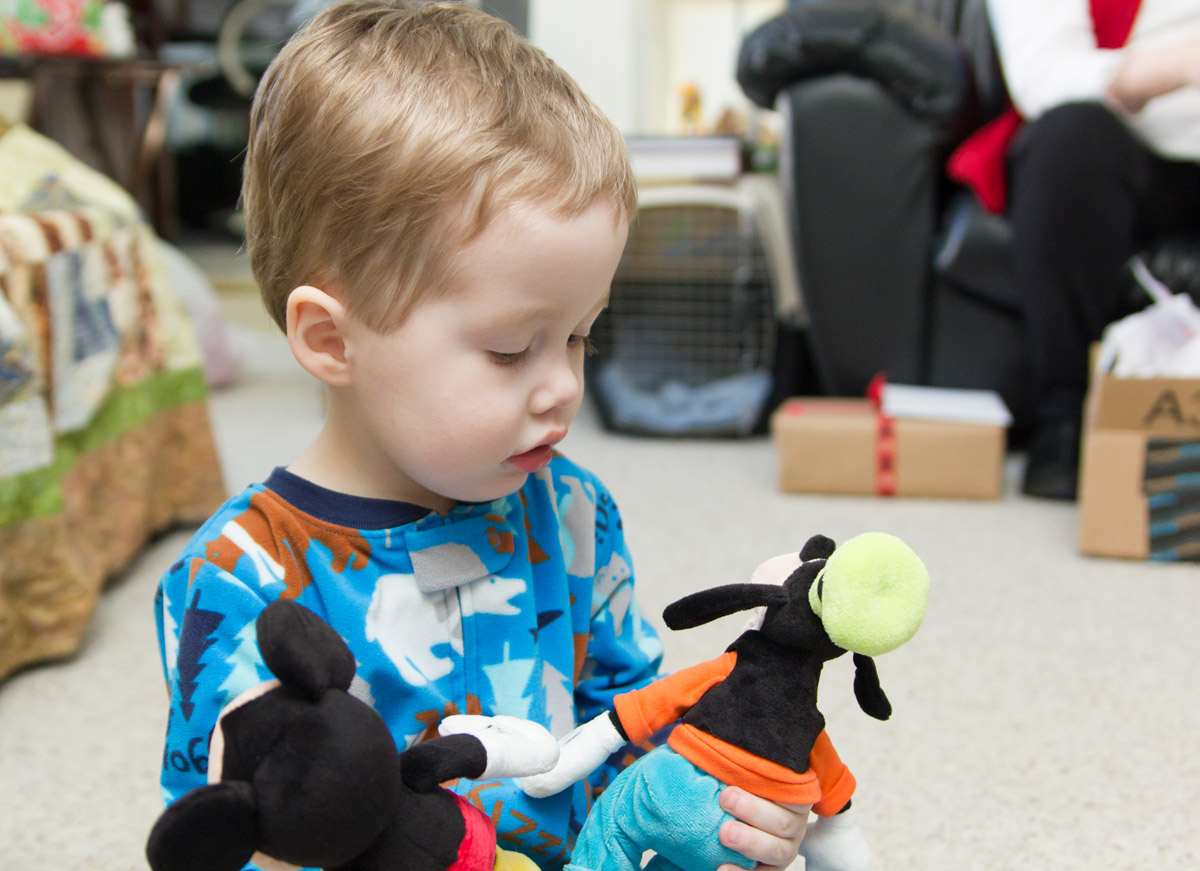
Preparing for Disney – And Playing with Cars
In just a few weeks, we’ll be leaving for Disney World. It’s still hard to believe that it’s so close. When we first started planning, it felt like a lifetime away. Now, it’s mere weeks. We’ve been preparing Munchkin by watching all things Mickey Mouse and reading stories about Winnie the Pooh at bedtime (we’ll be having breakfast with Pooh and friends). He’s very excited to see both Mickey and Goofy. Although truthfully, I think he’s more excited to see Goofy.
In my own attempt to prepare for Florida, I’ve broken out my old Canon Powershot G10. The photos that I’m about to post are not great. To say that I am unhappy with them is an understatement. But in an attempt to learn from them, I’m going to post the photos anyway. I know that I would get better photographs if I would take my DSLR down to Disney, but I really don’t want to carry it around the parks all day long. Plus, most of the photos I’ll be taking will be taken outside and will most likely be in sunny conditions. While the ones I took with Munchkin the other day, were all inside and therefore required a higher ISO. I tried to eliminated as much grain as possible, but there’s only so much that can be done before the picture starts to look unrealistic.
Either way, here they are. A good starting point. Who knew that shooting a less complicated camera would be so challenging.

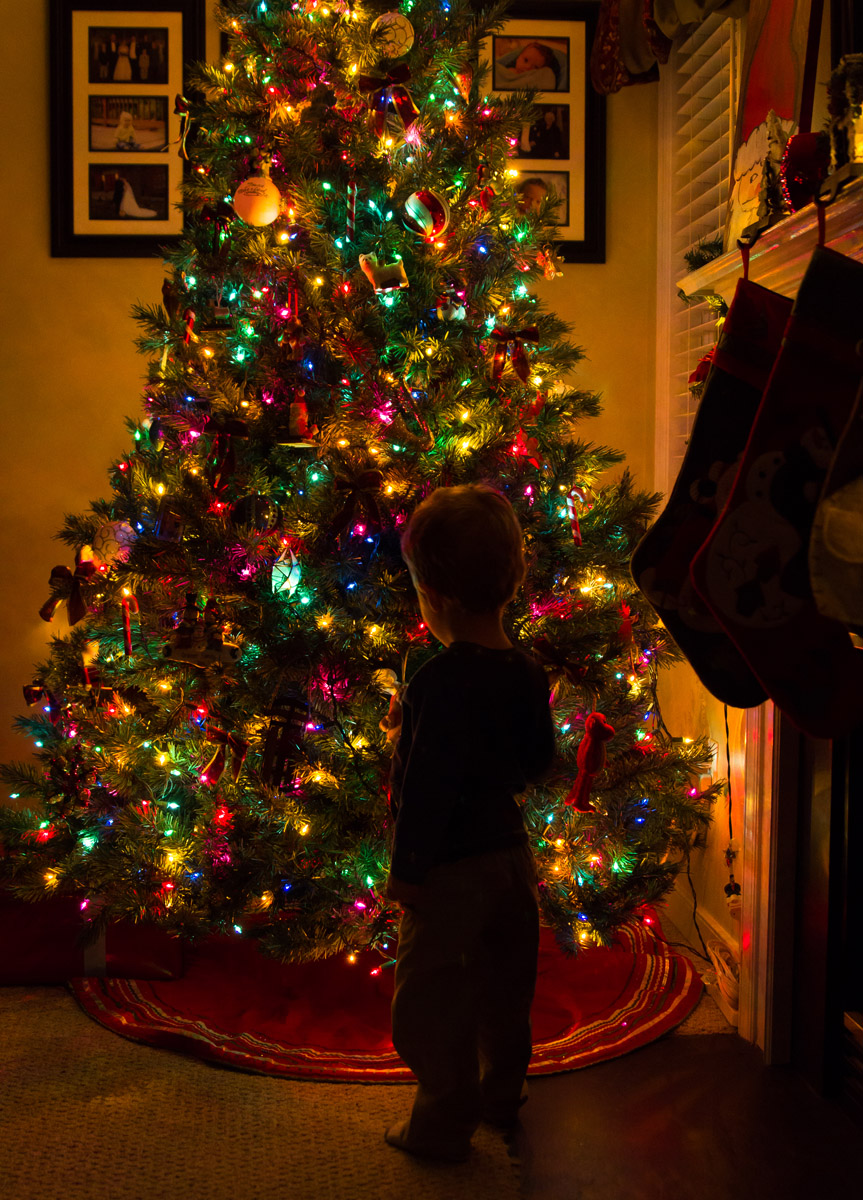
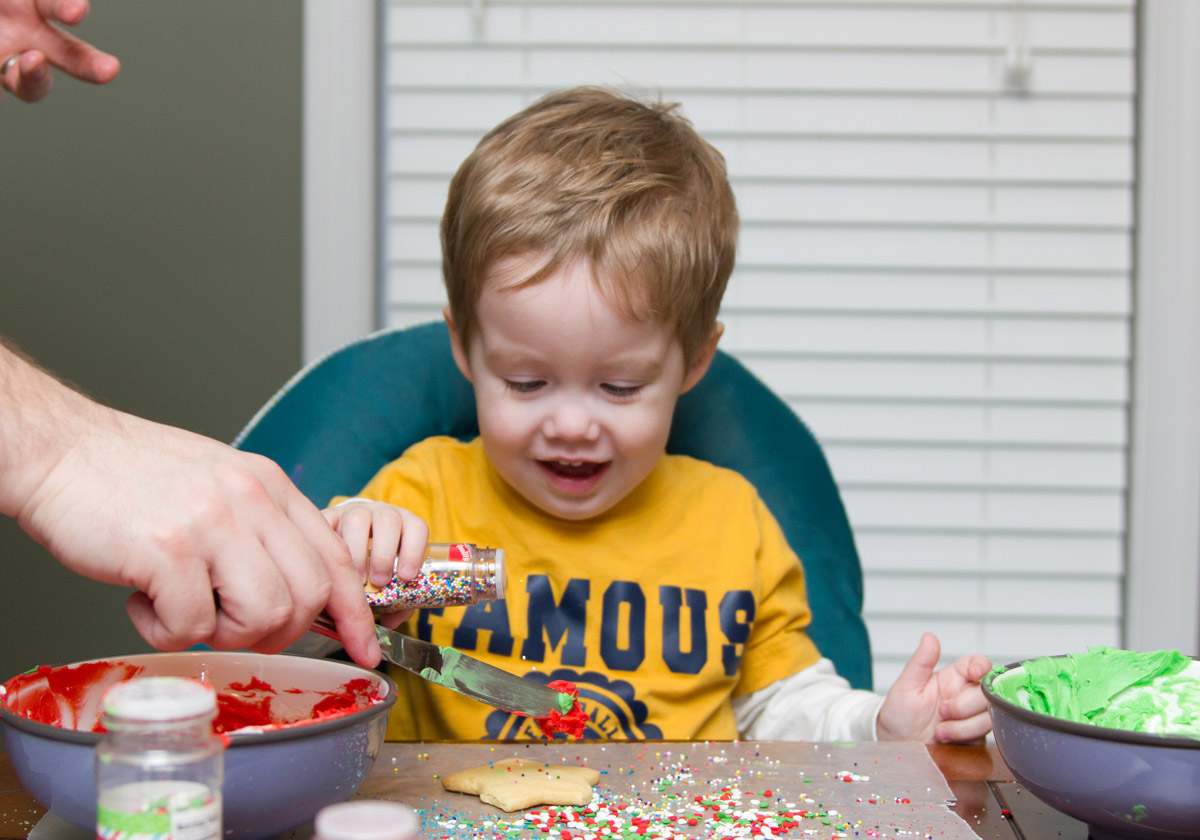
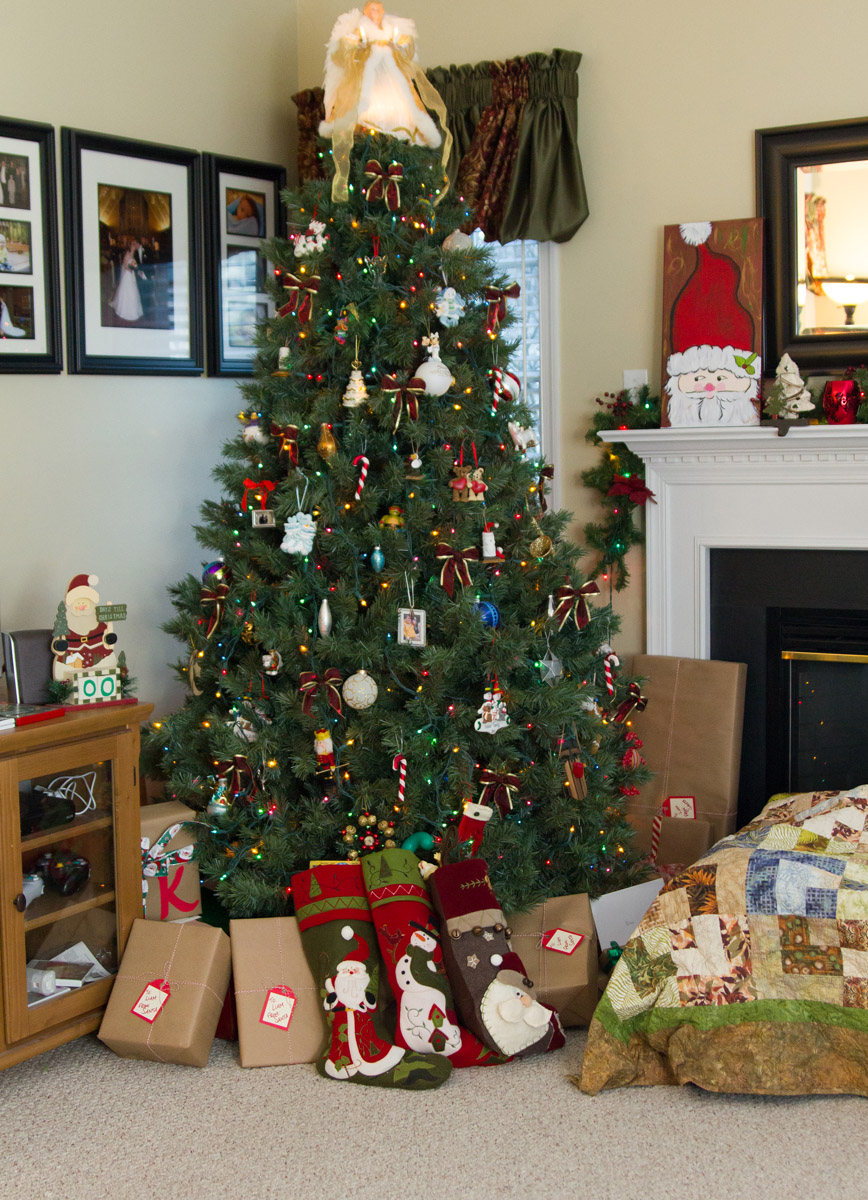
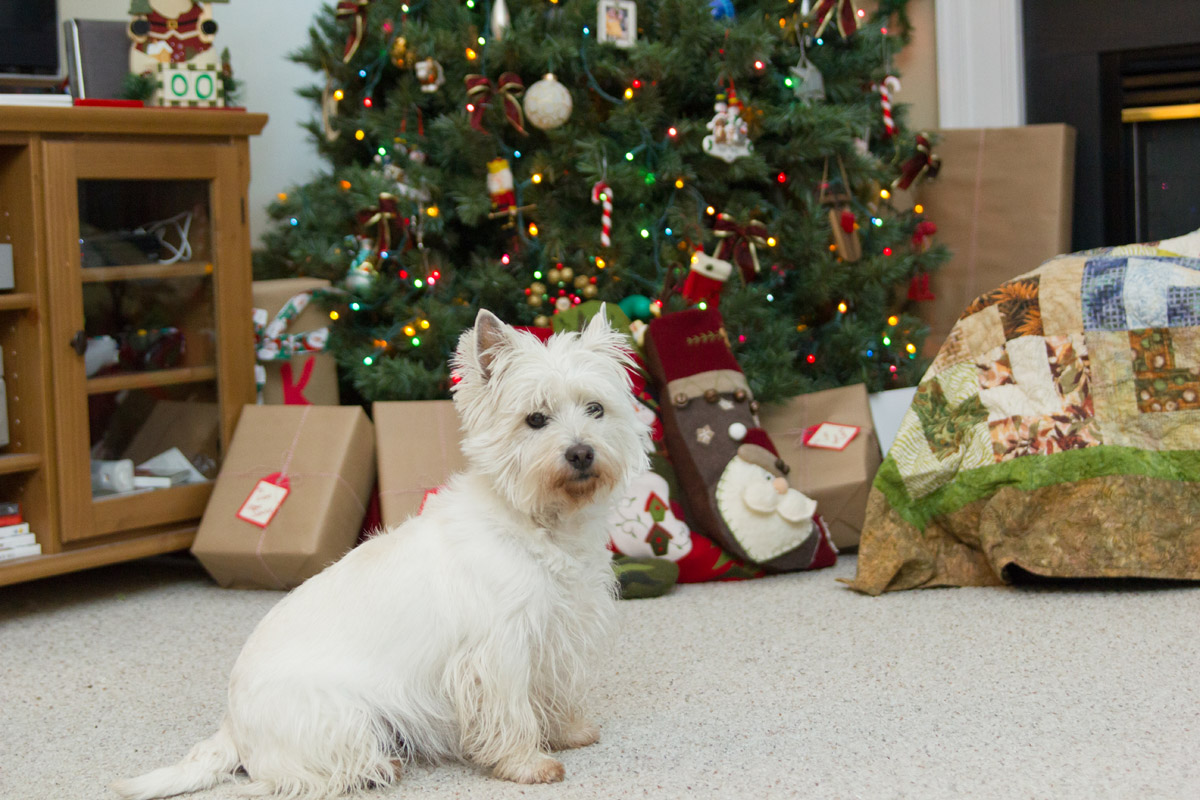
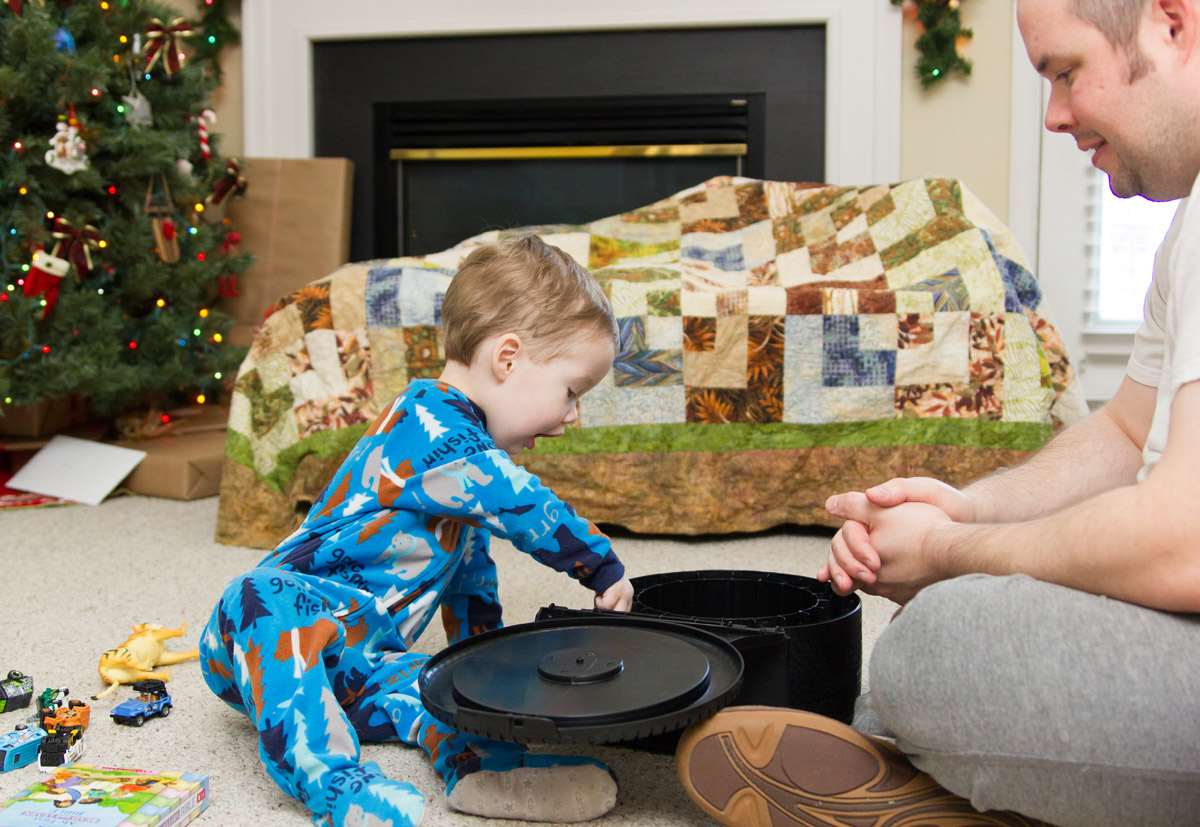
Christmas Photo Dump


A Hint of Bourbon: Spiked Pumpkin Pie and Whipped Cream

Last night as Stephen and I were chatting over dinner, we started to talk about Thanksgiving and what we were looking forward to most. We both agreed that we could live without having turkey (or any main entrée for that matter). It’s not that we don’t enjoy turkey, and we certainly love the leftovers, we just don’t think it’s worth all the effort. Now, will we still have a turkey on Thanksgiving? Of course! But it’s not the main attraction to me.
If I had my way, I would just have stuffing with gravy and pumpkin pie. Now, I was not always a big fan of pumpkin pie, or pie for that matter. I always loved the flavor and spices that come along with pumpkin, but the texture was something less than desirable. Maybe I got used to it, maybe I grew up and just realized what I was missing, or maybe my palate changed. I don’t know, but I know that pumpkin pie has become my all time favorite part of Thanksgiving.
Personally, I love pumpkin pie just by itself, but I think that what helps set this pie apart from others is the homemade bourbon whipped cream. It is simply divine. You could use whipped cream from a can, but trust me, the taste will not be the same. There is nothing like homemade whipped cream. And it has bourbon in it, so how could you go wrong?

Bourbon Spiked Pumpkin Pie – makes filling for one 9-inch pie (You may have a little leftover depending on the depth of your pie plate)
adapted from Bride & Groom: First and Forever Cookbook
Ingredients
- 1 9-inch pie crust recipe
- 1/4 cup white sugar
- 1/2 cup brown sugar
- 1 teaspoon kosher salt
- 1 teaspoon ground cinnamon
- 1/2 teaspoon ground ginger
- 1/8 teaspoon ground cloves
- 1/8 teaspoon freshly grated nutmeg
- 2 eggs
- 1 can pumpkin (15 ounces)
- 1 1/2 cups heavy cream
- 2 teaspoons vanilla extract
- 1 tablespoon bourbon
- 1 tablespoon milk
Directions
- Preheat the oven to 400F. Remove the pie plate from the refrigerator and pierce the bottom of the crust with a fork a few times to prevent it from bubbling. Line it with aluminum foil, folding the excess foil over the edges. Fill it with pie weights. *Note: If you do not have pie weights, you can use coins, beans or rice instead. Bake on a rimmed baking sheet on the 2nd to lowest rack in the oven for 15 minutes. Carefully remove the foil and weights, rotate the baking sheet, and bake until the crust is light golden brown, 5-10 additional minutes. Remove the pie plate and baking sheet from the oven.
- Adjust the oven to 425F. Stir together the sugar, kosher salt, cinnamon, ginger, cloves, and nutmeg in a small bowl. Set aside.
- Whisk the eggs in a large bowl. Add the pumpkin, cream, vanilla, bourbon, and the sugar-and-spice mixture and mix well.
- Brush the entire crust with an egg wash. Fill the shell to the rim with the pumpkin mixture. (Depending on the pie shell and the dish, you may have as much as 1/3 cup of the pumpkin mixture left over.)
- Bake for 15 minutes. Reduce the oven to 350F and bake until the pie is set in the center, 40 to 50 minutes more. (The filling will still jiggle when moved.) Transfer the pie to a wire rack and let it cool completely. *Note: I find that because my pie plate is pretty shallow that I only need to bake my pie for about 35 mins at 350F. But if you have a deep pie plate you may have to cook it for the 40-50 mins.
Ingredients for Bourbon Whipped Cream
- 1 cup heavy cream
- 3 tablespoons sugar
- 1 tablespoon bourbon, plus more as needed
Directions for Bourbon Whipped Cream
- Combine the cream, sugar, and 1 tablespoon bourbon in a metal bowl. (Metal bowls will stay colder, yielding a better whip.)
- Beat on high until soft peaks form, about 1 minute. The cream should slowly fall over forward when lifted with a whisk.
- Add more bourbon, if desired.