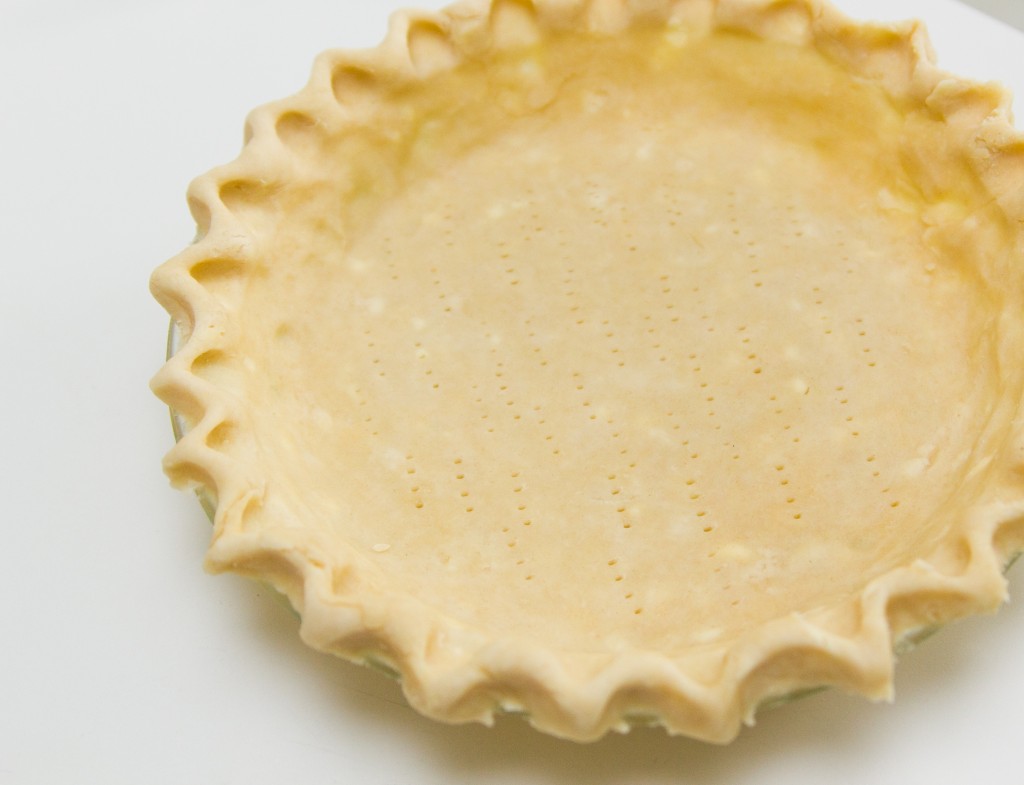
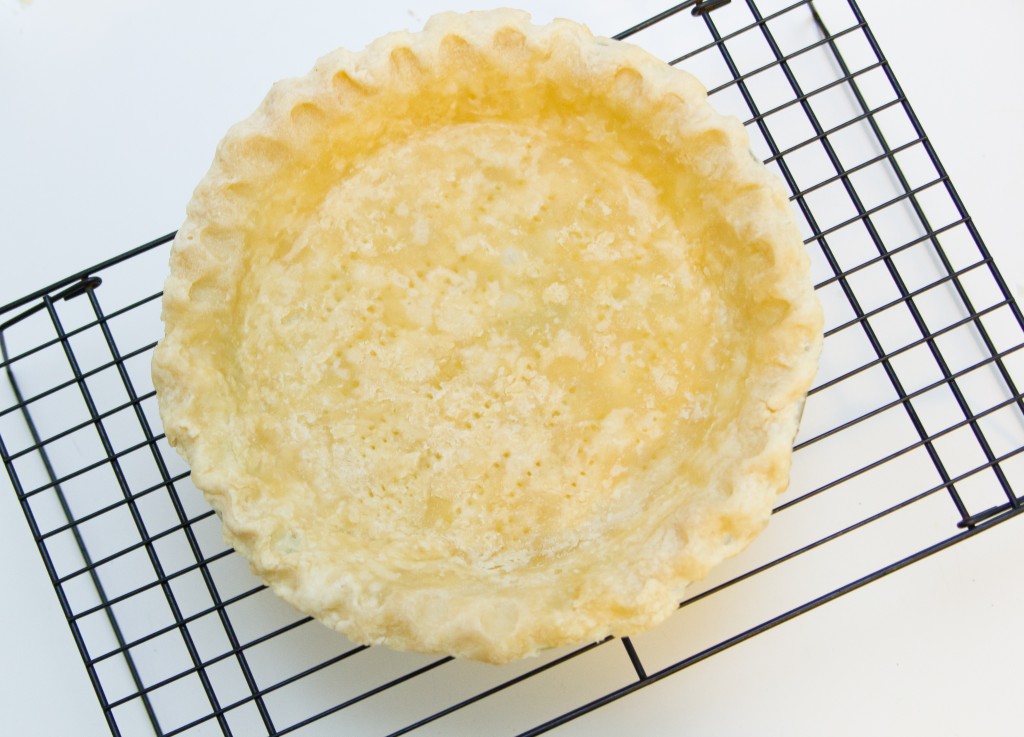
I had planned on putting this post out on the 1st day of November, but then life got in the way. Liam was getting over a cold which of course meant that I also go it. Inevitably the post was put on hold. Now that we’re all starting to feel better, and Liam is giving me a few minutes at the computer while he watches Mickey Mouse, I can finally get to sharing my Foolproof Pie Crust.
The foundation of every good pie is the crust. If your crust is lacking flakiness or isn’t very tender, then it usually doesn’t matter how delicious the rest of the filling is. This is why many people turn to pre-made frozen pie crusts. While there are some decent products on the market today, there is just something special about making your crust from scratch.
When I was growing up, my nan would always make all of her crusts from scratch. That was just the way her generation did things. Unfortunately, I was never able to get her recipe from her, but I do have her old rolling pin. And I feel like a part of her is with me every time I make a pie. Because I didn’t have her recipe, I had to search the internet for my own. And in 2009, I came across a simple, easy and delicious recipe thanks to Cook’s Illustrated.
Traditional pie crusts are made by cutting butter or shortening into flour, and then mixing that with cold water. The trick is to not over mix the dough. The chefs at Cook’s Illustrated seem to have solved this problem by cutting the water in half, and replacing it with cold vodka. Now whether or not this truly has any effect on the texture of the crust, I can’t say. But ever since using this recipe, I have received nothing but compliments on all my pies. The best part is that you can use it for quiches, pies, tarts, or cobblers. The possibilities are endless.
In my next post, I’ll share my Bourbon-spiked Pumpkin Pie with Homemade Bourbon Whipped Cream.
Foolproof Pie Crust – makes one 9-inch pie crust
Recipe from Cook’s Illustrated
Ingredients
- 1 1/4 cups of all-purpose flour
- 1/2 tsp salt
- 1 tablespoon sugar
- 6 tablespoons cold unsalted butter, cut into 1/4 inch slices
- 1/4 cup cold vegetable shortening, cut into 2 pieces
- 2 tablespoons cold vodka
- 2 tablespoons cold water
Directions
- In a medium sized bowl, mix together 3/4 cup of the flour, salt and sugar.
- Cut the butter and shortening into the flour mixture using a pastry mixer. Mix until the dough starts to collect in uneven clumps. There should be no uncoated flour.
- Add the remaining 1/2 cup of flour and mix until the flour is incorporated with the rest of the mixture.
- Sprinkle the vodka and water over the mixture. Using a rubber spatula, fold the dough until it sticks together. (You may have to add more water or vodka if it doesn’t come together. I usually add water or vodka a tablespoon at a time)
- Flatten the dough into a 4-inch disk and wrap it in plastic. Refrigerate it at least 45 minutes or up to 2 days.
- Remove dough from refrigerator and roll out on a generously floured counter to a 12-inch circle, about 1/8 inch thick. Roll dough loosely around the rolling pin and unroll into your 9-inch pie plate, leaving at least 1-inch overhang. Ease dough into the plate by lifting the edge with one hand while pressing it into the plate bottom with the other hand. Leave the overhanging dough in place.
- Trim overhang to 1/2 inch beyond the lip of the pie plate. Fold the overhang under itself. Place the dough in the refrigerator for 15-20 minutes to firm up before fluting the edges.
- Remove the dough from the refrigerator and use your thumb and forefinger to flute the edges of the dough. Cover with plastic and return dough to the refrigerator for 30 minutes.
- Your dough is now ready to be blind baked if making a custard style pie. Blind baking usually isn’t necessary when making fruit pies.


