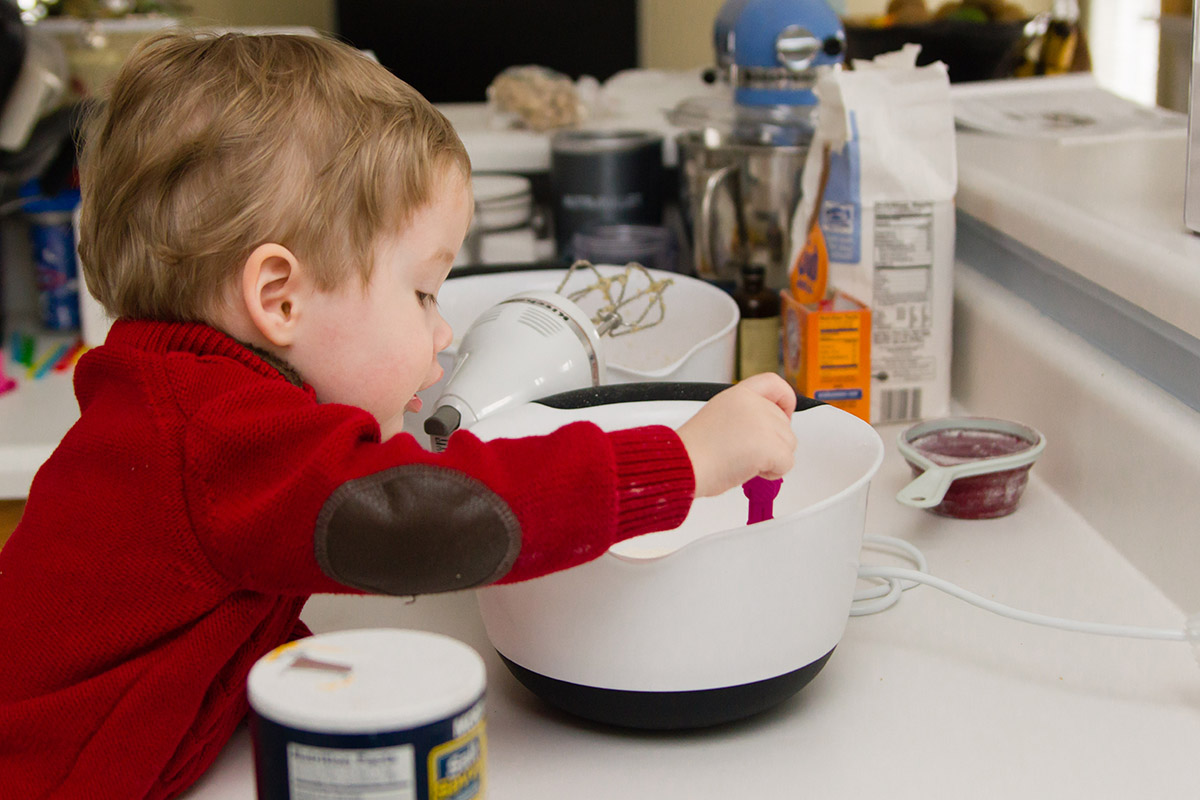
I have a small obsession with biscuits.
It doesn’t matter if they are covered in gravy or served piping hot with butter, I want them in my mouth. Growing up, we perfected the canned biscuits, but they were a far cry from the deliciousness that could be found in restaurants. After I found this recipe, I always make sure to bake a batch whenever I have buttermilk in the house.
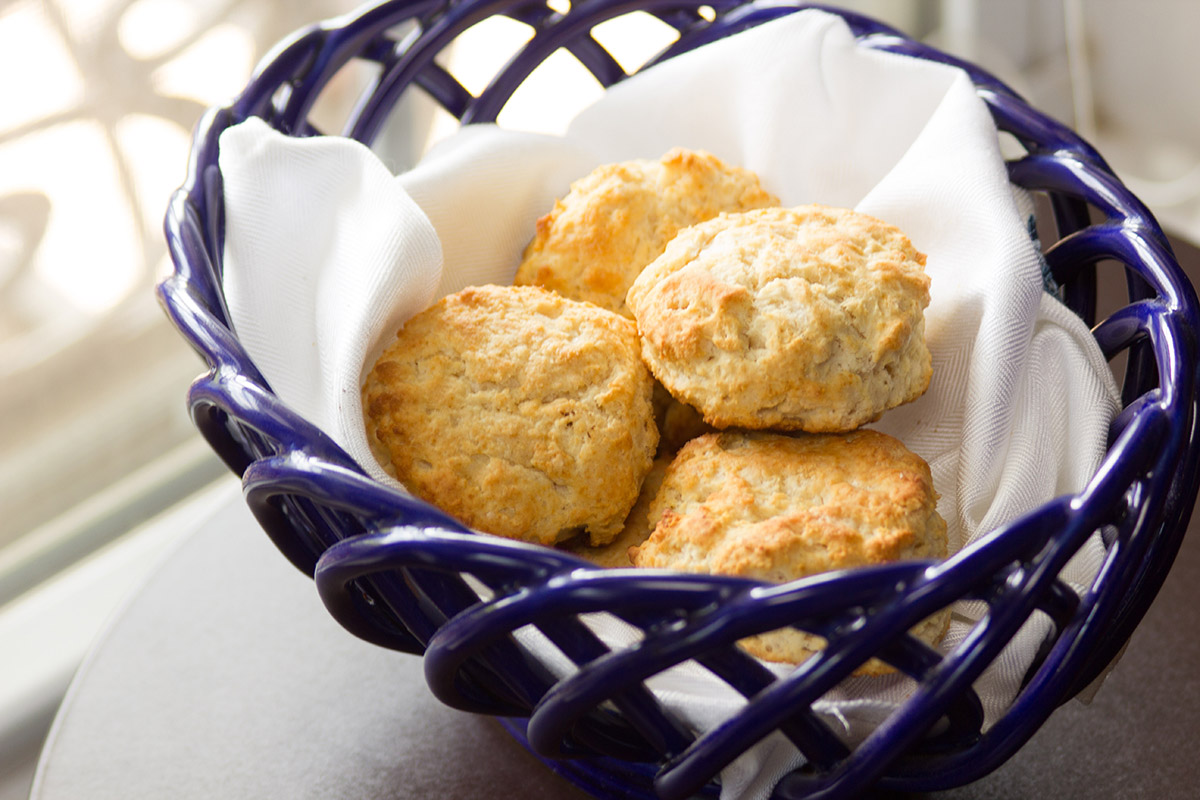
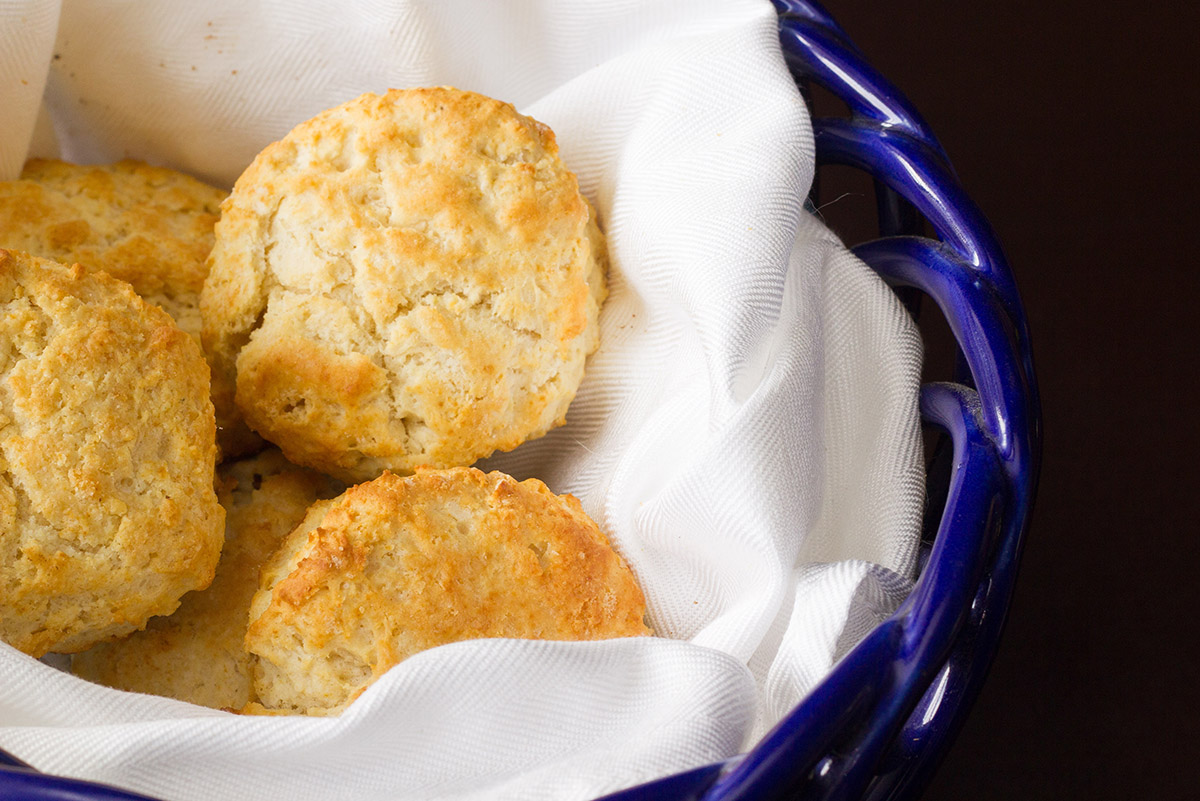
Southern Buttermilk Biscuits
Recipe courtesy of Alton Brown
Makes around 1 dozen biscuits
Ingredients
- 2 cups flour
- 4 teaspoons baking powder
- 1/4 teaspoon baking soda
- 3/4 teaspoon salt
- 2 tablespoons butter
- 2 tablespoons shortening
- 1 cup buttermilk, chilled
Directions
- Preheat oven to 450F degrees
- In a large mixing bowl, combine flour, baking powder, baking soda and salt. Use your fingertips to rub the butter and shortening into the dry ingredients until the mixture looks like crumbs.
- Make a well in the center and pour the chilled buttermilk. Stir just until the dough comes together. The dough will be very sticky.
- Turn dough onto floured surface, dust top with flour and gently fold dough over on itself 5 or 6 times.
- Cut out biscuits with a 2-inch cutter. Place the biscuits on a parchment paper lined baking sheet.
- Reform scrap dough, working it as little as possible and continue cutting (Only reform the dough once. Reforming it anymore than that will result in tough biscuits)
- Bake until the biscuits are tall and light gold on top. 15-20 minutes.